
阅读量:5
前言
- 目前数字人实现技术众多,我这里采用基于ER-NeRF,在这里可以看到其介绍:ICCV 2023 | ER-NeRF: 用于合成高保真Talking Portrait的高效区域感知神经辐射场-https://zhuanlan.zhihu.com/p/644520609
- ER-NeRF的项目地址:https://github.com/Fictionarry/ER-NeRF
- ER-NeRF,RAD-NeRF,他们都继承自AD-NeRF,都有一个基于dearpygui的GUI界面
- 但是很遗憾,这个GUI很难跑起来,而且本地一般没有大GPU的机器,我们需要一个在云GPU服务器上能跑的webui
- ER-NeRF训练很简单,所需素材也很少,训练的步骤不需要GUI
- 推理时,需要一个推理界面,方便一般用户使用的同时,使用UI界面能实现一边推理一边播放视频,优化用户体验
- 基于此,在调研一圈之后,计划使用Gradio来构建webui,改造推理代码,推理生成的帧图像直接存储为ts格式视频,web前端使用hls协议来加载m3u8文件,流式的播放推理出的结果
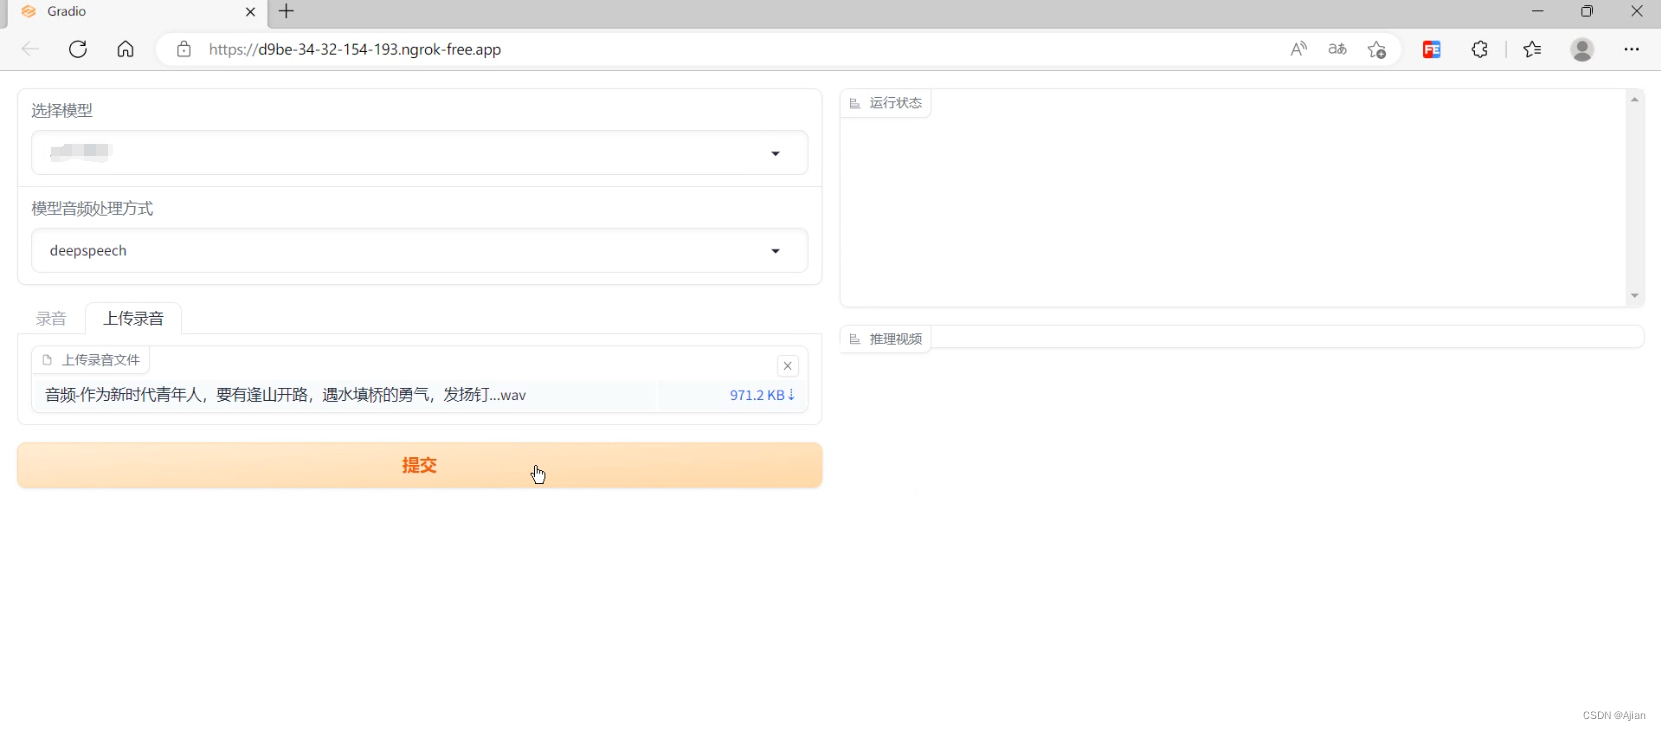
最终效果
- 运行图
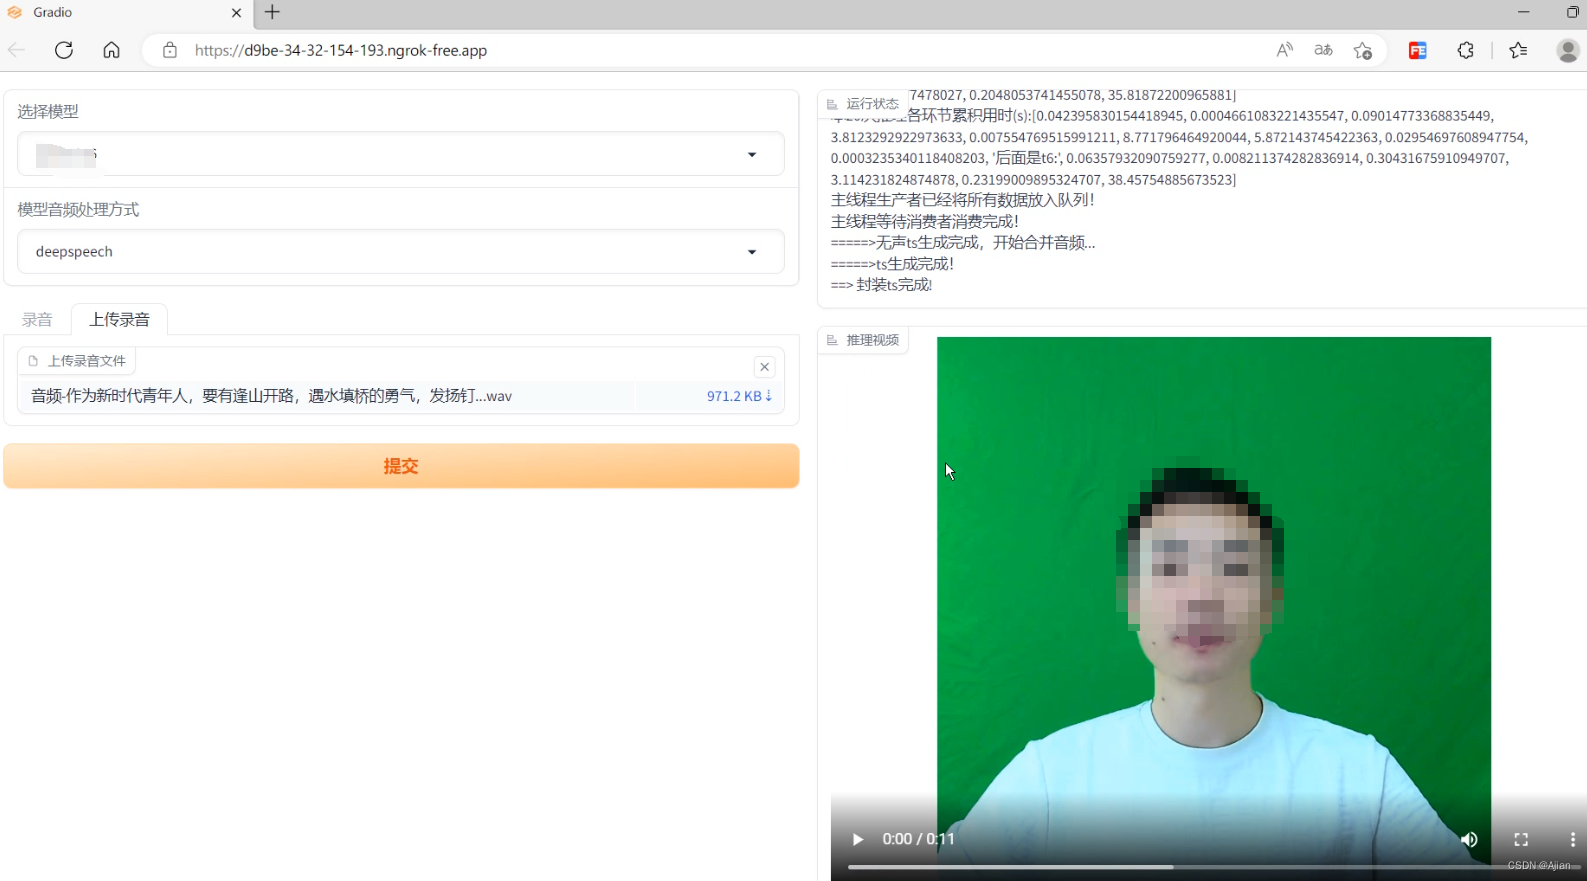
- 推理图
实现步骤
Gradio
很常规的操作,一个左右分栏布局:
with gr.Blocks() as page: with gr.Row(): with gr.Column(): model = gr.Dropdown( choices=models, value=models[0], label="选择模型", elem_id="modelSelectDom" ) audType = gr.Dropdown( choices=['deepspeech', 'hubert', 'esperanto'], value='deepspeech', label="模型音频处理方式" ) with gr.Tab('录音'): audio1 = gr.Audio(source="microphone", label='如果不能正常录音请直接上传音频文件!') with gr.Tab('上传录音'): audio2 = gr.File(label='上传录音文件', file_types=['audio']) btn = gr.Button("提交", variant="primary", elem_id="submitBtn") with gr.Column(): msg = gr.Label(label='运行状态', elem_id="logShowDiv", value='') gr.Label(label='推理视频', elem_id="resultVideoDiv", value='') btn.click( action, inputs=[ model, audType, audio1, audio2 ], outputs=[msg], ) 可以看到,output配置了一个msg的label组件,就是用来显示服务器现在运行的日志信息的。
那么本项目第一个问题就是:如何实时的显示服务器运行日志呢?
看代码:
def log_out(new_log): print(new_log) return new_log def action(model, audType, audio1, audio2): # 存储音频文件 yield log_out('存储音频文件...') wavFilePath = os.path.join(modelBasePath, model, str(time.time()).replace('.', '') + '.wav') if audio1: rate, data = audio1 write(wavFilePath, rate, data.astype(np.int32)) elif audio2: suffix = audio2.name.split('.')[-1] shutil.copy2(audio2.name, wavFilePath.replace('.wav', '.' + suffix)) if not os.path.exists(wavFilePath): yield log_out('存储音频文件失败!') else: yield log_out('存储音频文件完成.') # 执行音频预处理 yield log_out('音频预处理开始...') if audType == 'deepspeech': cmd = f'python data_utils/deepspeech_features/extract_ds_features.py --input {wavFilePath}' elif audType == 'hubert': cmd = f'python data_utils/hubert.py --wav {wavFilePath}' else: cmd = f'python data_utils/wav2vec.py --wav {wavFilePath} --save_feats' yield log_out(f'命令:{cmd}') process = subprocess.Popen(cmd, shell=True, stdout=subprocess.PIPE, stderr=subprocess.PIPE) while True: output = process.stdout.readline() if output == b'' and process.poll() is not None: break if output: yield log_out(output.strip().decode('utf-8')) time.sleep(0.5) process.wait() yield log_out(f'音频预处理完成.') # 确认音频预处理是否完成 npyPath = '.'.join(wavFilePath.split('.')[:-1]) + '.npy' stop = False if not os.path.exists(npyPath): yield log_out(f'未找到音频预处理后的npy文件,程序将要退出!') stop = True if stop: return # 构建推理命令 yield log_out(f'准备执行推理...') cmd = f'python main.py {os.path.join(modelBasePath, model)} --workspace trial_{model}_torso -O --torso --test --test_train --aud {npyPath} --smooth_path --fps 25' yield log_out(f'推理命令:{cmd}') process = subprocess.Popen(cmd, shell=True, stdout=subprocess.PIPE, stderr=subprocess.PIPE) while True: output = process.stdout.readline() if output == b'' and process.poll() is not None: break if output: yield log_out(output.strip().decode('utf-8')) time.sleep(0.5) process.wait() 可以看到,直接使用yield关键字,就可以让服务器的输出多次响应。
但是这样操作最终看到的界面效果就是日志随着一次yield一次变化,历史的累计日志信息都被直接覆盖了。
为了让输出能够累计历史日志信息一起显示,我们需要将日志记录下来,这个也很简单,增加一个history_log即可:
history_log='' def log_out(new_log): global history_log history_log += new_log+'<br>' print(new_log) return history_log ....... 现在看到,日志确实累计输出了,显示效果却不够好看,而且每次输出一次日志就会页面组件就会重绘,日志过多也影响服务器内存。
有没有办法做成shell命令窗那种类似效果呢,日志输出时,滚动条在底部,永远保持当前输出的日志能够可视?
一番艰苦的探寻,终于找到了解决办法。
核心思路是:yield持续输出,页面中用一个input元素接收,然后重写input的setvalue的方法,在方法中提取到本次输出的日志值,然后将值添加到一个div尾部,使用js让div的滚动条保持在底部。
核心代码:
_script = ''' async()=>{ ....... //监控日志输出及显示 let output = document.querySelector("#logDivText .border-none"); if(!output){ return false; } let show = document.querySelector('#logShowDiv .container') show.style.height='200px' show.style.overflowY='scroll' show.innerHTML="" Object.defineProperty(output, "value", { set: function (log) { if(log && log!=''){ show.innerHTML = show.innerHTML+'<br>'+log show.scrollTop=show.scrollHeight } } return this.textContent = log; } }); ...... } ''' #在page页面加载的时候,将自定义的js加载进去 page.load(_js=_script) 这样就实现了监控服务器日志输出的效果了,效果如下:
代码已放在gitee,有不解的可私信。
下一篇讲解如何将内存中的序列图通过pipeline写成hls协议的ts文件保存。
