阅读量:0
1、背景:
因公司业务需求,部署一套数据库备份中心服务,但是因为备份的数据库很多,有项目经理要求能经常去查看备份数据库情况及下载备份数据文件的需求。根据该需求,需要在备份数据库的服务器上部署一个nginx服务,同时考虑安全性,需要加入用户密码登入的机制。
2、部署nginx服务:
安装nginx服务:
[root@idc-db-back ~]# yum install -y nginx .......检查nginx服务:
[root@idc-db-back ~]# rpm -qa | grep nginx nginx-filesystem-1.20.1-10.el7.noarch nginx-1.20.1-10.el7.x86_64 因为没有对nginx服务有版本的要求,所以直接yum方式安装即可。源码编译安装也可以的。
3、设置nginx服务配置文件内容:
[root@idc-db-back ~]# cd /etc/nginx/ [root@idc-db-back nginx]# vim nginx.conf 编辑nginx.conf文件后的内容如下:
[root@idc-db-back nginx]# cat nginx.conf user nginx; worker_processes auto; error_log /var/log/nginx/error.log; pid /run/nginx.pid; include /usr/share/nginx/modules/*.conf; events { worker_connections 1024; } http { log_format main '$remote_addr - $remote_user [$time_local] "$request" ' '$status $body_bytes_sent "$http_referer" ' '"$http_user_agent" "$http_x_forwarded_for"'; access_log /var/log/nginx/access.log main; sendfile on; tcp_nopush on; tcp_nodelay on; keepalive_timeout 65; types_hash_max_size 4096; include /etc/nginx/mime.types; default_type application/octet-stream; include /etc/nginx/conf.d/*.conf; server { listen 80; server_name localhost; location / { root /etc/nginx/html; index index.html index.htm; } location /backup { alias /back_db; autoindex on; autoindex_exact_size off; autoindex_localtime on; } } } 因还要求访问nginx服务需要进行用户密码登入验证功能,所以还需要配置htpasswd参数。
在radhat 7系统上,可以通过安装httpd-tools软件包来获得htpasswd工具。执行以下命令来安装它:
[root@idc-db-back nginx]# yum install httpd-tools完成安装后,可以使用以下命令来使用htpasswd工具创建账号密码文件:
[root@idc-db-back nginx]# htpasswd -c /etc/nginx/.htpasswd backup 该命令将提示您输入一个密码,并将账号密码保存在/etc/nginx/.htpasswd文件中。
将htpasswd运用到nginx中去:
server { listen 80; server_name localhost; # Load configuration files for the default server block. location / { root /etc/nginx/html; index index.html index.htm; auth_basic "Restricted html"; auth_basic_user_file /etc/nginx/html/.htpasswd; } location /backup { alias /back_db; auth_basic "Restricted"; auth_basic_user_file /etc/nginx/.htpasswd; autoindex on; autoindex_exact_size off; #autoindex_localtime on; } } }这里我加了两个密码认证,因为有一个首页的认证,
4、重启nginx服务:
完成配置后,使用以下命令重启Nginx以使更改生效:
[root@idc-db-back nginx]# systemctl restart nginx检查nginx服务运行状态:
[root@idc-db-back nginx]# netstat -anlp | grep nginx tcp 0 0 0.0.0.0:80 0.0.0.0:* LISTEN 2532/nginx: master unix 3 [ ] STREAM CONNECTED 295616 2532/nginx: master unix 3 [ ] STREAM CONNECTED 295611 2532/nginx: master 5、验证nginx服务功能:
在浏览器输入发布地址url
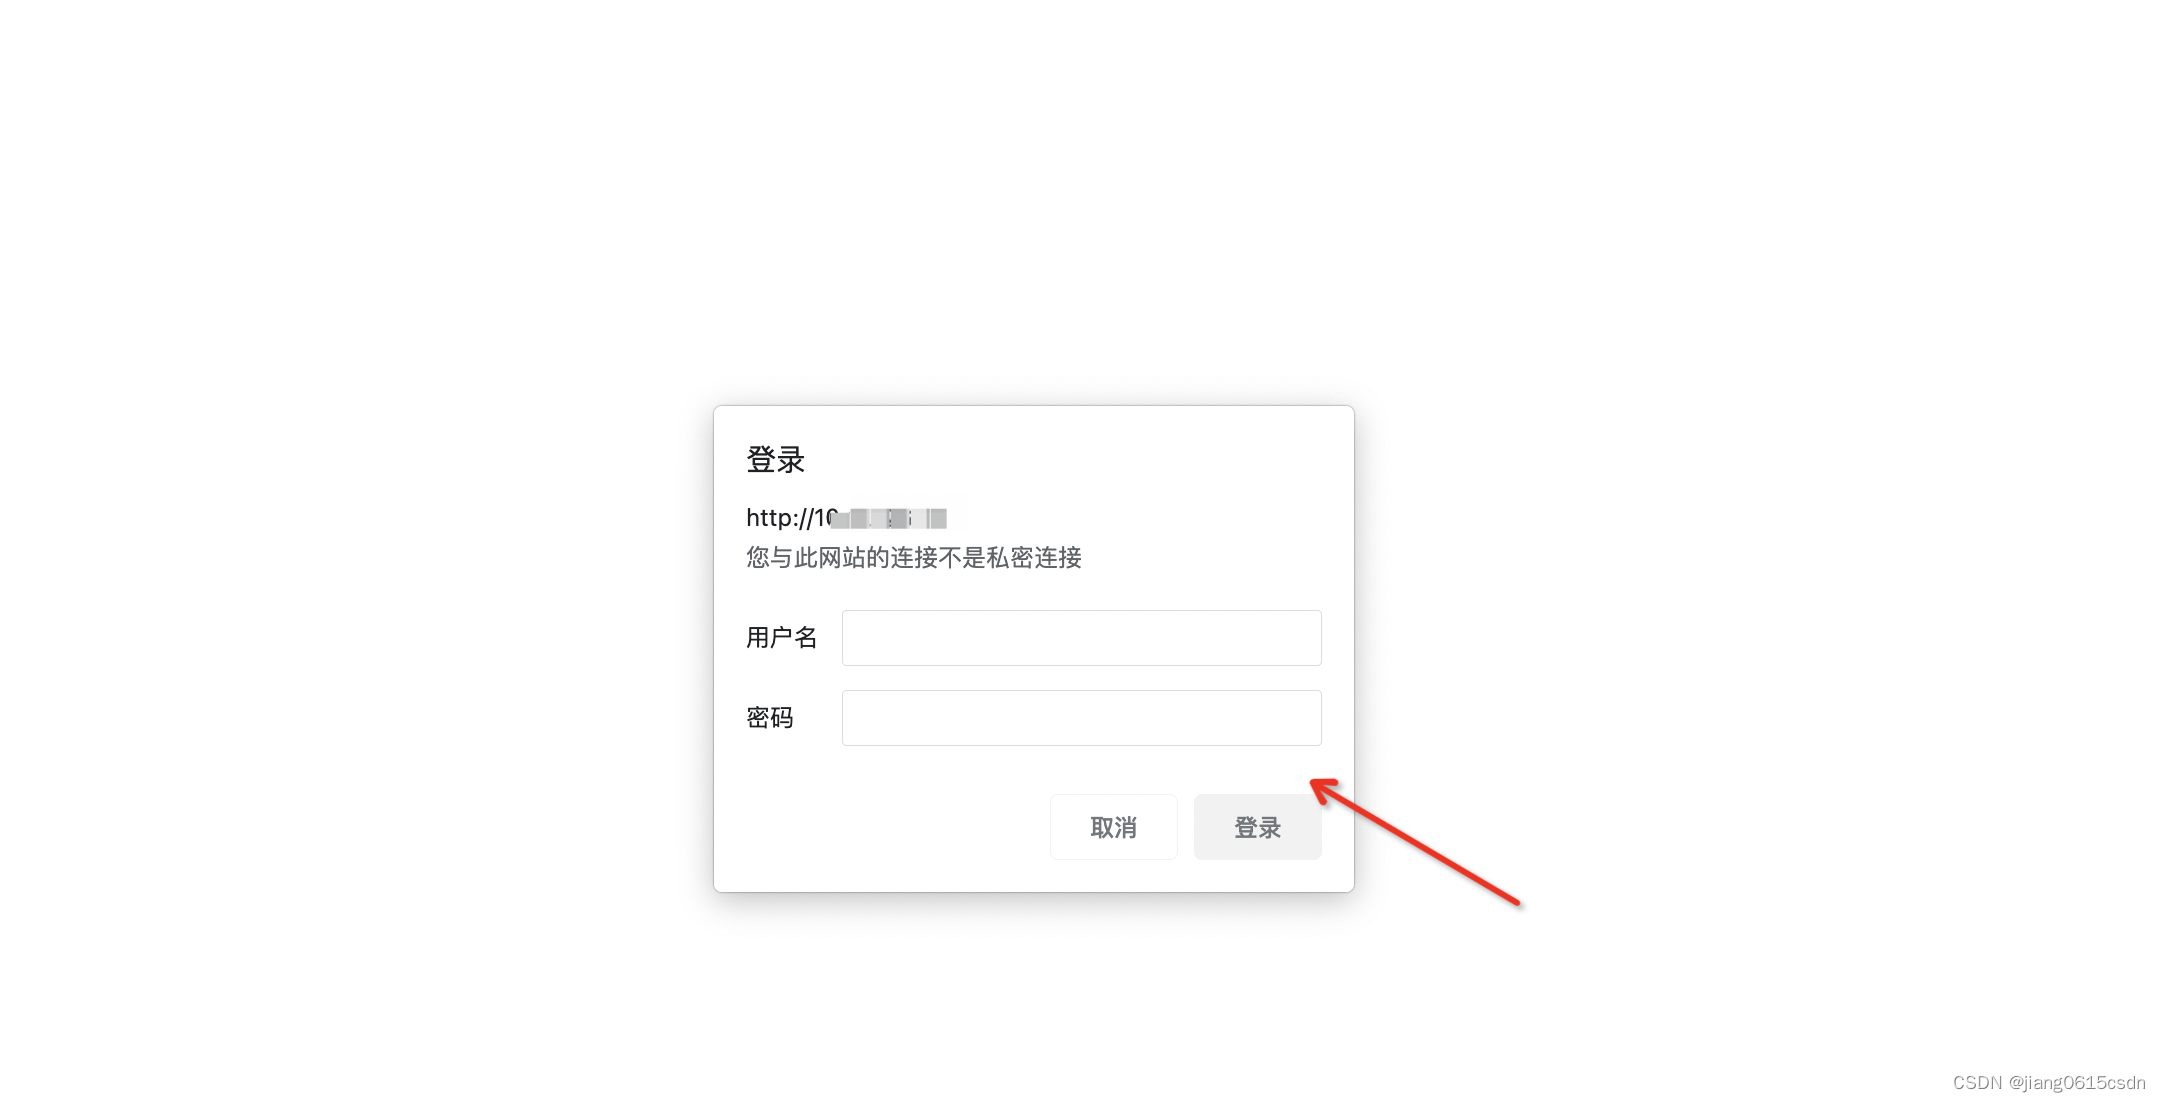
输入设置用户密码,即可
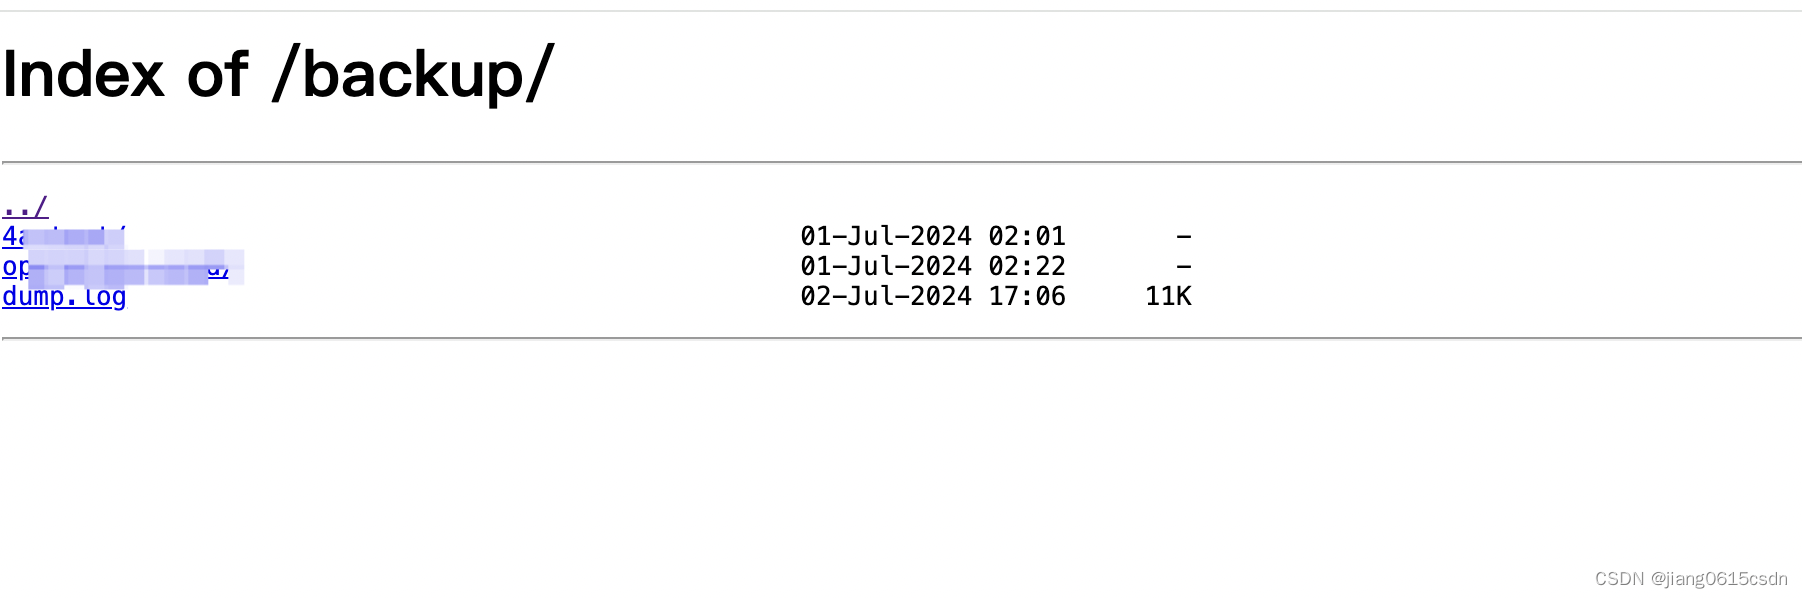
总结:到此就完成了nginx服务访问后端目录文件,并实现下载龚,同时具备了用户登入认证功能。