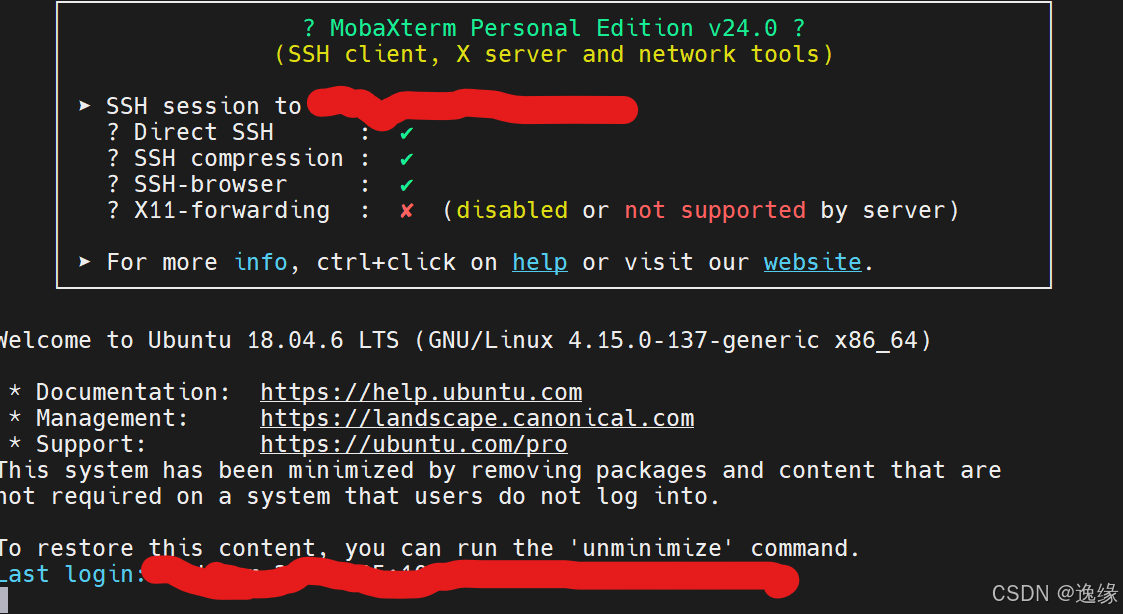
①登录

Login as
输入密码时密码不显示,正常输入即可
②进入指定的下载目录

出现类似界面后,键盘操作Ctrl+c即可进行输入
cd / …….(要下载到的目录名称)/
Anaconda的安装
①输入wget https://repo.anaconda.com/archive/Anaconda3-2022.10-Linux-x86_64.sh
进行安装,此处仅为一条可用路径
报错
wget https://mirrors.tuna.tsinghua.edu.cn/anaconda/archive/Anaconda3-2021.11-Linux-x86_64.sh --2024-03-23 10:13:56-- https://mirrors.tuna.tsinghua.edu.cn/anaconda/archive/Anaconda3-2021.11-Linux-x86_64.sh Resolving mirrors.tuna.tsinghua.edu.cn (mirrors.tuna.tsinghua.edu.cn)... 101.6.15.130, 2402:f000:1:400::2 Connecting to mirrors.tuna.tsinghua.edu.cn (mirrors.tuna.tsinghua.edu.cn)|101.6.15.130|:443... connected. HTTP request sent, awaiting response... 403 Forbidden 2024-03-23 10:14:02 ERROR 403: Forbidden.
这个问题是关于网络请求的,具体来说,是尝试使用wget命令从清华大学的开源镜像站(mirrors.tuna.tsinghua.edu.cn)下载一个Anaconda的安装脚本。然而,你遇到了一个403 Forbidden的错误,这通常意味着服务器拒绝了你的请求。
解决方法:自行搜索更改为其他的镜像地址下载
②安装结束后输入:bash Anaconda3-2022.10-Linux-x86_64.sh
③一直点击yes即可
报错①ERROR: Cannot install into directories with spaces
解决:该目录下安装空间不足,更换为其他目录。
报错②
Anaconda3 will now be installed into this location: /home/XX/anaconda3
- Press ENTER to confirm the location
- Press CTRL-C to abort the installation
- Or specify a different location below
解决:①不要点击Enter
②输入要安装的目录
特别注意此处的安装目录输入格式为“/……(名称)/”,不是/……(名称)/(可能无法成功切换),要加上引号才能成功替换到要安装的目录下。
conda环境的配置
在conda环境配置前先学习bash shell界面的基本操作方法:
①vim ~/.bashrc:打开编辑bash shell的界面
若出现警告:
Found a swap file by the name "~/.bashrc.swp" owned by: ningyang dated: Sat Mar 23 10:47:36 2024 file name: ~ningyang/.bashrc modified: YES user name: ningyang host name: 4d7078615232 process ID: 173 While opening file "/home/ningyang/.bashrc" dated: Sat Mar 23 13:47:54 2024 NEWER than swap file! (1) Another program may be editing the same file. If this is the case, be careful not to end up with two different instances of the same file when making changes. Quit, or continue with caution. (2) An edit session for this file crashed. If this is the case, use ":recover" or "vim -r /home/ningyang/.bashrc" to recover the changes (see ":help recovery"). If you did this already, delete the swap file "/home/ningyang/.bashrc.swp" to avoid this message. Swap file "~/.bashrc.swp" already exists! [O]pen Read-Only, (E)dit anyway, (R)ecover, (D)elete it, (Q)uit, (A)bort:
原因:上次打开bash shell界面后为正常退出
选项解释
- [O]pen Read-Only:以只读模式打开文件。这样你可以查看文件内容,但不能进行编辑。
- (E)dit anyway:无论如何都编辑文件。这可能会覆盖其他Vim实例所做的更改,或者导致数据丢失,因此要小心使用。
- (R)ecover:尝试从交换文件中恢复数据。这通常在你认为之前的编辑会话可能已崩溃,并且你想要保留那些未保存的更改时使用。
- (D)elete it:删除交换文件。如果你确定之前的编辑会话已经完成(或者不重要),并且你想要开始一个新的编辑会话,那么可以选择这个选项。
- (Q)uit:退出Vim或Vi,不打开文件。
- (A)bort:中止当前操作,通常与(Q)uit效果相同。
若环境变量并未设置成功可以选择D后重新开始设置,若想保留之前的操作,则选择E继续编辑。若conda环境已经配置好D可能会删除已经配置的环境。
a 进入编辑模式
:wq 保存后退出
:w 保存但不退出
!!!不要忘打:
:w!强制写入
:q 退出
:q!若修改过档案,又不想存储,强制退出
:e!将档案还原到最原始的状态
②在编辑模式下输入export PATH=/hmoe/XX /anaconda3/bin:$PATH
③通过:wq退出bashshell
④退出后输入source ~/.bashrc保存所做的更改
source ~/.bashrc要在退出bash shell后执行,不是在bash shell中输入
输入bashshell后退出重进即可
⑤检验:输入conda -V,若显conda版本则说明conda环境配置成功
在conda中创建环境
①conda create --name XX python=3.9(记住创建的python版本)创建了一个名为XX,python为3.9的环境
②conda activate XX进入到创建的环境
安装Pytorch
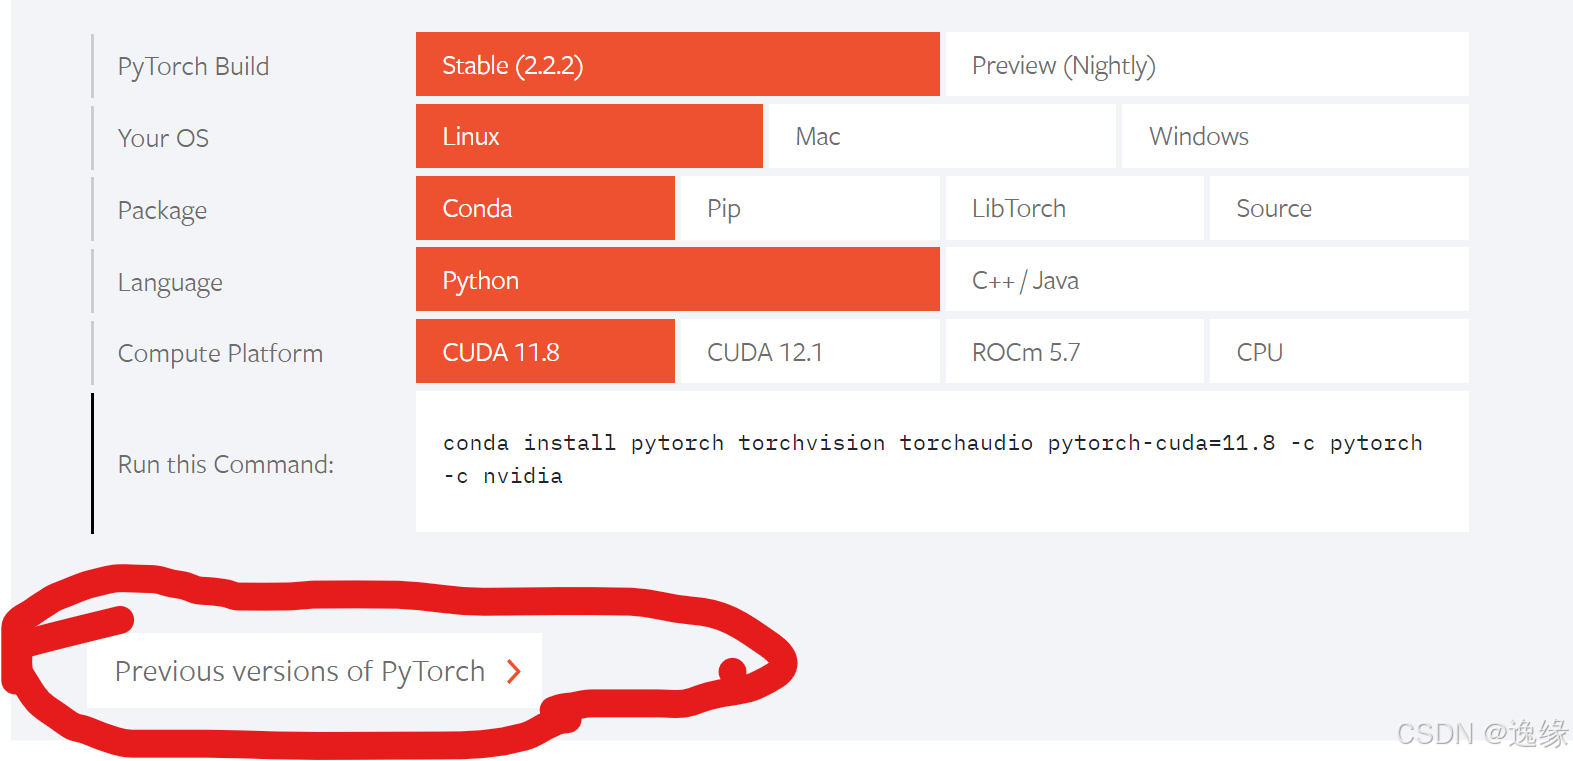
①进入官网PyTorch寻找需要的版本

所下载pytorch版本需与python版本相匹配

在linux下找到需要的版本,复制指令直接在打开的环境中下载即可
②检验:conda list torch

说明安装成功
Pytorch消失
ModuleNotFoundError: No module named 'torch'
①conda list torch检验pytorch是否下载完成
若确定pytorch下载成功依旧报错
①检查是否进入了安装的目录以及是否进入了安装pytorch的conda环境
②检查python与pytorch的环境是否匹配
conda uninstall pytorch
pip uninstall torch
卸载pytorch后重新下载
③检验python的路径
①Conda activate XX进入环境,输入python -V查看python的环境,此环境为运行代码的python环境
②输入conda list python创建环境时创立的python环境,此处为pytorch安装的地方
若发现两处的python版本不一样(或虽然一样仍然无法调用pytorch),则说明调用时python路径出现错误,即使用的python并非为安装pytorch的python
解决方法:输入which python查看配置的环境中python的路径,输入echo $PATH查看环境中配置的python路径是否位于最前面。若显示其路径不在最前面,则需在bash shell界面更改启动环境时python的打开路径。
①conda activate XX确保进入环境
②vim ~/.bashrc:打开编辑bash shell的界面
③export PATH=/home/GP-VTON /Anaconda/envs/class/bin:$PATH标红部分为which python所查询到的路径
④:wq退出后source ~/.bashrc保存,重新进入环境再次用python -V查看版本是否更新成功
