阅读量:0
本案例将最终可直接运行代码放置在文末,期间代码用于讲解部分功能。
希望各位读者可以给个一键三联😀!!!如果有相关问题也可以私信我或评论(如其他的相机设置),后续将逐步推出针对大恒相机的一个大型项目案例。
1.首先按照前篇文章配置Python使用大恒相机所必需的环境变量。

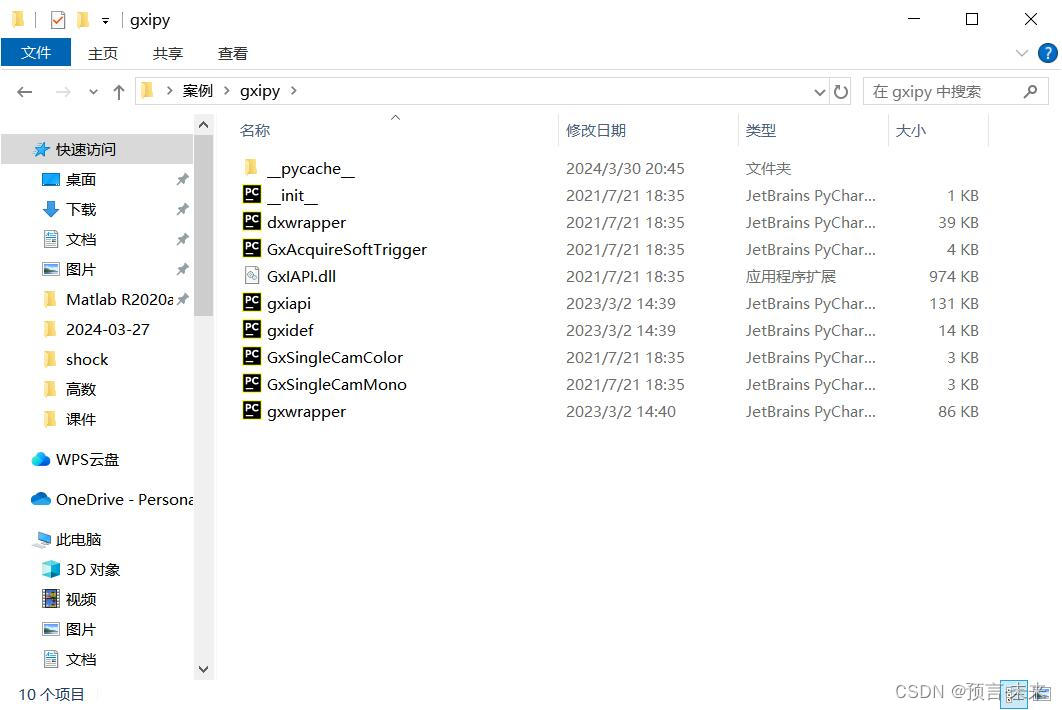
2.使用自身所使用的Python编译环境软件(IDE)建立python编辑文件(main.py)且将gxipy文件夹放置与main.py放置在相同路径之下。

3.在mian.py文件头通过添加库指令调用gxipy文件夹/添加所想要使用案例中必要的函数库(本案例中涉及到需要自行安装的库主要为opencv-python3.4.18、openpyxl、numpy)。
import cv2 import numpy import gxipy as gx import sys import time as tm from openpyxl import Workbook4.通过调用gxipy库中函数设置相机参数
# 枚举设备。dev_info_list 是设备信息列表,列表的元素个数为枚举到的设备个数,列表元素是字典 # 其中包含设备索引(index)、ip 信息(ip)等设备信息 device_manager = gx.DeviceManager() dev_num, dev_info_list = device_manager.update_device_list() if dev_num == 0: sys.exit(1) # 打开设备 # 获取设备基本信息列表 str_sn = dev_info_list[0].get("sn") # 通过序列号打开设备 cam = device_manager.open_device_by_sn(str_sn) # 导出配置相机配置参数文件 cam.export_config_file("camera/export_config_file.txt") # 导入配置相机配置参数文件 # cam.import_config_file("import_config_file.txt") # 获取曝光值可设置范围和最大值 float_range = cam.ExposureTime.get_range() print(f"float_range = {float_range}") # 获取当前曝光值 float_exposure_value = cam.ExposureTime.get() print(f"float_exposure_value = {float_exposure_value}") exposure_time = input("设置曝光值:") # 注意输入需为小数点后三位或四位 exposure_time = numpy.float64(exposure_time) cam.ExposureTime.set(exposure_time)5.设置好相机参数后即可开始采集图像转化图像格式(num为循环参数,在总程序中体现)
cam.stream_on() raw_image = cam.data_stream[0].get_image() # 获取灰度图像,可调整程采集BGR图像 if raw_image is None: continue numpy_image = raw_image.get_numpy_array() # 两次检测图像数据是否正确 if numpy_image is None: continue numpy_image = cv2.cvtColor(numpy_image, cv2.COLOR_GRAY2BGR) # 灰度转BGR,用于后续处理 cv2.imwrite(f"Picture/time_{num}.jpg", numpy_image)6.采集存储完成关闭相机
cam.stream_off()7.总案例代码,可复制配置完成环境后调用。该案例可实现断续、持续的图像捕捉并将捕获图像存储于当前路径下自行新建的文件夹中,并反馈程序使用过程中花费总时间及帧率,且会记录每一张图片所拍摄时相对占用的总时间。
import cv2 import numpy import gxipy as gx import sys import time as tm from openpyxl import Workbook def get_image(number=1, continuation=False): # 枚举设备。dev_info_list 是设备信息列表,列表的元素个数为枚举到的设备个数,列表元素是字典 # 其中包含设备索引(index)、ip 信息(ip)等设备信息 device_manager = gx.DeviceManager() dev_num, dev_info_list = device_manager.update_device_list() if dev_num == 0: sys.exit(1) # 打开设备 # 获取设备基本信息列表 str_sn = dev_info_list[0].get("sn") # 通过序列号打开设备 cam = device_manager.open_device_by_sn(str_sn) # 导出配置相机配置参数文件 cam.export_config_file("camera/export_config_file.txt") # 导入配置相机配置参数文件 # cam.import_config_file("import_config_file.txt") # 获取曝光值可设置范围和最大值 float_range = cam.ExposureTime.get_range() print(f"float_range = {float_range}") # 获取当前曝光值 float_exposure_value = cam.ExposureTime.get() print(f"float_exposure_value = {float_exposure_value}") exposure_time = input("设置曝光值:") exposure_time = numpy.float64(exposure_time) cam.ExposureTime.set(exposure_time) cv2.namedWindow('time', cv2.WINDOW_NORMAL) cv2.resizeWindow('time', 1920, 1200) # 设置窗口大小 num = 0 wb = Workbook() w_time = wb.active w_time.title = "time" # 开始采集 cam.stream_on() time_clock = tm.time() time = [] w_time.append(["序号", 0]) while num < number or continuation: raw_image = cam.data_stream[0].get_image() if raw_image is None: continue numpy_image = raw_image.get_numpy_array() if numpy_image is None: continue time_passing = tm.time()-time_clock time.append(time_passing) w_time.append([num, time_passing]) cv2.imshow(f"time", numpy_image) numpy_image = cv2.cvtColor(numpy_image, cv2.COLOR_GRAY2BGR) cv2.imwrite(f"Picture/time_{num}.jpg", numpy_image) num += 1 key = cv2.waitKey(1) & 0xff # 不能为0,0为等待中断,只能读取到一帧的数据 if key == ord('q') or key == 27: break # 关闭设备 cam.stream_off() time = numpy.array(time) fps = time[num-1]/num wb.save("Picture/time.xlsx") cam.close_device() return fps, time if __name__ == '__main__': fps, time = get_image(continuation=True) print(f"time = {time}") print("fps= ", fps) 