
阅读量:0
harmonyos中 提供了 各种不同功能的通知 来满足我们不同的业务需求
本文呢 我们先来看 最基本的通知 它的场景和使用方式
最基本的 是 当应用被切入后台 而应用内部发生了一些变化 就可以用通知的方式 来提醒用户
就比如 我们微信 被切到了后台 而这时 别人发消息过来了
那么 通知栏 就会出现提示 让我们快去处理
也非常简单 调harmonyos提供的通知接口就OK了
首先 我们要在需要使用的地方 导入对应的包
import notificationManager from "@ohos.notificationManager" 这时一个 harmonyos 内置的工具
直接导入就好 不需要安装
然后 它的基础语法是
let request: notificationManager.NotificationRequest = { id: 10, content: { //通知内容 } } id的话就是一个数字 只要保证 唯一性 就OK了
content 中装的通知内容
harmonyos中 有四类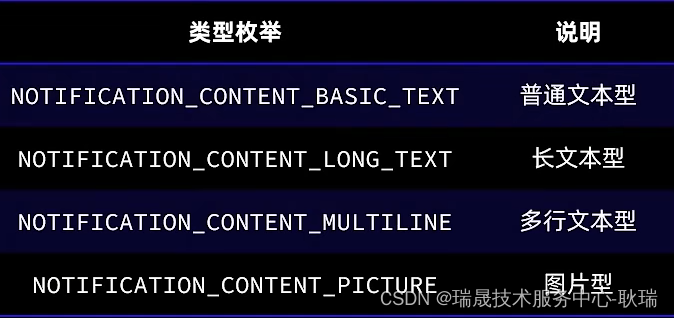
话不多说 直接看
我们将 首页编写代码如下
import notificationManager from "@ohos.notificationManager" @Entry @Component struct Dom { @State ids:number = 0; aboutToAppear(){ } build() { Column({space: 30}) { Button("发送基本文本通知").onClick(()=>{ let request: notificationManager.NotificationRequest = { id: this.ids++, content:{ contentType: notificationManager.ContentType.NOTIFICATION_CONTENT_BASIC_TEXT, normal:{ title:'通知标题'+ this.ids, text:'通知内容详情', additionalText: '通知附加内容' } } } notificationManager.publish(request).then(()=> { console.log('发送通知成功') }).catch(reason => { console.log('发送通知失败',JSON.stringify(reason)) }) }) } .width('100%') .height('100%') } } 这里 我们导入 @ohos.notificationManager
然后定义了一个 响应式数据 ids 主要是 避免通知id重复
然后 编写一个按钮
点击事假中 调用 notificationManager.NotificationRequest
id 用 ids ++ 这样 用于在增加 数字就不会有重复的
然后 类型 NOTIFICATION_CONTENT_BASIC_TEXT 基础文本型
标题 通知标题 拼接上 id号
然后 通知的内容 为 通知内容详情
附加 通知附加内容
我们手机开真机调试
然后 我们点击这个按钮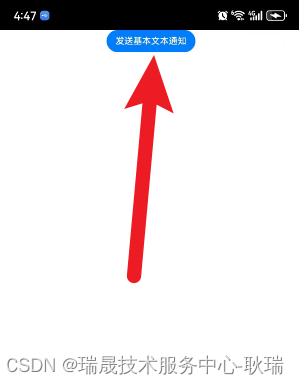
把手机的通知栏 往下拉 内容就出来了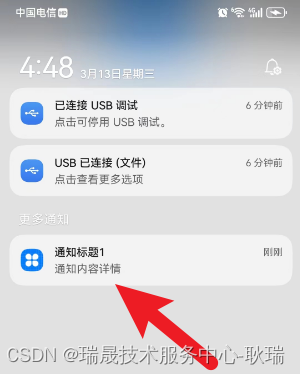
然后 我们将代码修改成这样
import notificationManager from "@ohos.notificationManager" @Entry @Component struct Dom { @State ids:number = 0; aboutToAppear(){ } build() { Column({space: 30}) { Button("发送长文本").onClick(()=>{ let request: notificationManager.NotificationRequest = { id: this.ids++, content:{ contentType: notificationManager.ContentType.NOTIFICATION_CONTENT_LONG_TEXT, longText: { title:'通知标题'+ this.ids, text:'通知内容详情', additionalText: '通知附加内容', longText: '通知中的长文本,我很长,我很长,我很长,我很长,我很长,我很长,我很长', briefText:'通知概要和总结', expandedTitle:'通知展开时的标题'+this.ids } } } notificationManager.publish(request).then(()=> { console.log('发送通知成功') }).catch(reason => { console.log('发送通知失败',JSON.stringify(reason)) }) }) } .width('100%') .height('100%') } } 长文本类型 基本的语法都还是一样的 我们直接真机运行
会发现 基本还是一样的 不过 多了一个向下的小箭头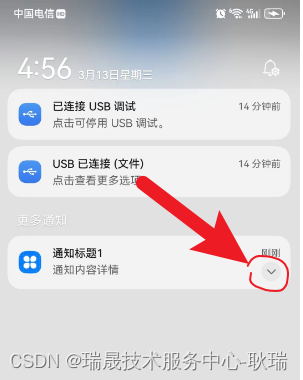
我们点开这个箭头 就可以看到下面的具体内容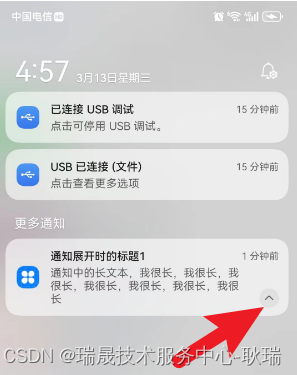
然后 代码改成这样
import notificationManager from "@ohos.notificationManager" @Entry @Component struct Dom { @State ids:number = 0; aboutToAppear(){ } build() { Column({space: 30}) { Button("多行文本型").onClick(()=>{ let request: notificationManager.NotificationRequest = { id: this.ids++, content:{ contentType: notificationManager.ContentType.NOTIFICATION_CONTENT_MULTILINE, multiLine: { title:'通知标题'+ this.ids, text:'通知内容详情', additionalText: '通知附加内容', briefText:'通知概要和总结', longTitle:'展开时的标题,我很宽,我很宽,我很宽', lines: [ "第一行", "第二行", "第三行", "第四行" ] } } } notificationManager.publish(request).then(()=> { console.log('发送通知成功') }).catch(reason => { console.log('发送通知失败',JSON.stringify(reason)) }) }) } .width('100%') .height('100%') } } 多行文本型
直接开真机调试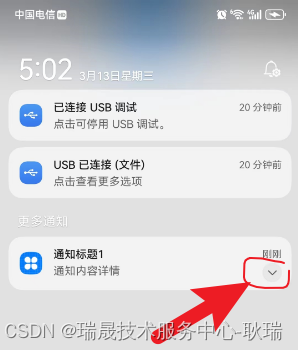
点击按钮后 还是这个样子 下面有一个向下箭头
然后 我们点击展开
这里 就会展示出 每一行的内容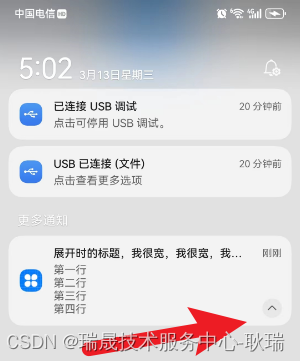
最后一个是图片类型 那么 我们需要找一个图片放到 对应模块下的 media下面去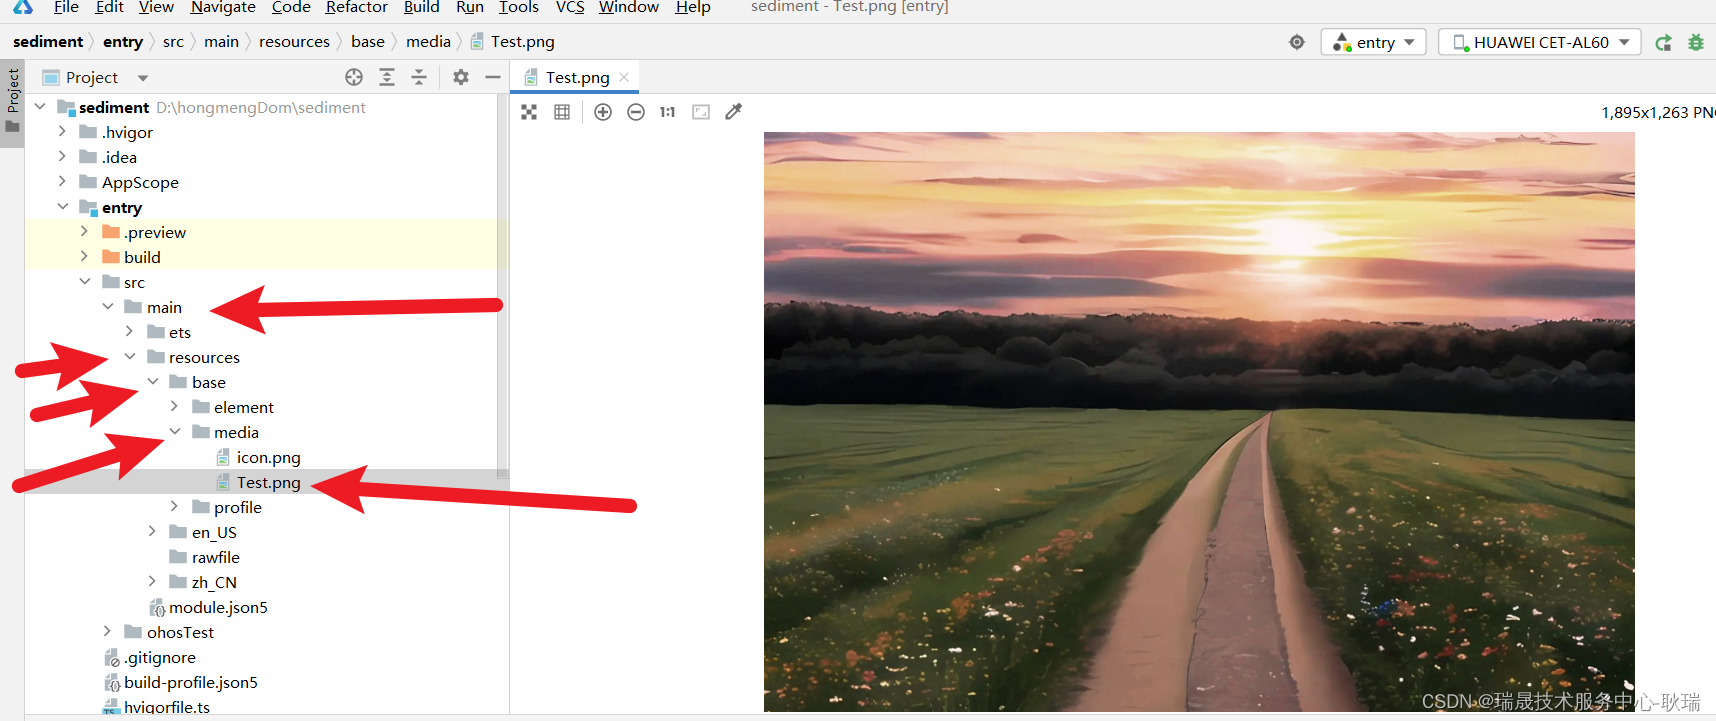
这里 我有个问题 图片最好用png的 好像jpg显示不出来
然后 我们将代码改成
import notificationManager from "@ohos.notificationManager" import image from '@ohos.multimedia.image'; @Entry @Component struct Dom { @State ids:number = 0; pixel:PixelMap; async aboutToAppear(){ let rm = getContext(this).resourceManager;//读取图片 let file = await rm.getMediaContent($r("app.media.Text")); image.createImageSource(file.buffer).createPixelMap(). then((value) => { this.pixel = value }). catch((reason) => { console.log('testTag','加载图片异常',JSON.stringify(reason)) }) } build() { Column({space: 30}) { Button("图片通知").onClick(()=>{ let request: notificationManager.NotificationRequest = { id: this.ids++, content:{ contentType: notificationManager.ContentType.NOTIFICATION_CONTENT_PICTURE, picture: { title:'通知标题'+ this.ids, text:'通知内容详情', additionalText: '通知附加内容', briefText:'通知概要和总结', expandedTitle:'展开后标题'+this.ids, picture: this.pixel } } } notificationManager.publish(request).then(()=> { console.log('发送通知成功') }).catch(reason => { console.log('发送通知失败',JSON.stringify(reason)) }) }) } .width('100%') .height('100%') } } 这是个 NOTIFICATION_CONTENT_PICTURE 图片型的通知 这里 需要一个 picture参数 类型会比较特殊
PixelMap 是三种图片格式的第二种 像素图
这里 我们在 aboutToAppear 生命周期中处理这个逻辑 加载 media模块下的 Test 资源文件 就是我们刚才放进去的那个图片
然后 将它转为 PixelMap 赋值给 pixel
然后 用 pixel 做 picture参数
我们真机运行
然后 我们开真机运行
这里 可能是我手机鸿蒙版本低 目前看不到图片 大家可以试试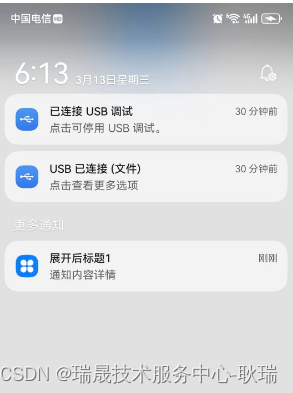
这里 手机鸿蒙版本不同 效果查验可能就比较大
