阅读量:0
1.查看php安装的版本
update-alternatives --config php

2.下载php7.3
apt-get install php7.3-fpm
3.查找文件位置
find / -name www.conf

4.编辑文件
vim /etc/php/7.3/fpm/pool.d/www.conf

5.重启php7.3
service php7.3-fpm restart
6.进入目录
cd /etc/nginx/sites-enabled/

7.编辑nginx配置文件,可看我的这篇文章:https://blog.csdn.net/m0_72654572/article/details/140775618?spm=1001.2014.3001.5501
vim example.com

8.重启nginx
service nginx restart
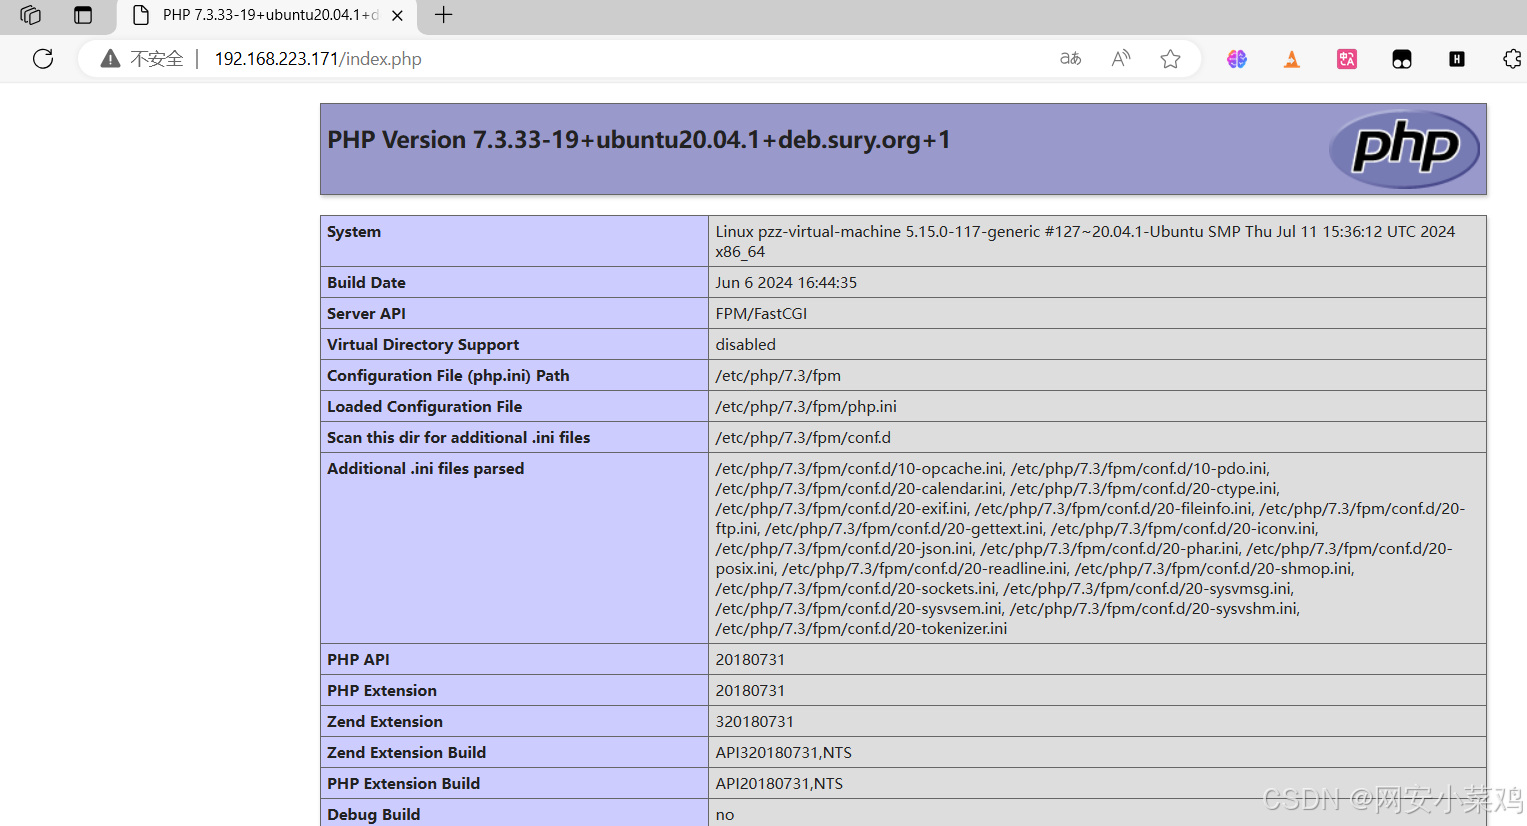
9.把phpinfo()的默认页面信息复制到这个里面
Xdebug: Support — Tailored Installation Instructions
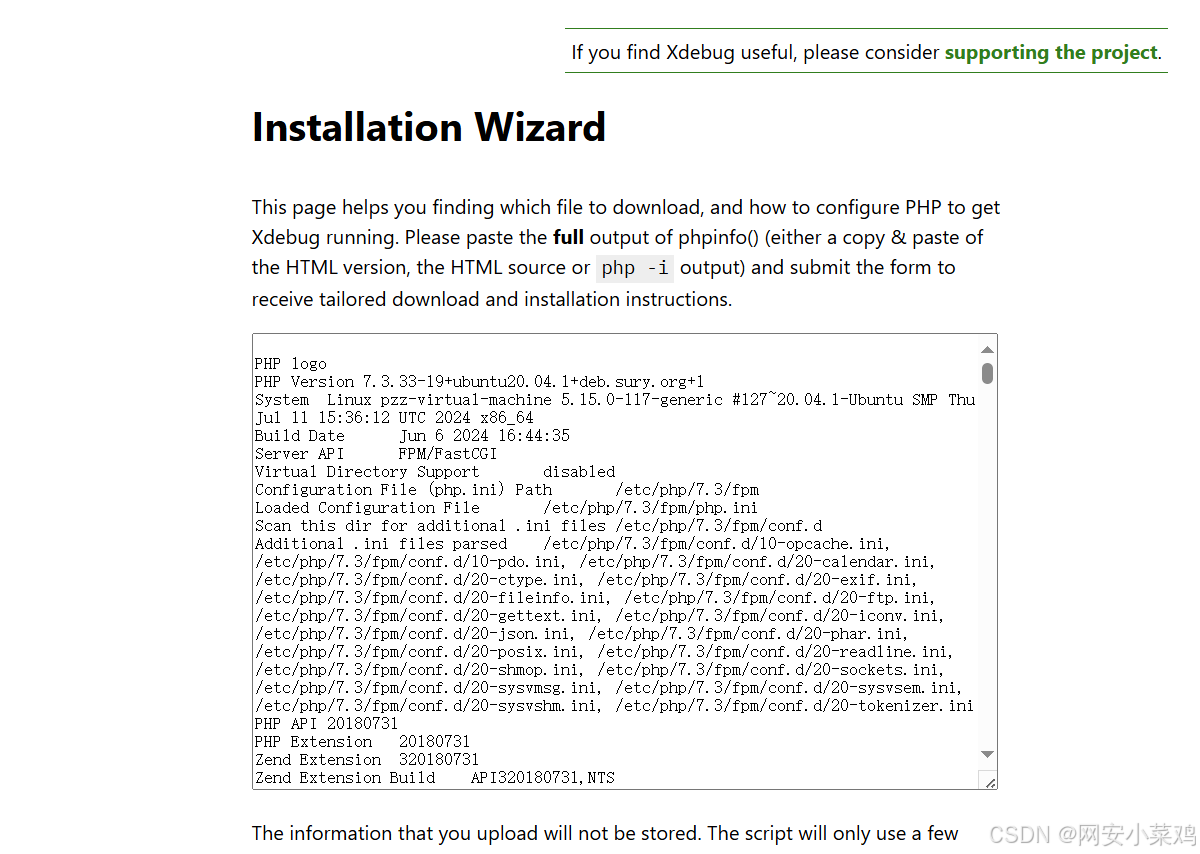
10.根据给出的提示进行操作
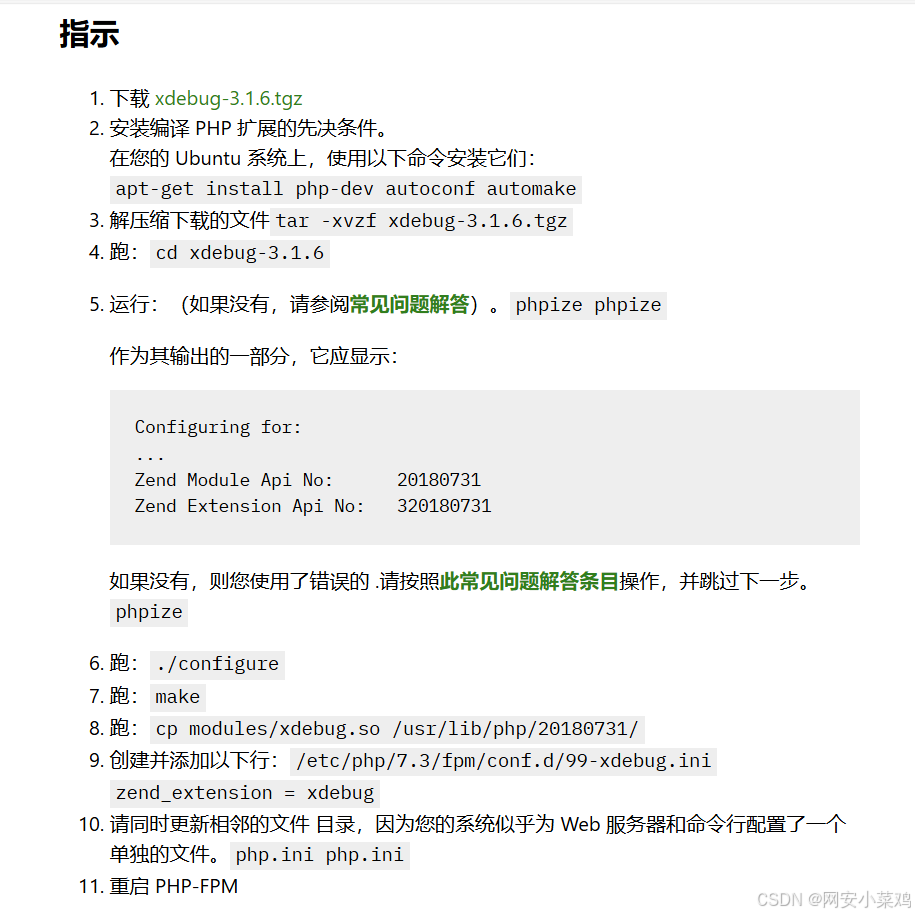
1.复制链接下载
2.我是php7.3就下php7.3-dev
apt-get install php7.3-dev autoconf automake
tar -xvzf xdebug-1.6.tgz
cd xdebug-3.1.6
phpize phpize

3.检测环境
./configure
4.编译
make
cp modules/xdebug.so /usr/lib/php/20180731/
5.编辑文件
vim /etc/php/7.3/fpm/conf.d/99-xdebug.ini
(第一行路径用find /usr/lib/php/ -name "xdebug.so"找)

zend_extension=/usr/lib/php/20180731/xdebug.so [xdebug] xdebug.mode=debug xdebug.start_with_request=yes xdebug.client_host=127.0.0.1 xdebug.client_port=9003 xdebug.log=/tmp/xdebug.log6.重启php7.3
systemctl restart php7.3-fpm
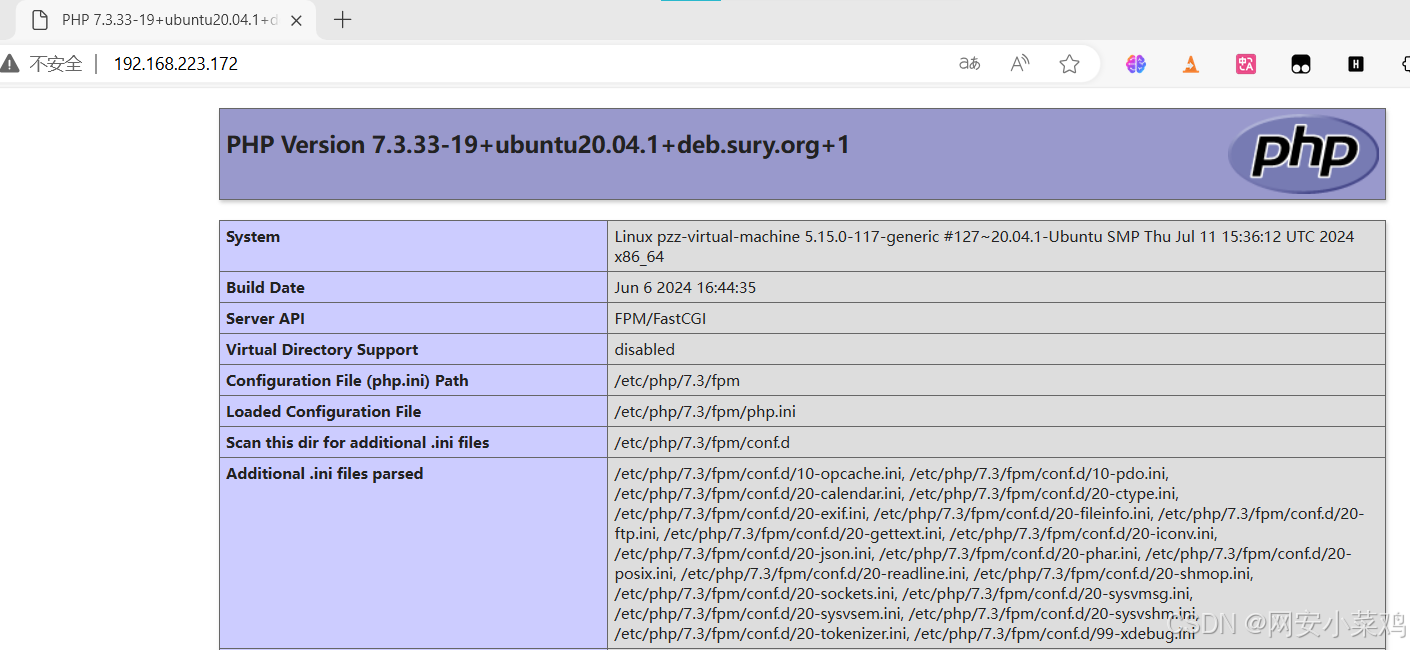
11.下载VScode的xdebug
1.VScode上添加远程主机(依次点击图片内容)
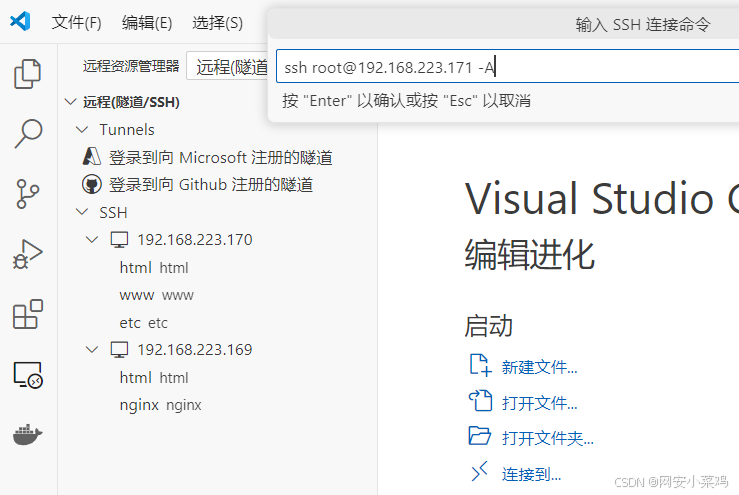
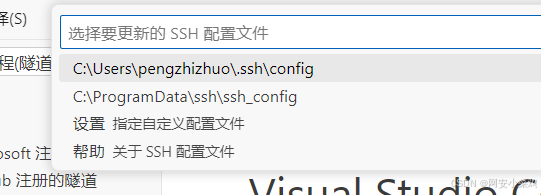

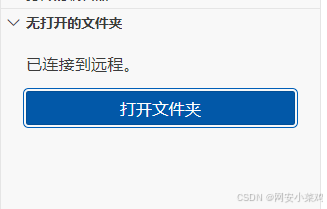

2.下载phpdebug
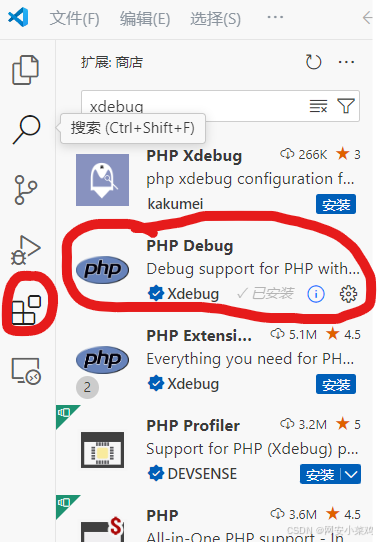
3.打开文件夹
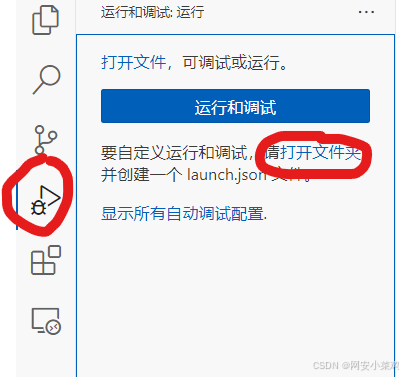
4.如果里面没有xdebug,添加一个listen for xdebug
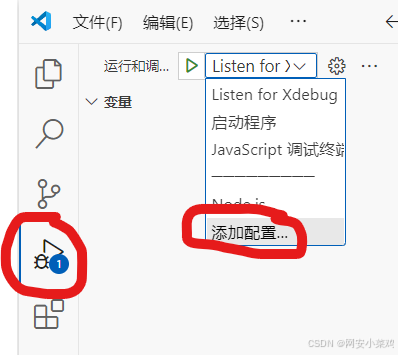
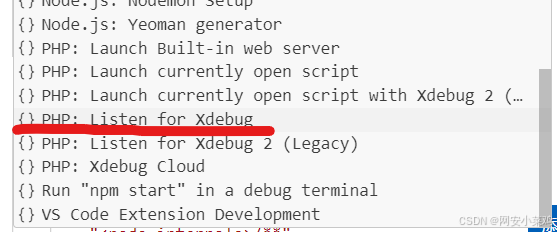
5.在/var/www/html/下编写一个php文件用于调试
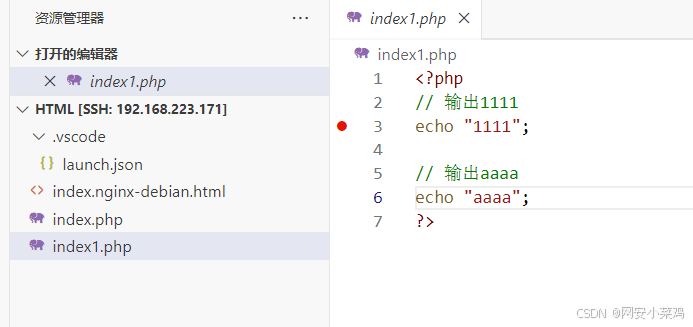
6.在你想要开始的代码前面点击一下就会变实圆
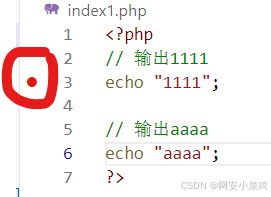
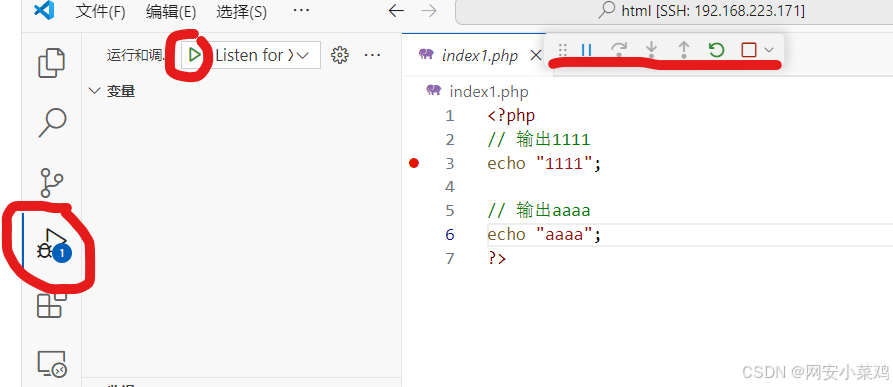
7.点击如图准备调试
8.刷新网页,开始调试
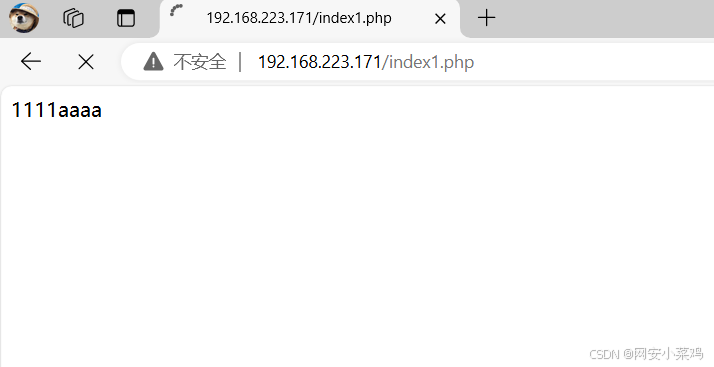
9.调试窗口变实说明成功安装xdebug,可单步调试了

