阅读量:0
一.DevEco Studio简单配置
1.打开DevEco Studio时不要重新打开之前的项目
File->Settings...
打开设置界面,System Settings ->Reopen projects on startup 取消选中->点击Apply ->点击OK

退出DevEco Studio,重新打开DevEco Studio,不会直接打开之前的项目

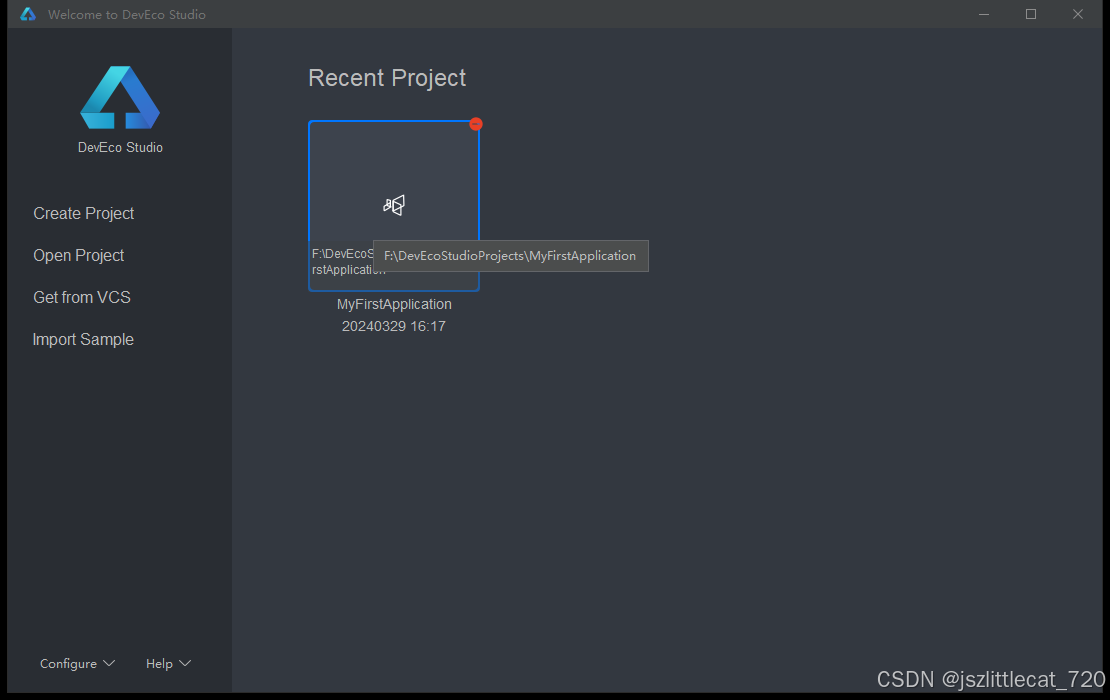
点击之前的项目,打开
2.设置主题、字体等
2.1设置主题
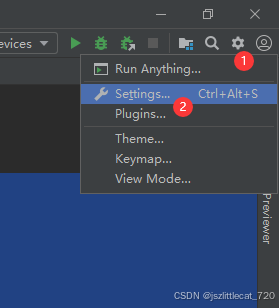
另一种进入设置界面的方式,点击右上角齿轮,点击Settings...
Appearance->Theme :可下拉选择多种主题 默认Darcula

2.2设置字体
Editor->Font
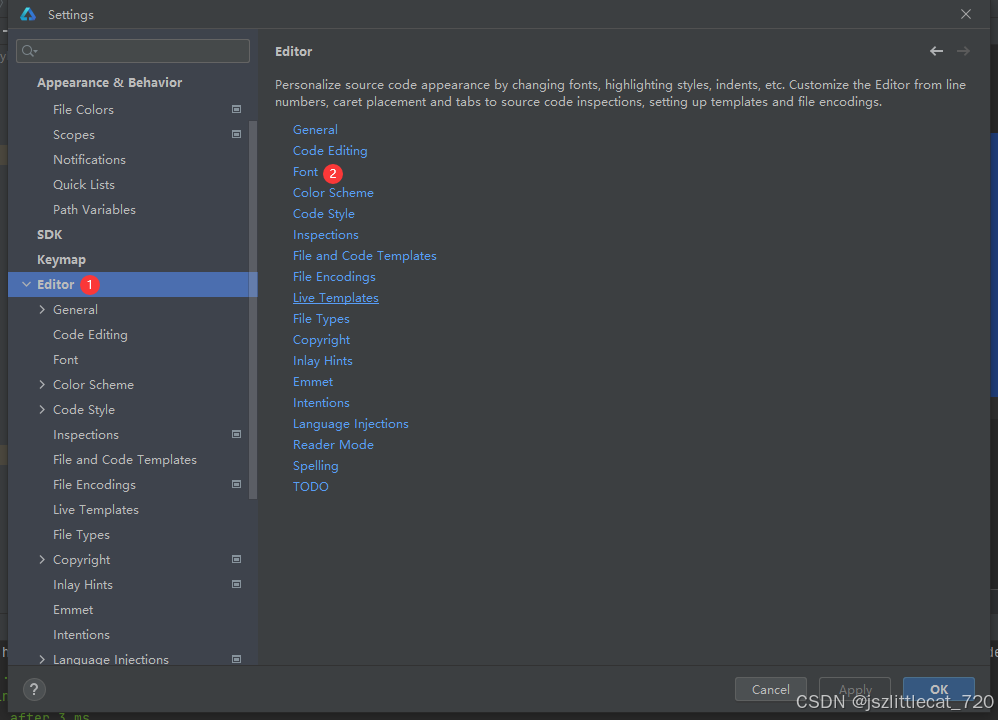
Size:16
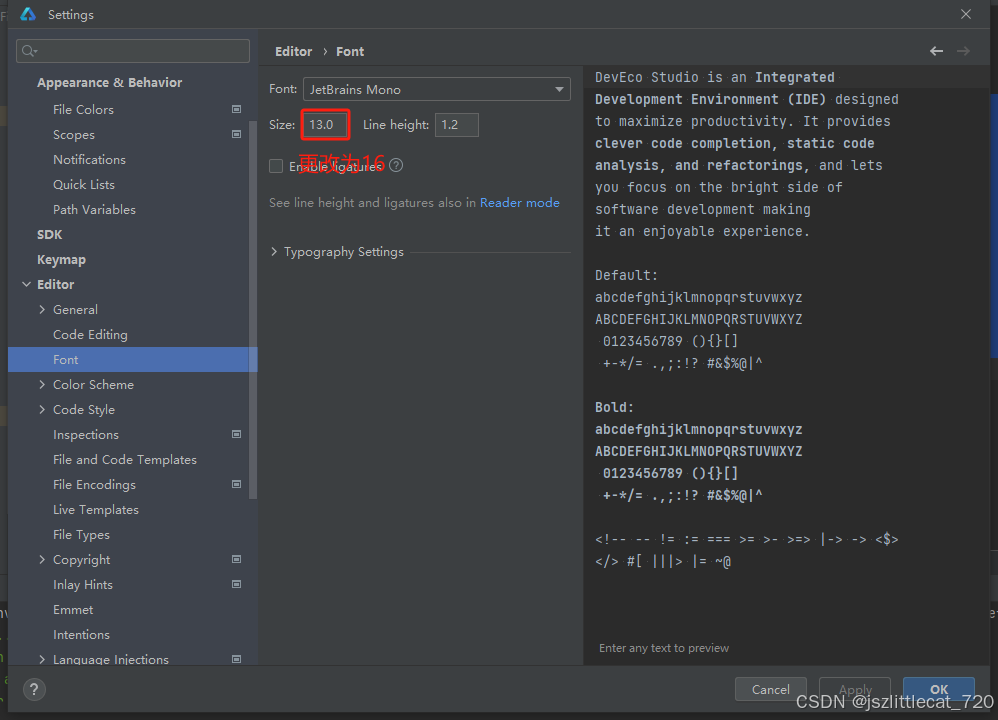
Apply ->OK
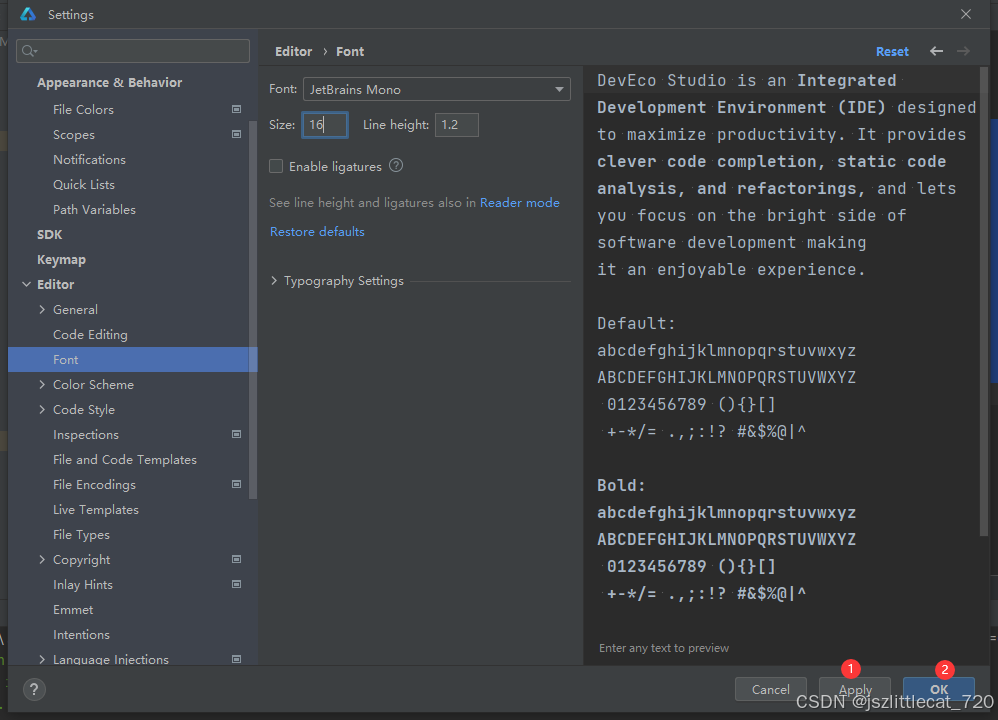
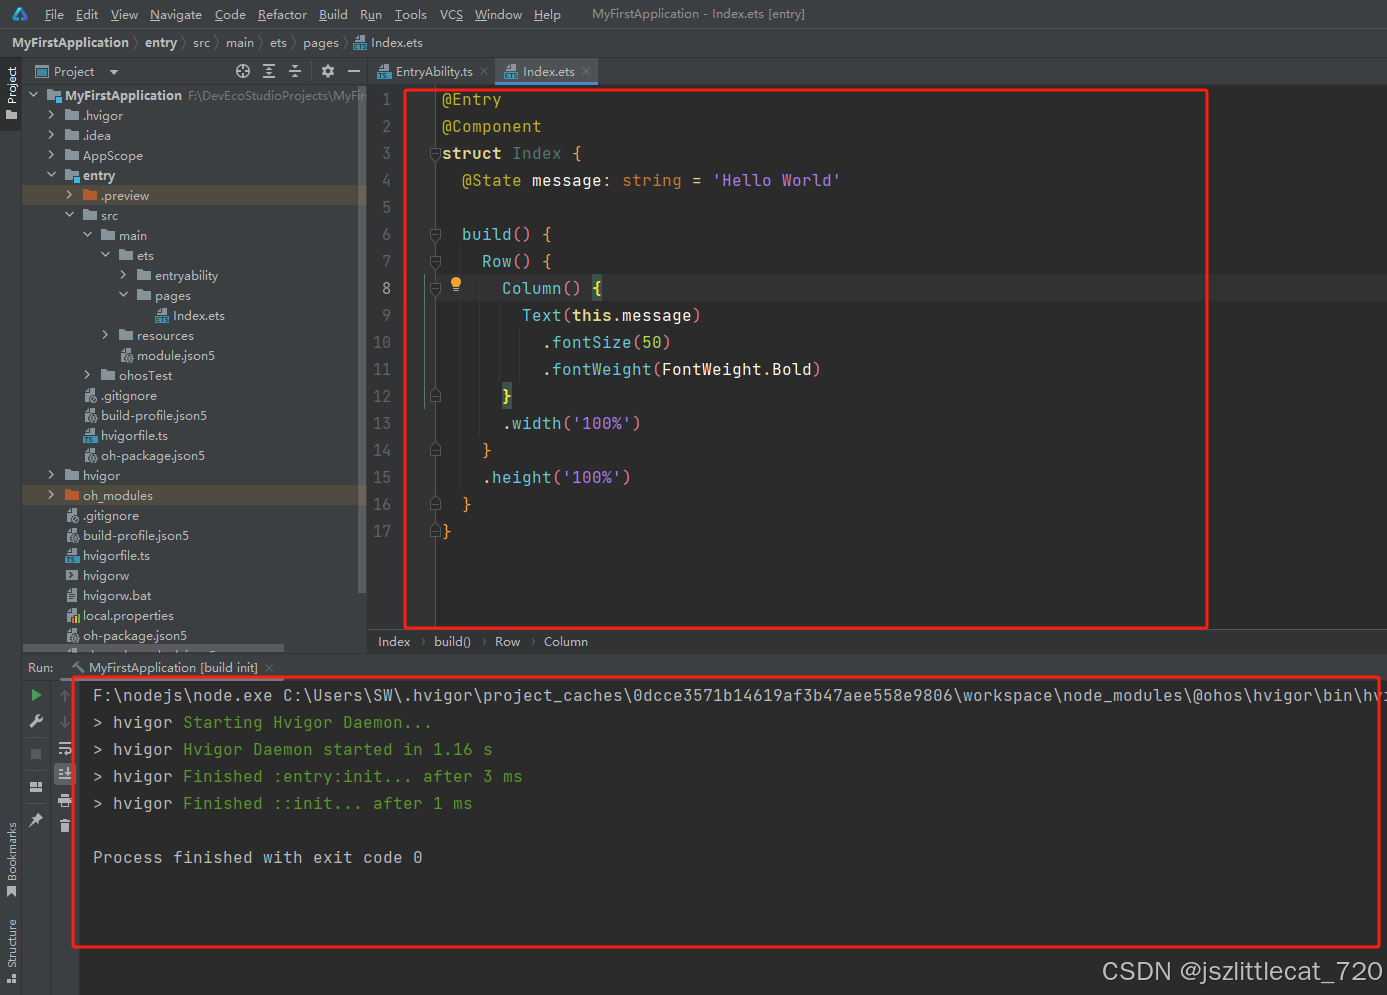
字体变大
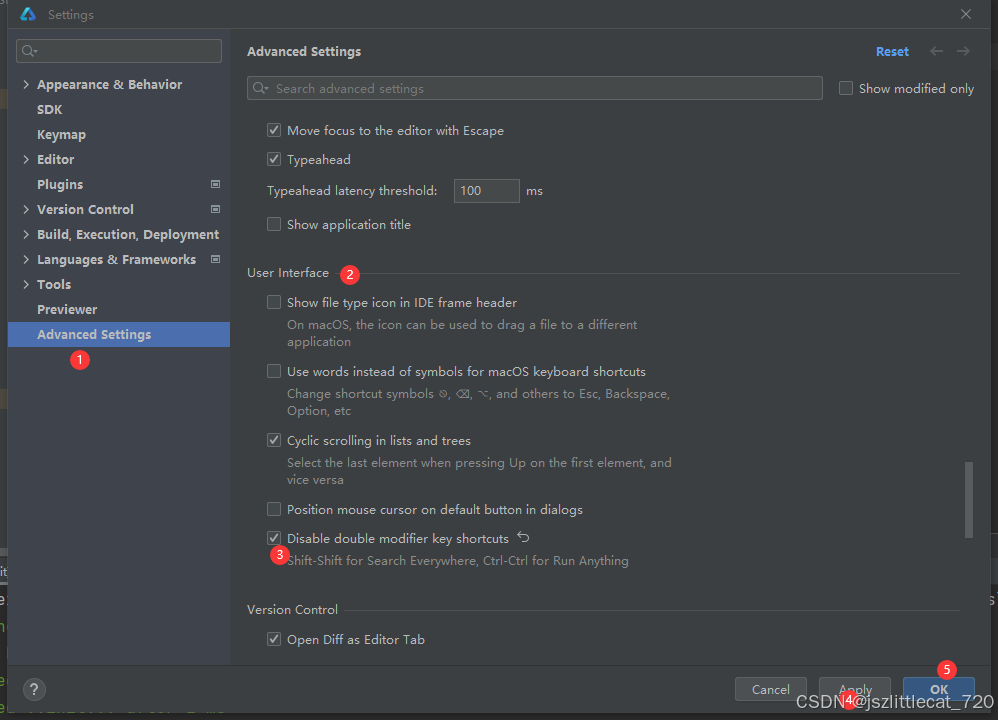
2.3取消双击Shift键搜索选中的内容
Advanced Settings 滑动滚动条滑动至User Interface 选中Disable double modifier key shortcuts->点击Apply->点击OK
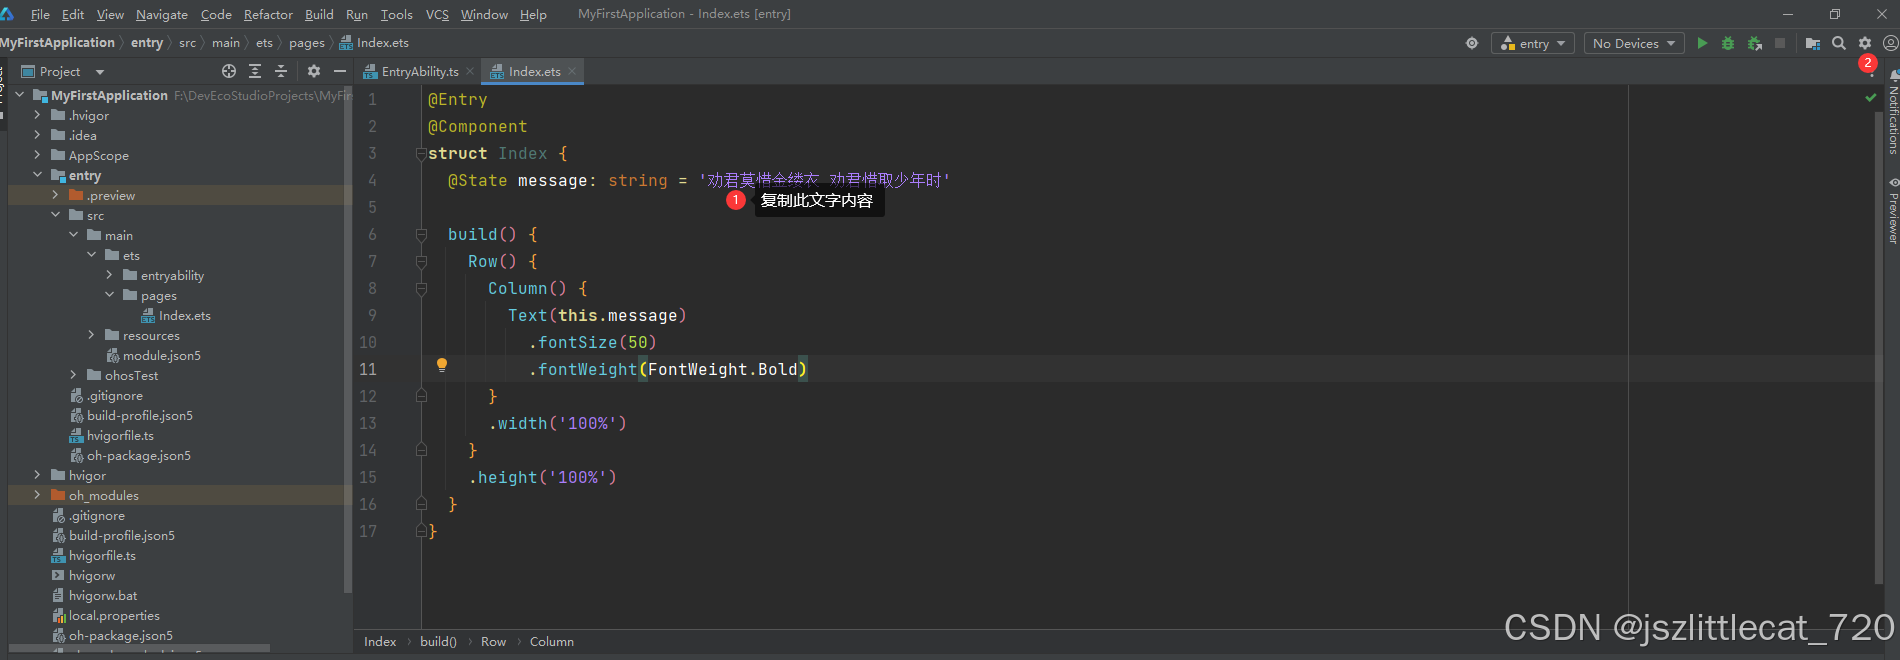
2.4代码片段设置
复制需要重复大量编写的文字,点击右上角设置按钮
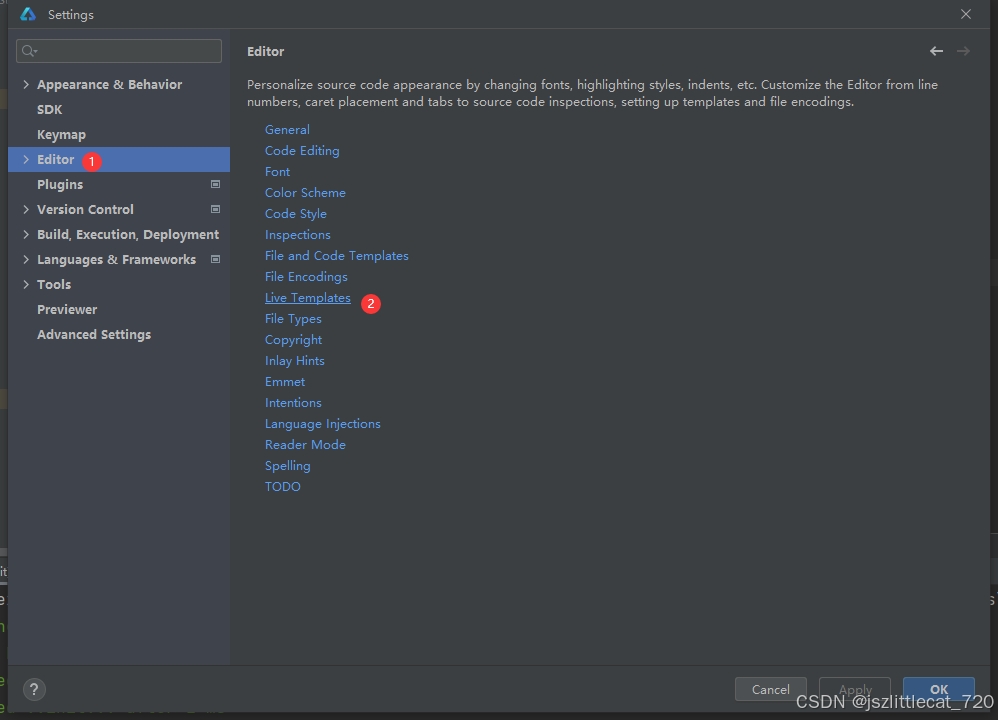
点击Settings...进入设置界面,点击Editor->点击Live Templates
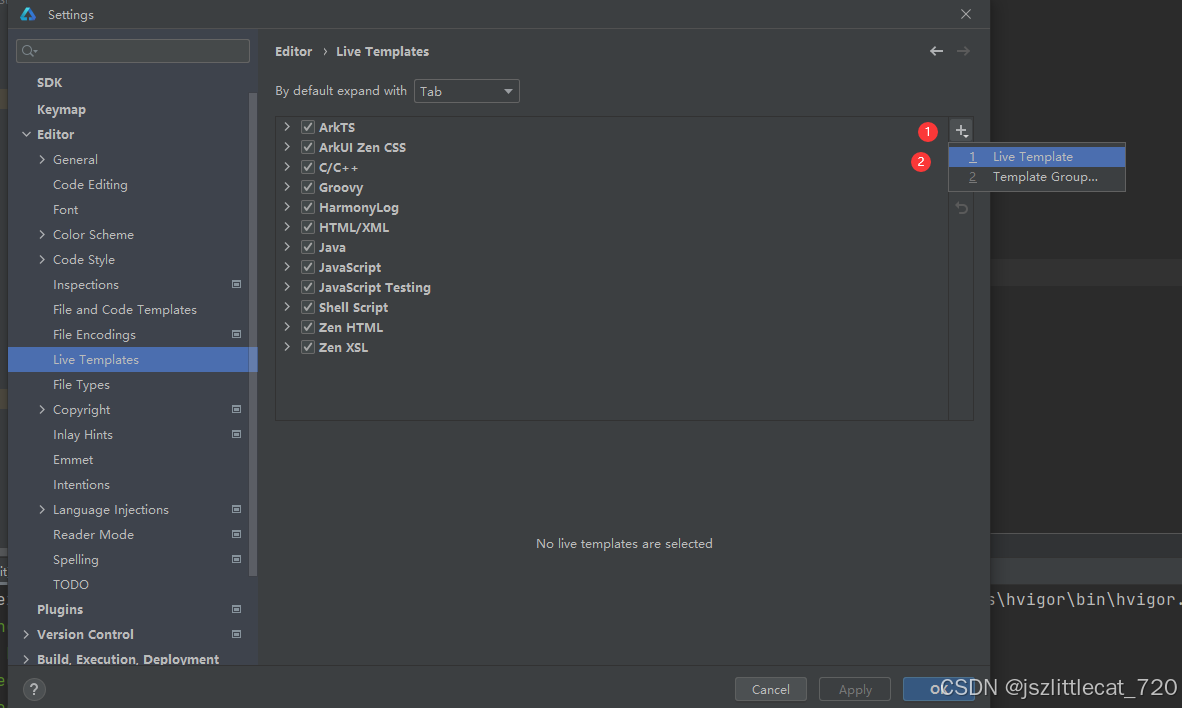
点击+号->点击Live Template
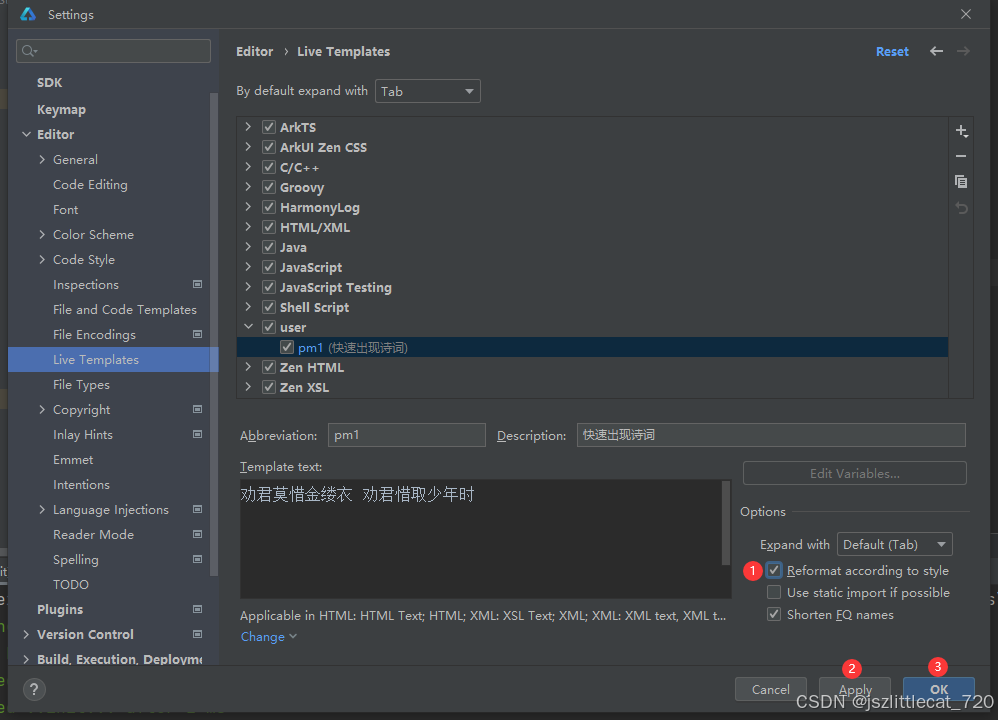
在Template text:中输入模板文字->在Description:中输入描述内容->在Abbreviation:中输入快捷键

点击Define选择需要定义的文件,这里勾选Everywhere为全选。

选中Reformat according to style 格式化模板->点击Apply->点击OK
在需要输入诗词的地方输入p,自动出现pm1(上一步骤设置的快捷键),点击pm1

诗词自动输入

二.ArkTS基本组成

1.页面跳转(声明式开发范式)
1.1新建第一个页面
pages->New->Page

进入New Page界面,修改Page name:First->点击Finish

First.ets页面内容如下所示:
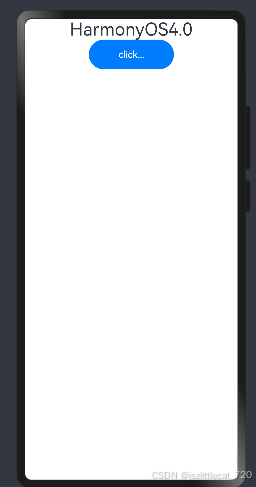
@Entry @Component struct First { build() { Column(){ Text('HarmonyOS4.0') .fontSize(30) Button('click...') .width('40%') .height(50) .onClick(()=>{ //去第二个页面 }) } .width('100%') .height('100%') } }First.ets预览效果如下所示:
1.2新建第二个页面
以新建第一个页面的方式创建第二个页面

Second.ets页面内容如下所示:
import router from '@ohos.router' @Entry @Component struct Second { build() { Column(){ Text('ArkTS...') .fontSize(50) } .width('100%') .height('100%') .onClick(()=>{ router.back()//点击一整个页面 返回上一页面 }) } }1.3修改第一个页面
第一个页面First.ets的内容
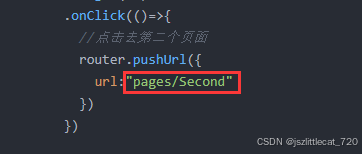
import router from '@ohos.router' @Entry @Component struct First { build() { Column(){ Text('HarmonyOS4.0') .fontSize(30) Button('click...') .width('40%') .height(50) .onClick(()=>{ //点击去第二个页面 router.pushUrl({ url:"pages/Second" }) }) } .width('100%') .height('100%') } }重点:
router.pushUrl({ url:"pages/Second" })需要从第一页跳转至第二页,必须要知晓第二页的路由
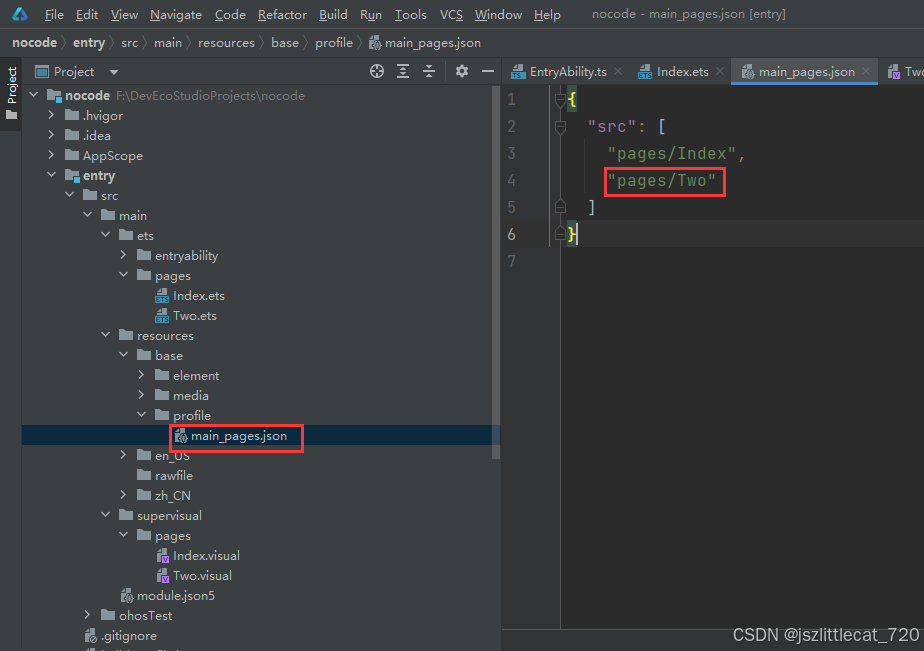
路由文件resources下面的base目录下的profile目录下的main_pages.json

main_pages.json内容如下:
{ "src": [ "pages/Index", "pages/First", "pages/Second" ] }"pages/Second"为第二页的页面路由,直接复制粘贴至代码处即可
2.页面跳转(类web开发范式)
2.1新建第一个页面
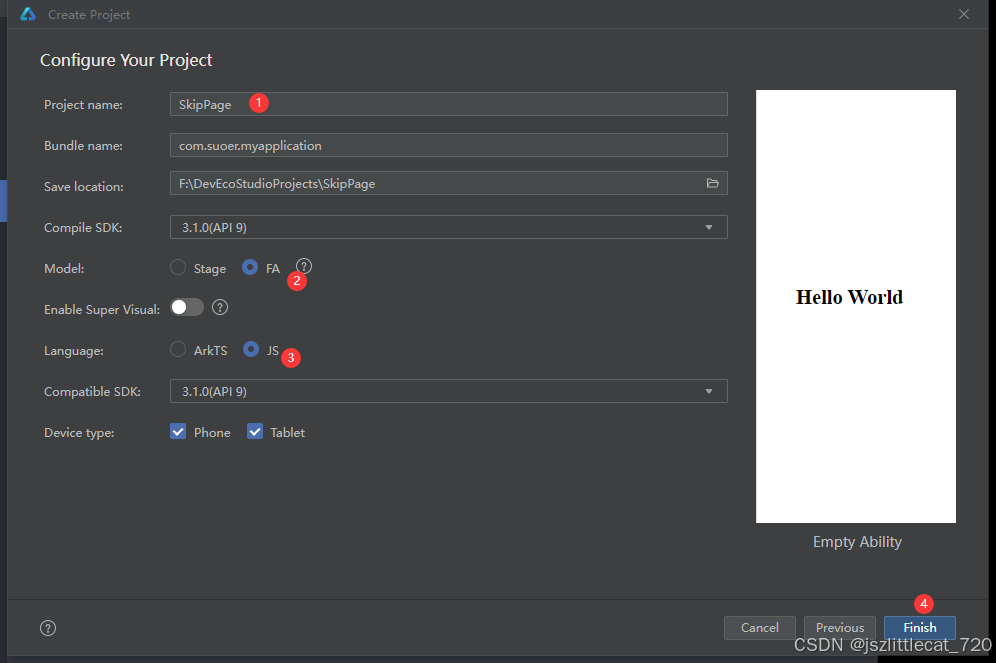
创建一个新项目Create Project->Next进入Configure Your Project界面

在Configure Your Project界面,修改Project name:->修改Model:->修改Language:->点击Finish
等待项目启动成功,先来看一下类web开发范式的结构

一个页面分为3个文件
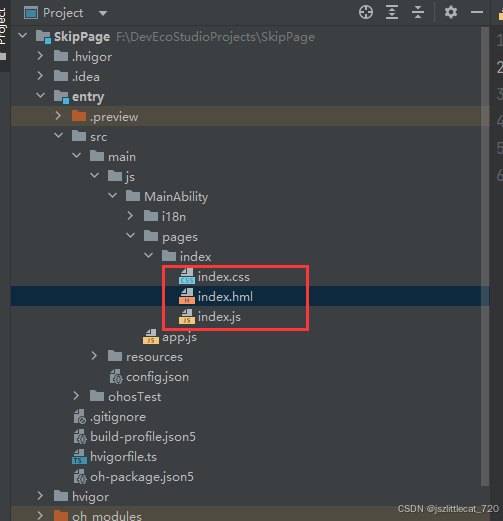
index.css css文件写样式
index.hml 释义:hml为harmony mark language 鸿蒙标记语言的缩写
index.hml文件写页面内容,页面包含的组件
index.js js文件写数据 写交互
index.hml也可预览
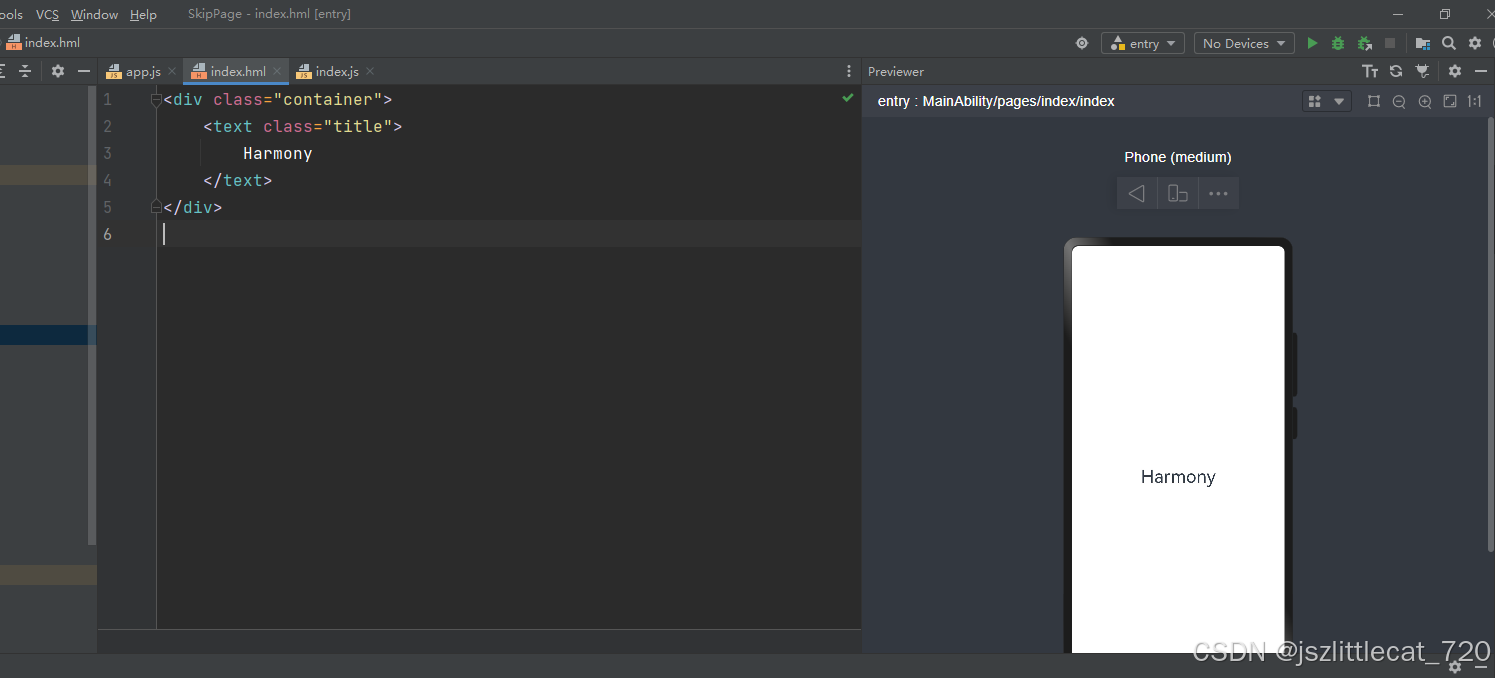
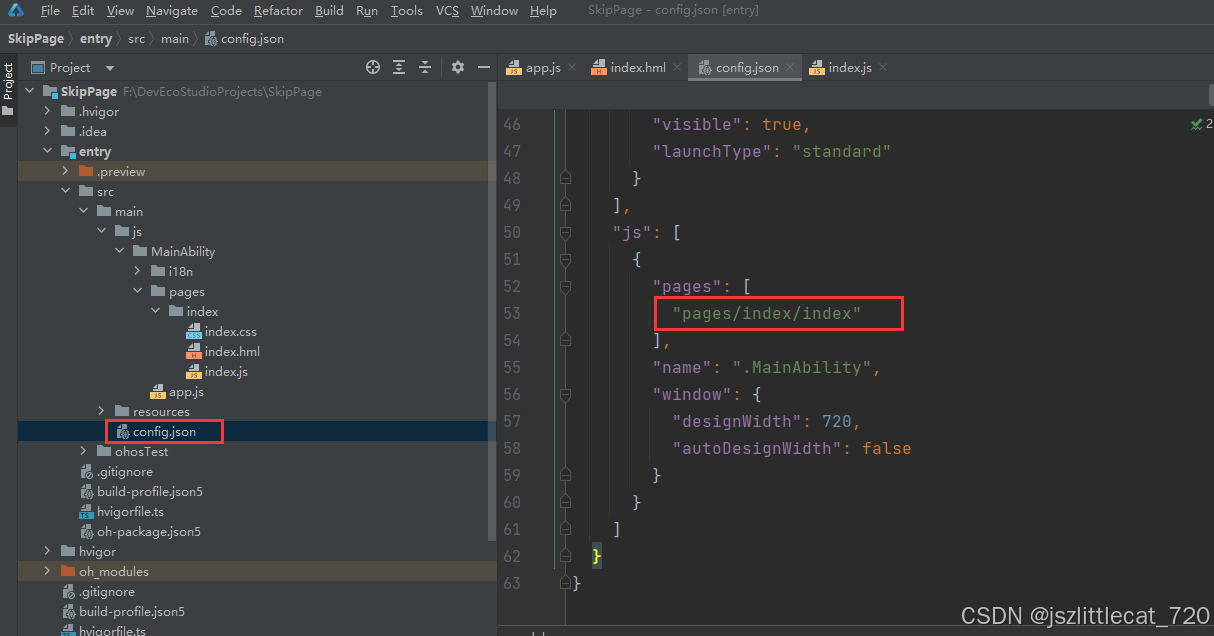
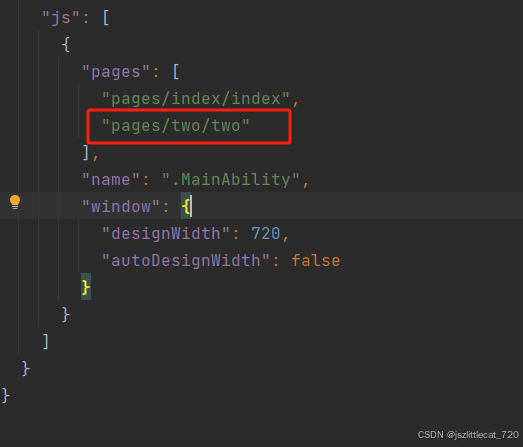
路由config.json文件,index页面的路由
2.2新建第二个页面
pages->New->Page
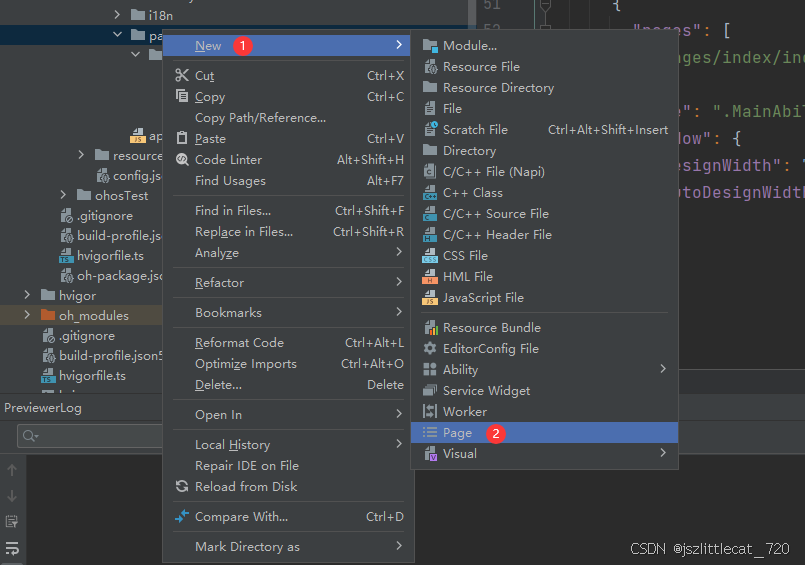
修改Page name:->Finish
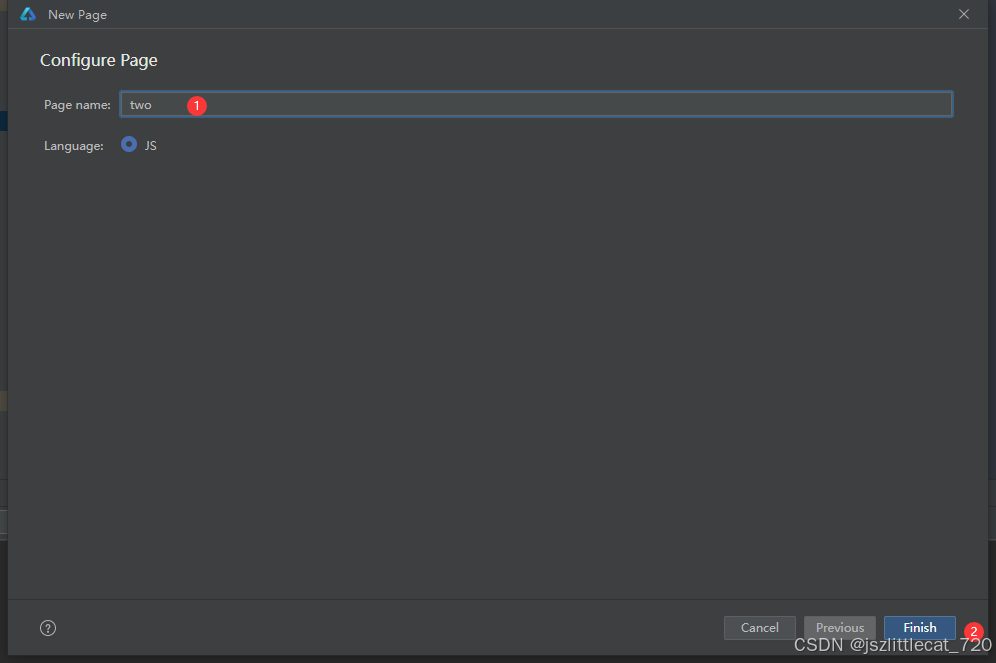
two.hml内容如下:
<div class="container"> <text class="title"> JS </text> </div> 修改一下文本内容JS的字体大小,样式在two.css文件中,修改.title中的font-size:60px

two.css
.container { display: flex; flex-direction: column; justify-content: center; align-items: center; left: 0px; top: 0px; width: 100%; height: 100%; } .title { font-size: 60px; text-align: center; width: 100%; height: 40%; margin: 10px; } 字体会变大

2.3修改第一个页面
打开index.hml,内容如下:写跳转按钮
<div class="container"> <text class="title"> Harmony </text> <button class="btn">goTwo...</button> </div> 在index.css中设置button的样式
.btn { font-size: 50px; width: 50%; background-color: aqua; }在index.js中写交互,写跳转函数goTwo
//跳转函数 goTwo() { //官方推荐写法 但是无法跳转 // router.pushUrl({ // url:"pages/two/two" // }) //使用下面过时的方式实现跳转 router.push({ url:"pages/two/two" }) }注意:url的内容去config.json文件中去复制
在index.hml中写入button点击需要使用的函数
<div class="container"> <text class="title"> Harmony </text> <button class="btn" on:click="goTwo">goTwo...</button> </div> 
点击刷新按钮,点击第一个页面的button按钮是否能够跳转至第二页,答案是可以的。
2.4修改第二个页面
第二个页面实现点击页面返回至第一页面
打开two.js文件写返回函数
import router from '@ohos.router'; export default { data: { title: "" }, onInit() { this.title = "Hello World"; }, //返回函数 back(){ router.back() } } 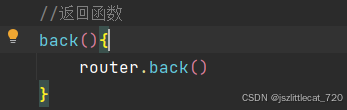
打开two.hml文件,为整个页面添加点击需要执行的函数
<div class="container"on:click="back"> <text class="title"> JS </text> </div> 点击刷新按钮,点击第一个页面的button按钮够跳转至第二页,第二页点击页面返回至第一个页面。
3.页面跳转(低代码开发:针对零基础,未学过任何的一门计算机语言)
3.1新建第一个页面
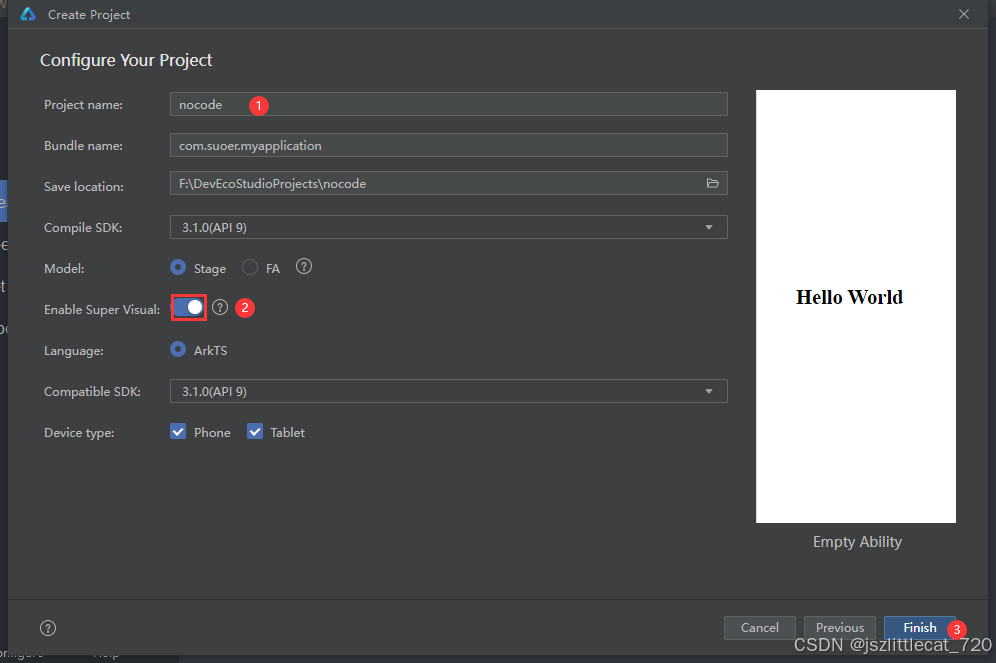
创建一个新项目Create Project->Next进入Configure Your Project界面

修改Project name->选中Enable Super Visual(打开超级视角)->点击Finish
项目自动打开index.visual文件

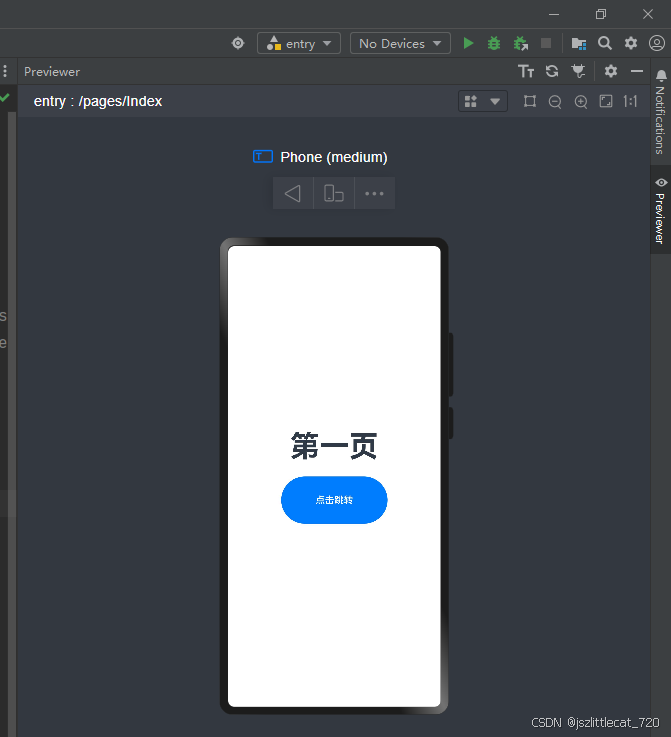
打开Index.ets文件修改文字内容
@Entry @Component struct Index { @State message: string = '第一页' /** * In low-code mode, do not add anything to the build function, as it will be * overwritten by the content generated by the .visual file in the build phase. */ build() { } }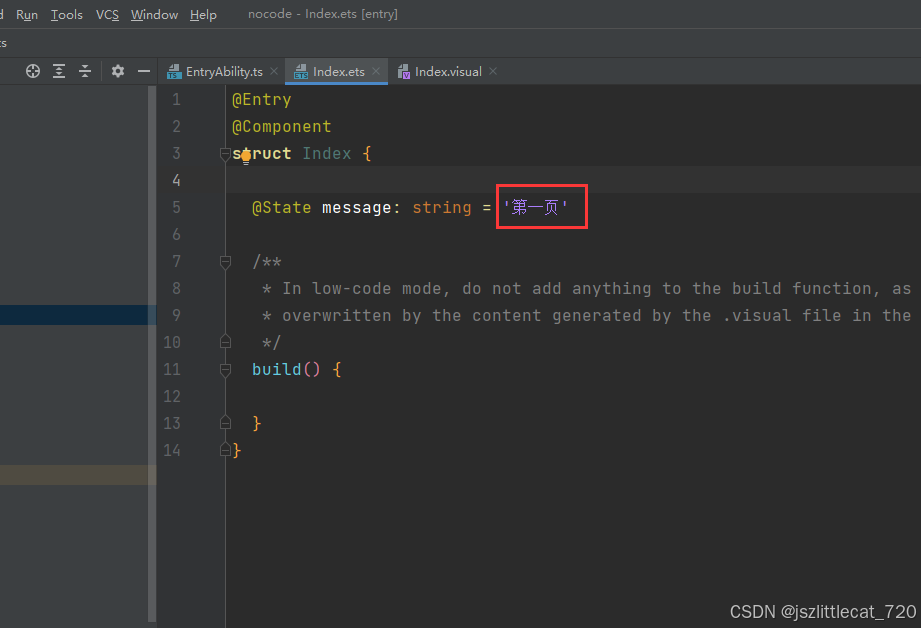
拖拽Button组件至页面

选中Button并修改Label属性
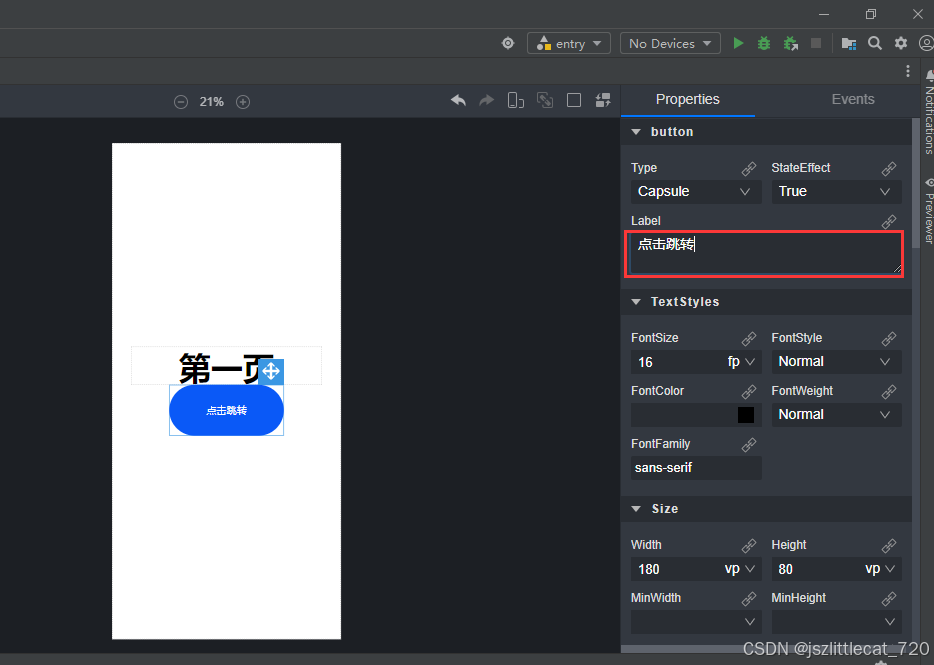
属性面板可以根据需求进行设置

3.2新建第二个页面
pages->New->Visual->Page
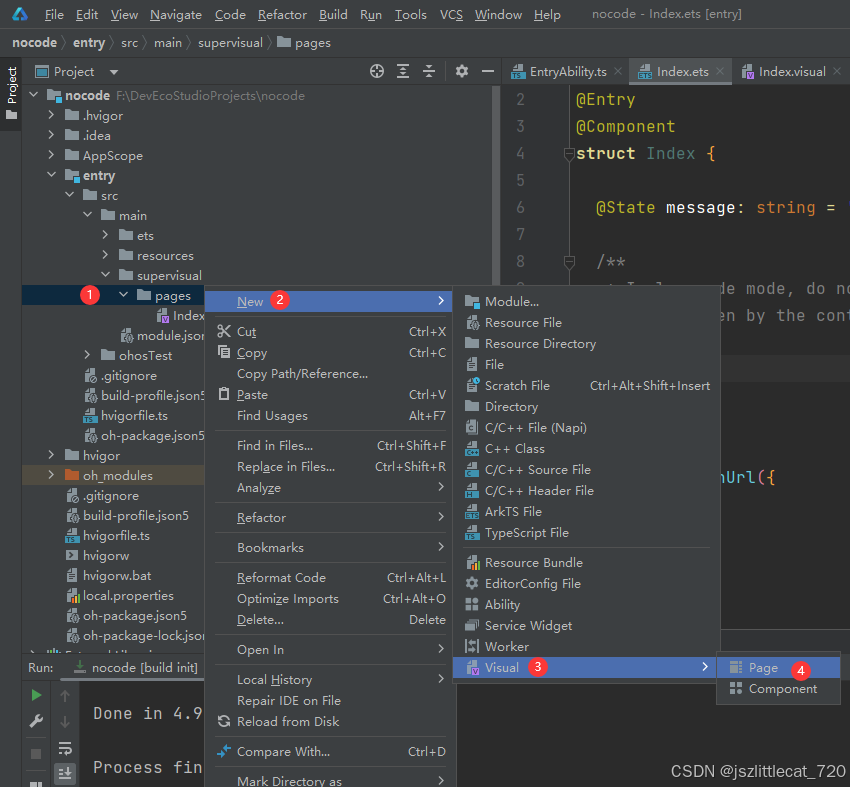
进入Configure Visual Page界面,修改Visual name->点击Finish

打开Two.ets更改文字内容

3.3修改第一个页面
打开Index.ets添加Button的点击事件
url为main_pages.json第二页的路由
Index.ets内容如下:
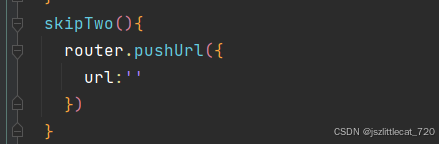
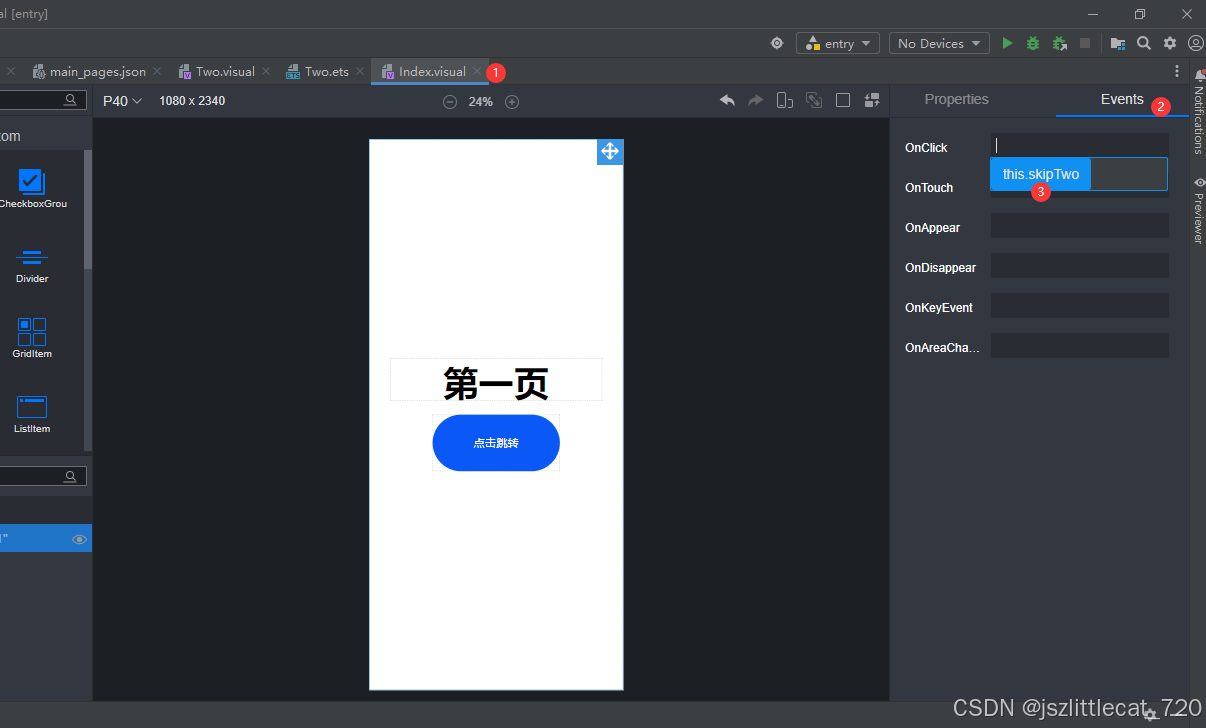
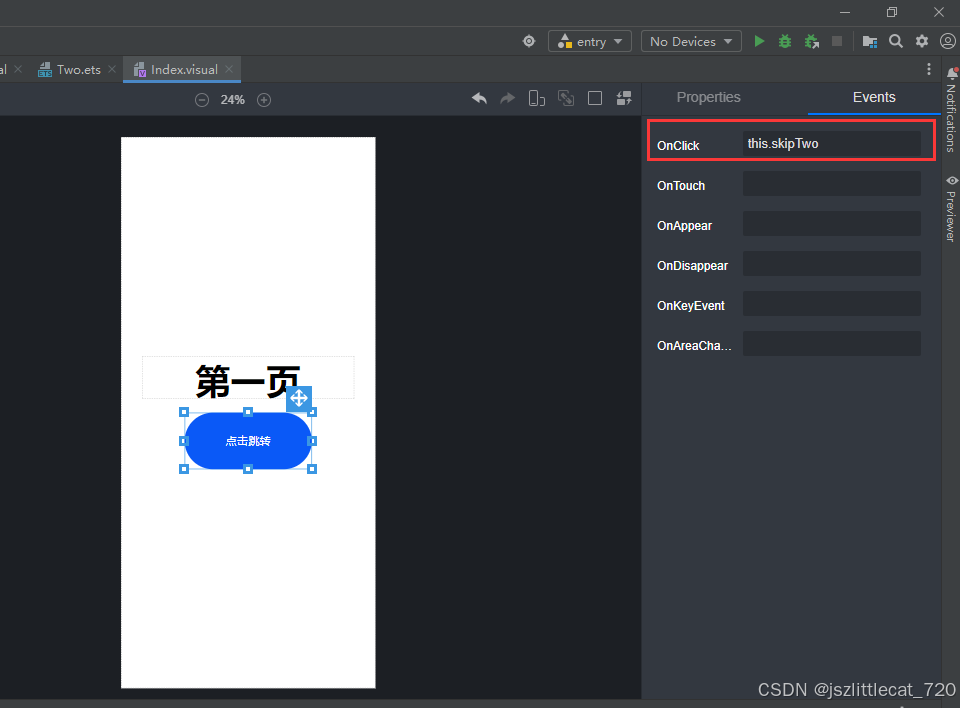
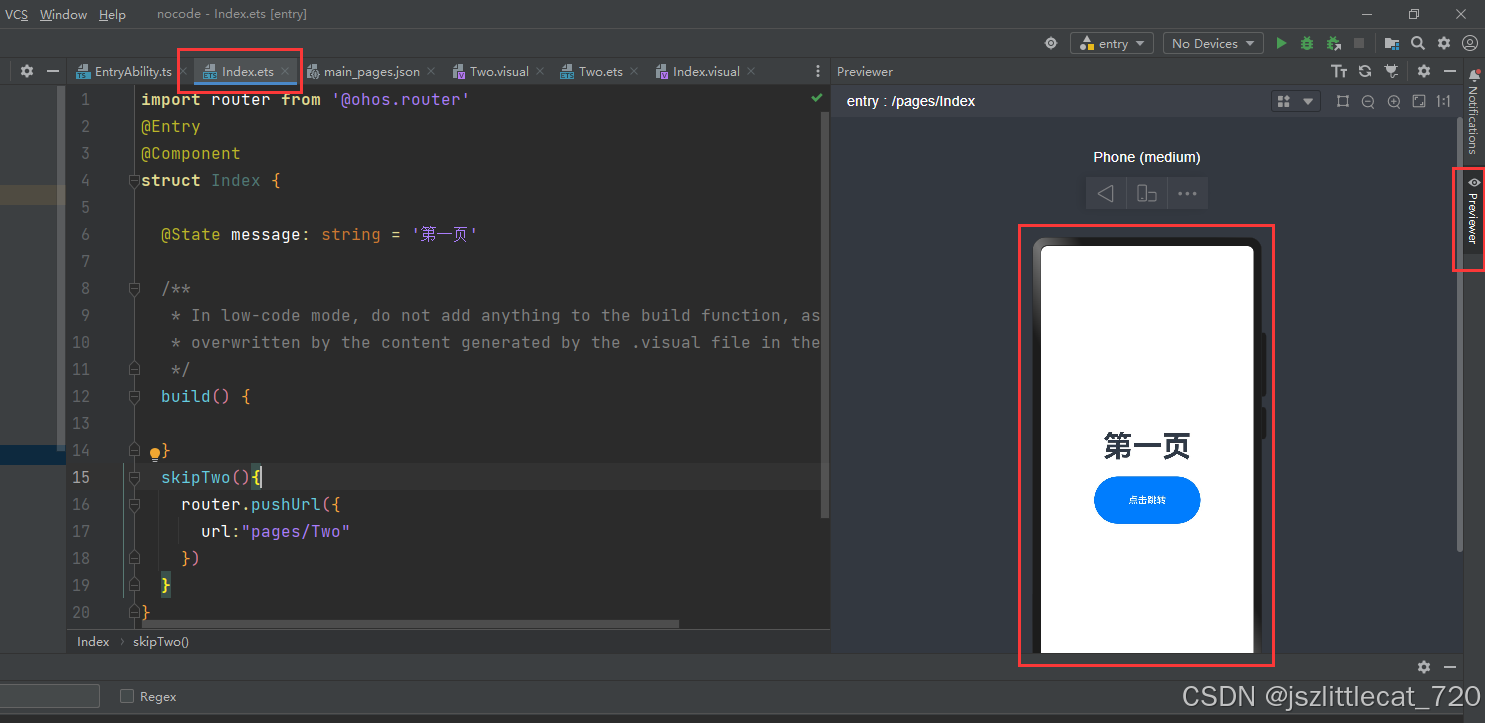
import router from '@ohos.router' @Entry @Component struct Index { @State message: string = '第一页' /** * In low-code mode, do not add anything to the build function, as it will be * overwritten by the content generated by the .visual file in the build phase. */ build() { } skipTwo(){ router.pushUrl({ url:"pages/Two" }) } }打开Index.visual->点击事件面板->OnClick选中this.skipTwo
打开Index.ets文件,点击预览,点击页面的点击跳转按钮看是否能够跳转至第二页,答案是肯定的。
3.4修改第二个页面
打开Two.ets文件,为整个页面添加返回的事件
import router from '@ohos.router' @Entry @Component struct Two { @State message: string = '第二页' /** * In low-code mode, do not add anything to the build function, as it will be * overwritten by the content generated by the .visual file in the build phase. */ build() { } //返回上一页面 back(){ router.back() } }打开Two.visual文件,选中整个页面,添加OnClick事件
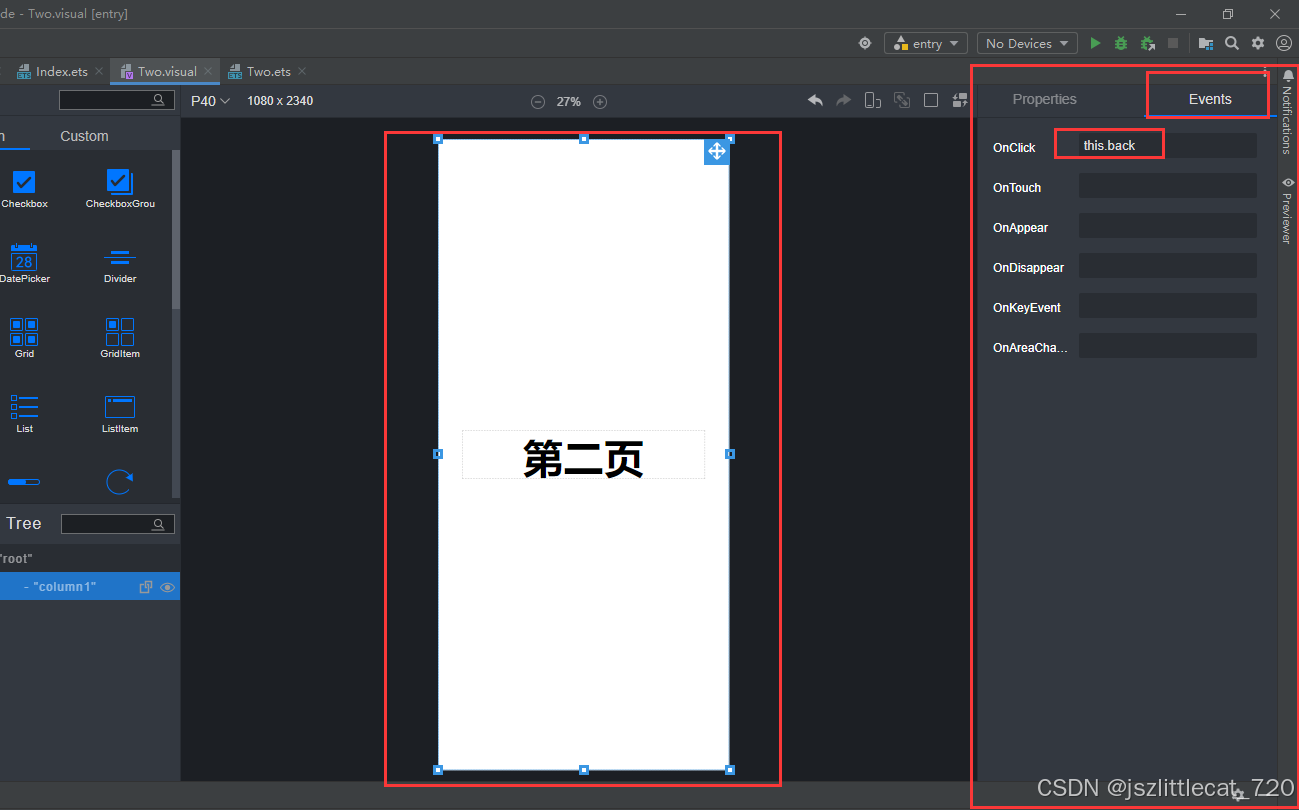
打开Index.ets页面,预览效果,点击按钮跳转至第二页,点击第二页返回至第一页。