阅读量:0
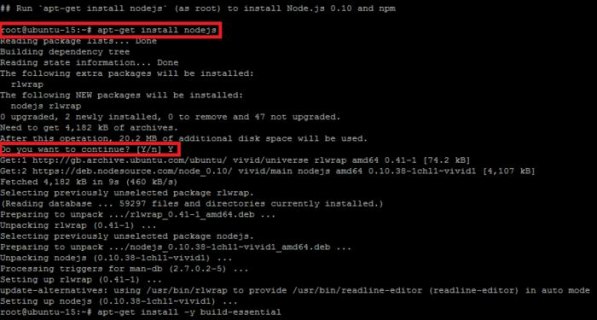
在Ubuntu中安装Node.js和NPM,可以通过以下步骤:,,1. 更新系统软件包列表:,``,sudo apt update,`,,2. 安装Node.js:,`,sudo apt install nodejs,`,,3. 安装NPM:,`,sudo apt install npm,`,,4. 验证安装:,`,nodejs -v,npm -v,``
 (图片来源网络,侵删)
在Ubuntu中安装Node.js和NPM,可以按照以下步骤进行:
1. 更新系统包列表
在安装Node.js和NPM之前,首先需要更新系统的包列表,打开终端,输入以下命令:
sudo apt-get update
2. 安装Node.js
Node.js可以通过官方的NodeSource APT仓库进行安装,添加NodeSource APT仓库:
curl -sL https://deb.nodesource.com/setup_14.x | sudo -E bash -
安装Node.js:
sudo apt-get install -y nodejs
3. 安装NPM
Node.js安装完成后,NPM也会一起被安装,你可以通过以下命令检查Node.js和NPM的版本:
node -v npm -v
 (图片来源网络,侵删)
4. 验证安装
你可以创建一个JavaScript文件,例如test.js,并输入以下内容:
console.log("Hello, Node.js!"); 使用Node.js运行这个文件:
node test.js
如果看到输出"Hello, Node.js!",那么说明Node.js和NPM已经成功安装。
以上就是在Ubuntu中安装Node.js和NPM的详细步骤。
 (图片来源网络,侵删)