文章目录
文章参考
个人尝试本地部署Graphhopper路径规划引擎的过程基本参考本地部署Graphhopper实现离线地图路径规划功能(小白放心食用版)。
本文主要是对整个过程从环境配置到服务部署的过程以及遇到的问题进行了记录。有些问题在参考的博客中有记录,本文并未完全移植,而是根据部署过程中遇到的其他问题进行了记录和解决。
部署过程中遇到的问题可以参照本文和参考博文记录的问题进行解决,希望能起到作用,有不足的地方也请指出。
源码获取
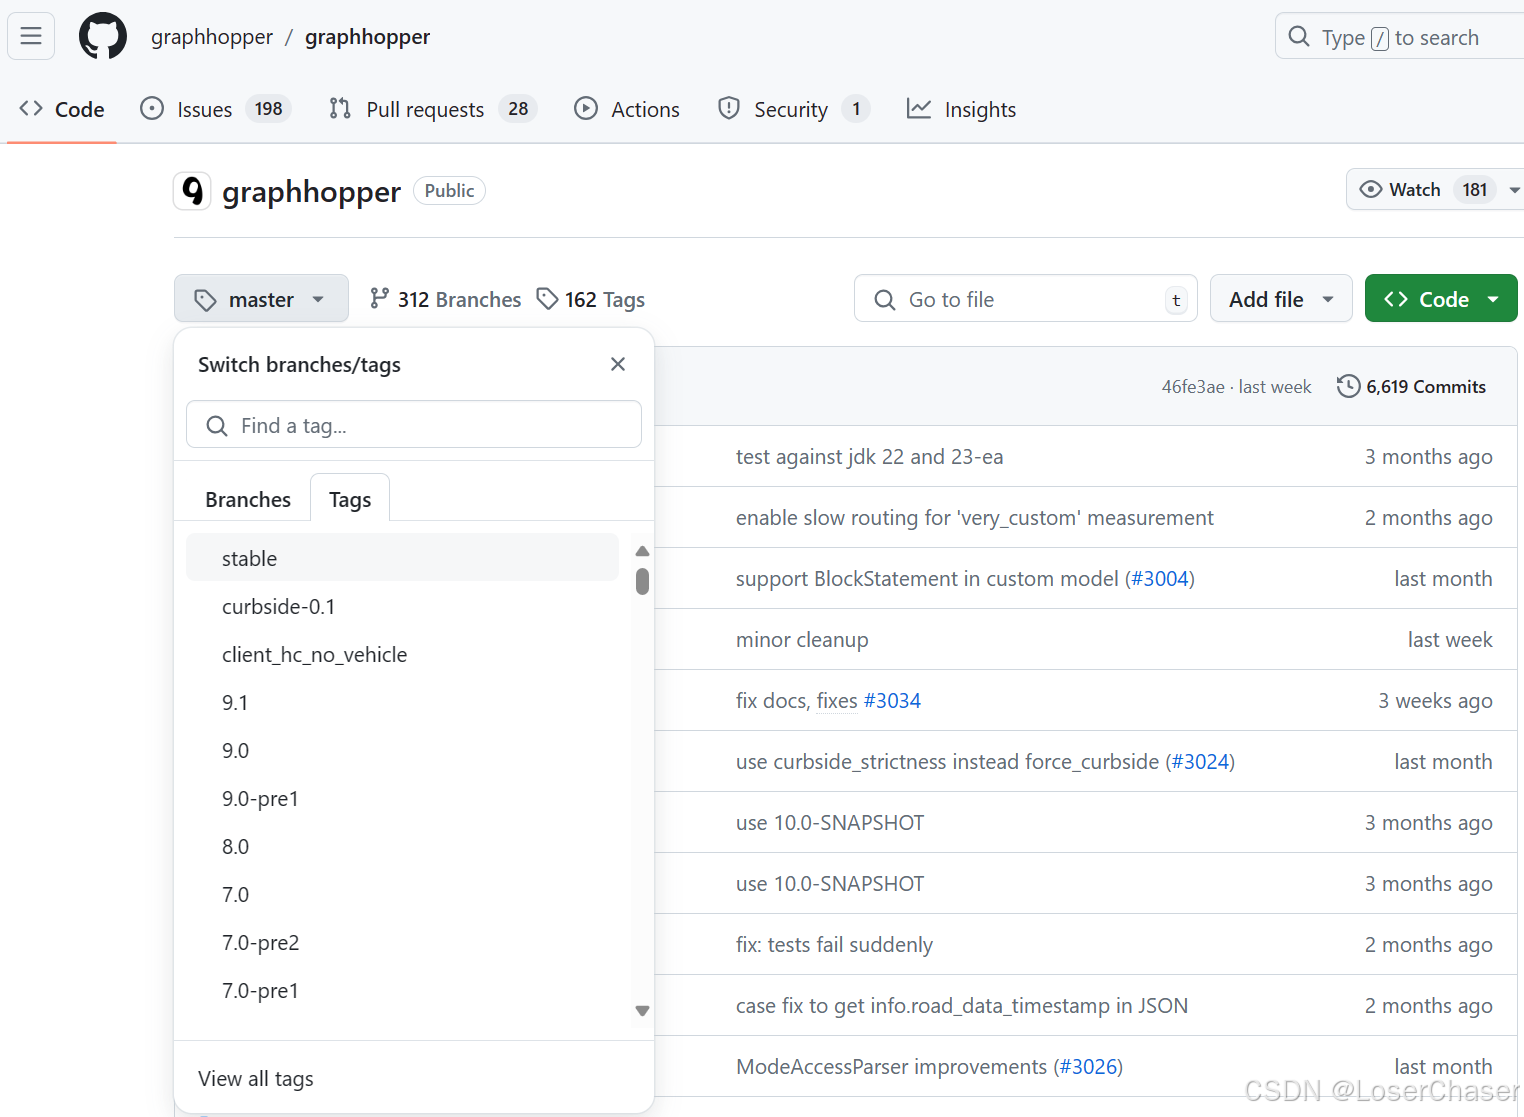
特别说明:使用的是graphhopper的stable分支
获取方式
- 方式1:使用git命令:
git clone -b stable https://github.com/graphhopper/graphhopper.git - 方式2:直接下载zip文件,切换到stable分支,下载zip文件,graphhoper项目地址
一、配置Java环境变量
- 下载Java Development Kit (JDK):
访问Oracle官网或者OpenJDK官网,下载适合你操作系统的JDK版本。传送门:官网
JDK1.8夸克网盘下载:
链接:https://pan.quark.cn/s/be289bd5a448 提取码:1YRZ - 安装JDK:
下载完成后,运行安装程序,按照提示完成JDK的安装。安装完成后,JDK通常会默认安装到一个路径,在Windows上可能是 C:\Program Files\Java\jdk-xx - 设置环境变量:
配置JAVA_HOME环境变量:在系统环境变量中新增一个名为JAVA_HOME的变量,其值为你JDK的安装路径,比如 C:\Program Files\Java\jdk-xx。
配置PATH环境变量:将JDK的bin目录添加到PATH变量中,这样系统就可以找到Java和Javac命令。例如,将 C:\Program Files\Java\jdk-xx\bin 添加到PATH中。
配置CLASSPATH:在系统环境中新建变量名:CLASSPATH;变量值:.;%JAVA_HOME%\lib\dt.jar;%JAVA_HOME%\lib\tools.jar; - 验证安装:
cmd启动命令终端,输入 java -version 和 javac -version 来检查Java和编译器是否成功安装和配置。
二、配置Maven环境变量
大体步骤如下:
- 下载Maven:
- 设置环境变量
- 系统变量中,新建一个名为 MAVEN_HOME 的变量,指向你解压缩Maven的目录
- 编辑系统变量 Path,在末尾添加 %MAVEN_HOME%\bin
- 验证安装:
打开命令行输入 mvn -v 命令,检查输出是否显示了Maven的版本信息,确认安装成功。 - 配置settings.xml(可选):
Maven的全局配置文件位于 M2_HOME/conf/settings.xml,可以根据需要进行配置,例如设置镜像、代理等。需要修改maven目录中conf文件夹下的settings.xml文件
- Maven配置JDK版本
<profiles> ....... <profile> <id>JDK-1.8</id> <activation> <activeByDefault>true</activeByDefault> <jdk>1.8</jdk> </activation> <properties> <maven.compiler.source>1.8</maven.compiler.source> <maven.compiler.target>1.8</maven.compiler.target> <maven.compiler.compilerVersion>1.8</maven.compiler.compilerVersion> </properties> </profile> ........ </profiles> - 配置国内镜像
<mirrors> ...... <mirror> <id>alimaven</id> <name>aliyun maven</name> <url>http://maven.aliyun.com/nexus/content/groups/public/</url> <mirrorOf>central</mirrorOf> </mirror> ....... </mirrors> - 配置Maven本地仓库地址
<settings xmlns="http://maven.apache.org/SETTINGS/1.2.0" xmlns:xsi="http://www.w3.org/2001/XMLSchema-instance" xsi:schemaLocation="http://maven.apache.org/SETTINGS/1.2.0 https://maven.apache.org/xsd/settings-1.2.0.xsd"> ...... <localRepository>D:\Program Files\Java\mvn-repository</localRepository> ...... </settings> 三、构建graphhopper步骤
1. 下载数据
地图数据下载地址,可以根据根据需要下载,我下载的中国的数据,有1g过,后面构建运行的时候还挺耗时的。
我将china-latest.osm.pbf放在了源码项目的根目录了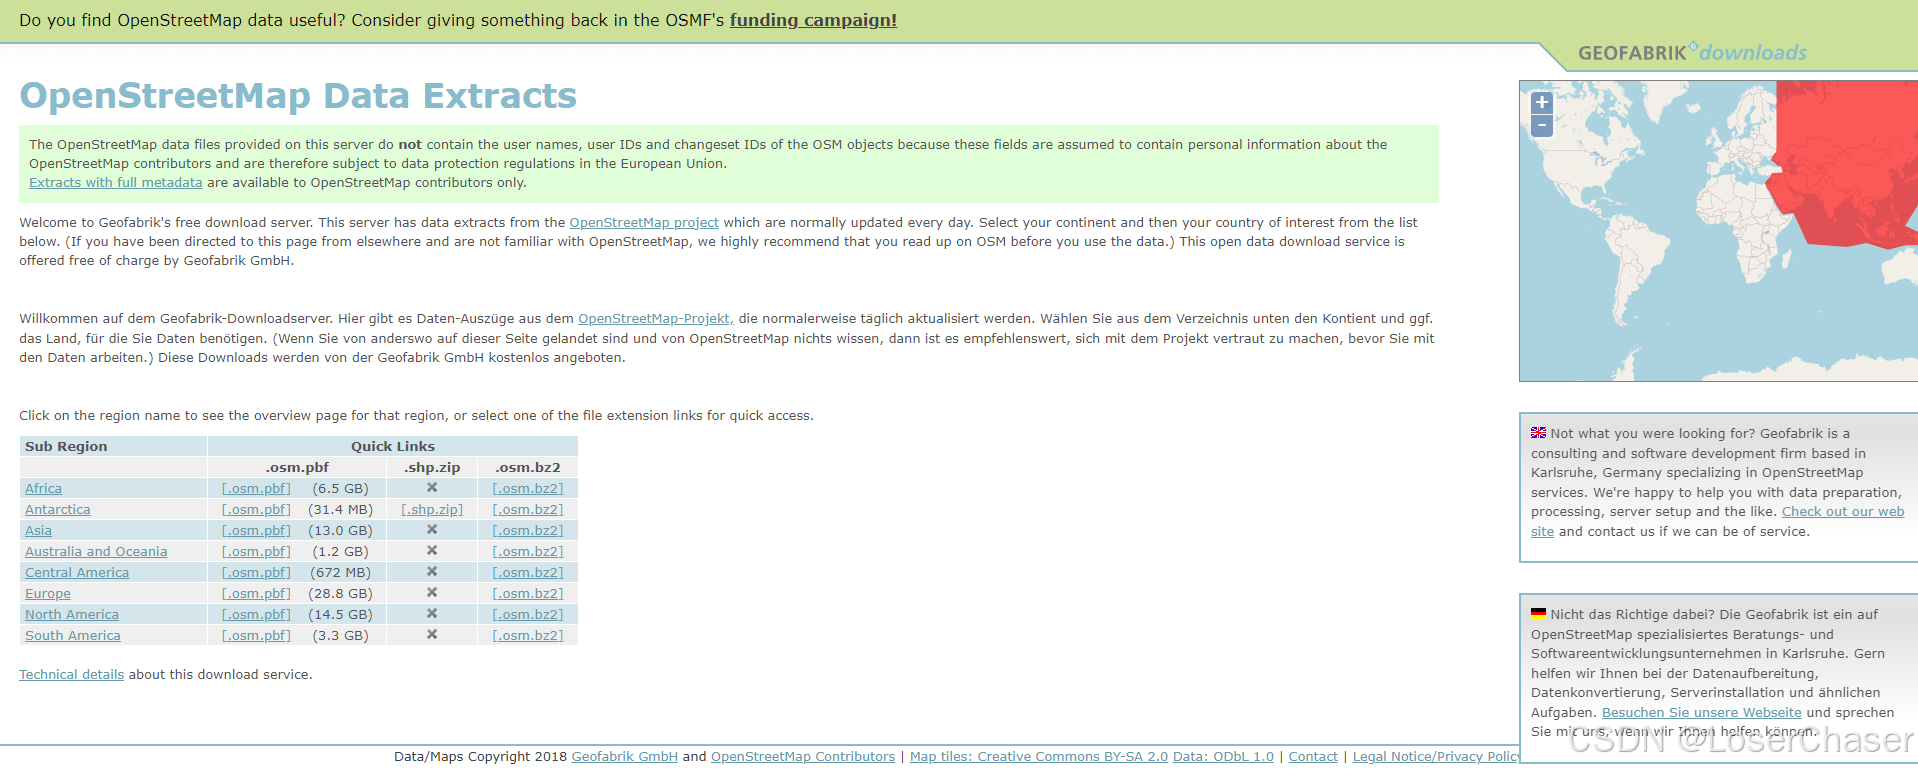
2. 配置graphhopper配置文件config-example.yml
datareader.file: "./china-latest.osm.pbf" # Local folder used by graphhopper to store its data graphhopper.flag_encoders: car graph.location: graph-cache http.port: 8989 3. 在项目中启动命令行执行./graphhopper.sh build
3.1|、遇到的问题
3.1.1、pom.xml中front-maven-plugin-无法下载npm6.14.5
[ERROR] Failed to execute goal com.github.eirslett:frontend-maven-plugin:1.10.0:install-node-and-npm (install node and npm) on project graphhopper-web: Could not download npm: Could not download https://registry.npmjs.org/npm/-/npm-6.14.5.tgz: Read timed out -> [Help 1] 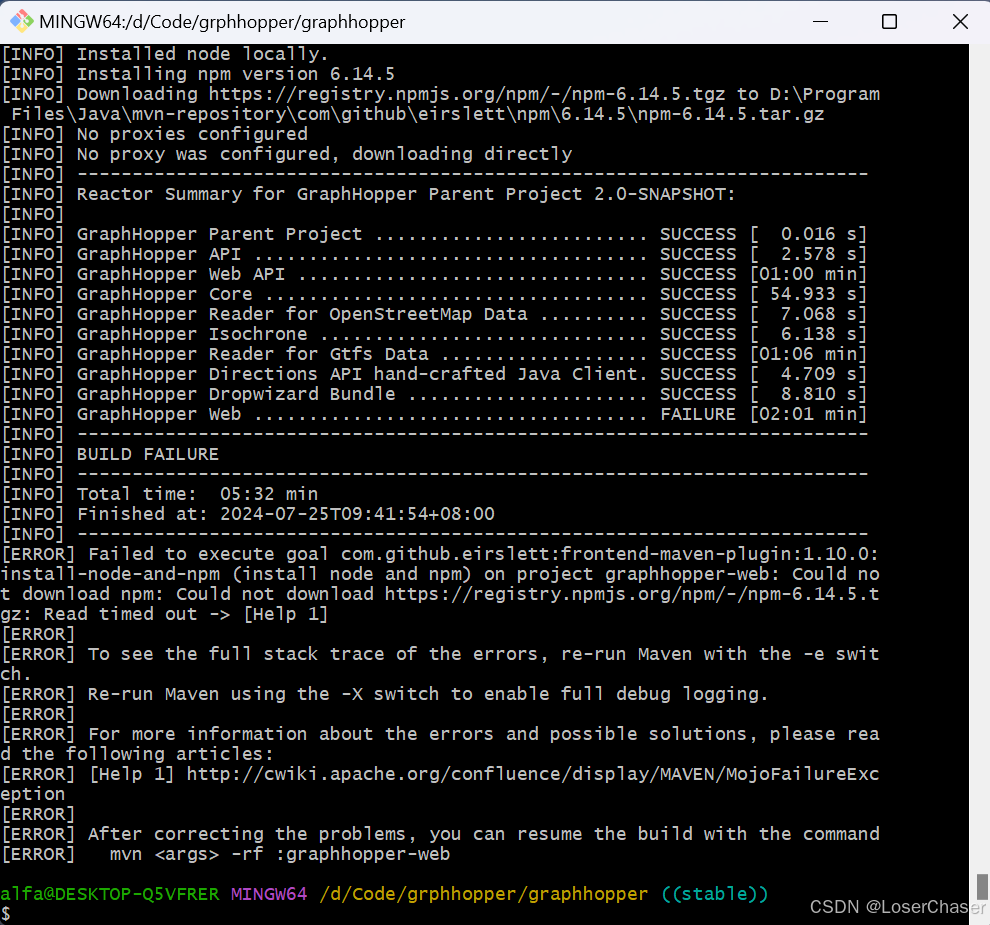
解决办法:打开graphhoper项目文件夹下的pom.xml文件,在plugins标签内添加如下配置,就是更改了npm源为淘宝最新的npm源,如果不行的话尝试一下科学上网
<plugin> <groupId>com.github.eirslett</groupId> <artifactId>frontend-maven-plugin</artifactId> <version>1.6</version> <executions> <execution> <id>install node and npm</id> <goals> <goal>install-node-and-npm</goal> </goals> <configuration> <nodeDownloadRoot>http://nodejs.org/dist/</nodeDownloadRoot> <npmDownloadRoot>https://registry.npmmirror.com</npmDownloadRoot> <!-- <nodeVersion>v9.11.1</nodeVersion> --> </configuration> </execution> </executions> </plugin> 3.1.2、无法抽取npm-6.14.5.tar.gz文件
[ERROR] Failed to execute goal com.github.eirslett:frontend-maven-plugin:1.10.0:install-node-and-npm (install node and npm) on project graphhopper-web: Could not extract the npm archive: Could not extract archive: 'D:\Program Files\Java\mvn-repository\com\github\eirslett\npm\6.14.5\npm-6.14.5.tar.gz': EOFException -> [Help 1]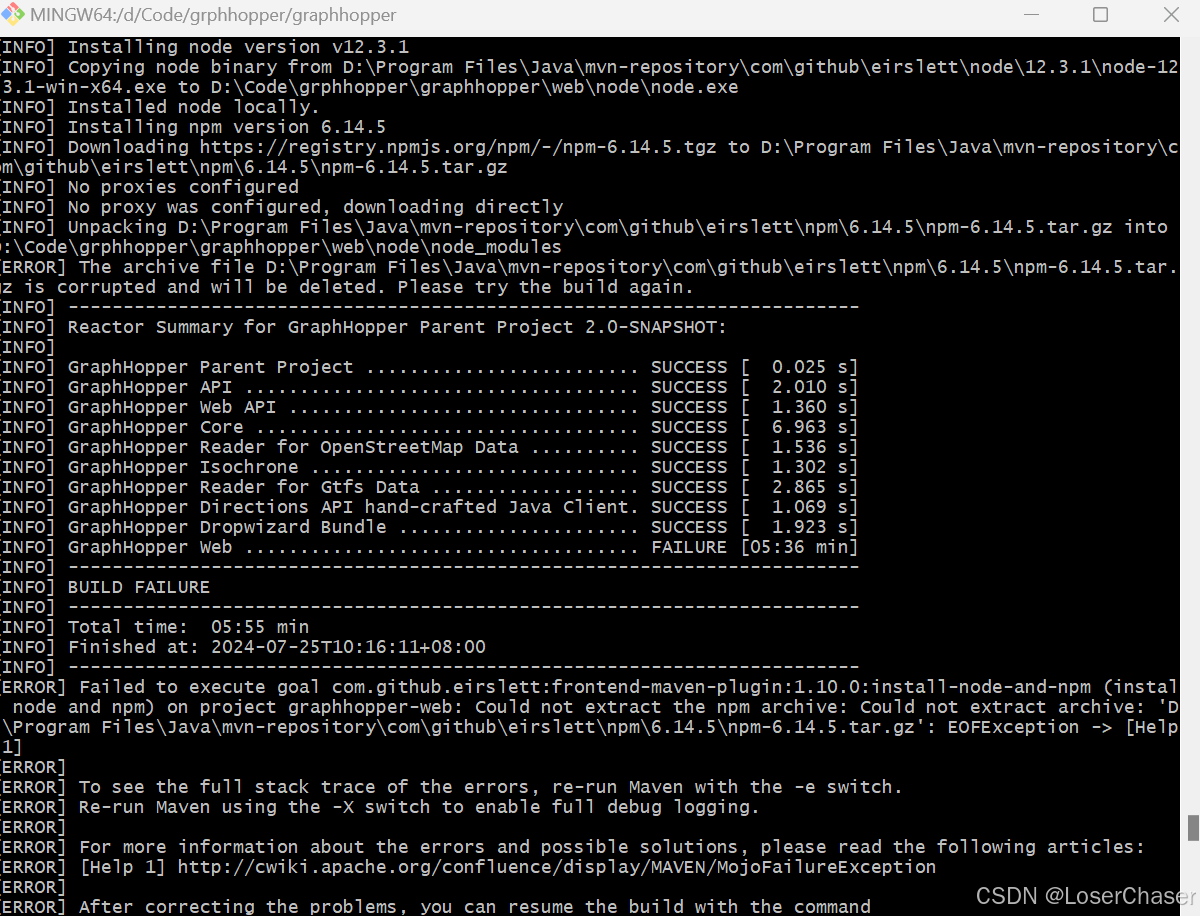
解决办法:删除...\com\github\eirslett\目录下的eirslett文件夹,然后执行mvn clean install
参考文章Could not extract the npm archive (using frontend-maven-plugin 1.3) #545
4. 启动服务./graphhopper.sh -a web -i ./china-latest.osm.pbf
执行命令:./graphhopper.sh -a web -i ./china-latest.osm.pbf
4.1、问题
4.1.1、解析的地图数据过大导致内存溢出发生错误
解决办法:export JAVA_OPTS="-Xmx4g -Xms4g"#加大至4G内存
4.2、启动完成验证
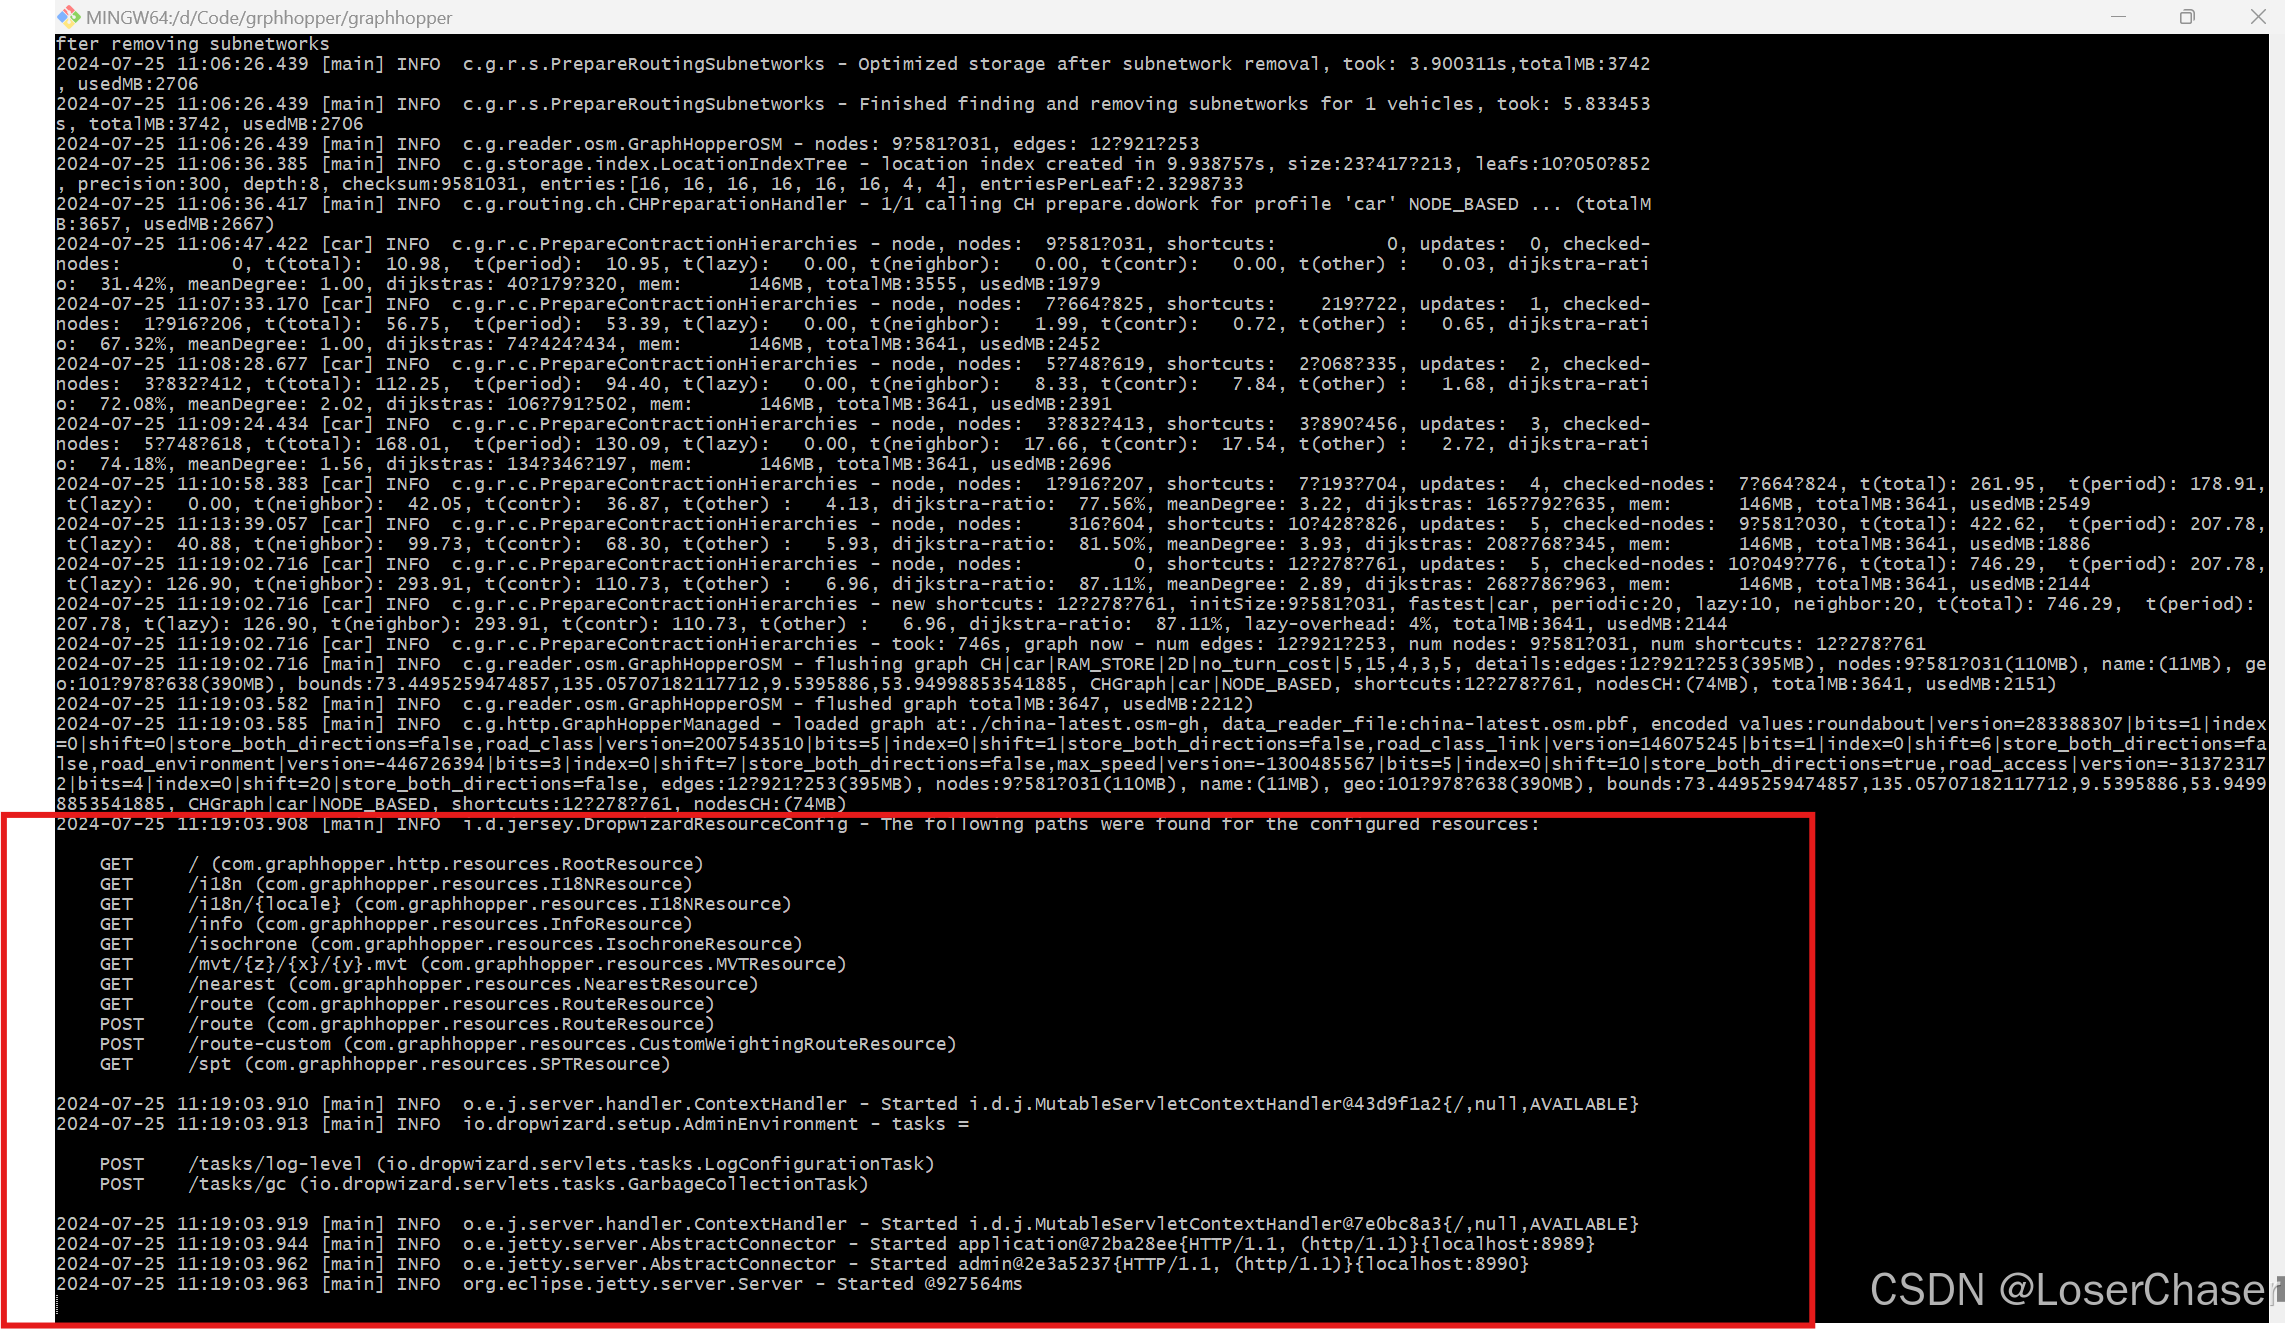
因为要解析地图数据,会耗费大概15分钟左右,很多人在浏览器输入http://127.0.0.1:8989,网页一直打转,没有立马加载出来,是因为服务还没有完全启动,很多博客忽略这个环节,启动成功的标志是