上周六写了一篇文章 震撼发布!Spring AI 框架重磅上线,Java 集成 AI 轻松搞定! 部分同学可能没有科学上网的条件,本地ollama 集成又比较笨重。趁着周六,写一篇基于SpringCloud Alibaba 集成AI的文章。
先简单介绍下 Spring Cloud Alibaba AI。
Spring Cloud Alibaba AI 基于 Spring AI 0.8.1 版本完成通义系列大模型的接入。DashScope灵积模型服务建立在 模型即服务(Model-as-a-Service,MaaS)的理念基础之上,围绕AI各领域模型,通过标准化的API提供包括模型推理、模型微调训练在内的多种模型服务。目前支持的模型主要有:对话、文生图、文生语音,更多功能特性正在适配中。
实践前, Spring AI 0.8.1 最低需要JDK17版本, 公司项目还是JDK8, 先去下载JDK17。下载地址:
https://www.oracle.com/java/technologies/javase/jdk17-archive-downloads.html
springcloud、springboot对应小常识 2023.x 分支对应的是 Spring Cloud 2023 与 Spring Boot 3.2.x,最低支持 JDK 17。 2022.x 分支对应的是 Spring Cloud 2022 与 Spring Boot 3.0.x,最低支持 JDK 17。 2021.x 分支对应的是 Spring Cloud 2021 与 Spring Boot 2.6.x,最低支持 JDK 1.8。 2020.0 分支对应的是 Spring Cloud 2020 与 Spring Boot 2.4.x,最低支持 JDK 1.8。 2.2.x 分支对应的是 Spring Cloud Hoxton 与 Spring Boot 2.2.x,最低支持 JDK 1.8。 greenwich 分支对应的是 Spring Cloud Greenwich 与 Spring Boot 2.1.x,最低支持 JDK 1.8。 finchley 分支对应的是 Spring Cloud Finchley 与 Spring Boot 2.0.x,最低支持 JDK 1.8。 1.x 分支对应的是 Spring Cloud Edgware 与 Spring Boot 1.x,最低支持 JDK 1.7。
如果你不想放弃JDK8,可以直接使用dashscope-sdk-java。 看个人选择了
https://help.aliyun.com/zh/dashscope/developer-reference/install-dashscope-sdk?spm=a2c4g.11186623.0.i7#c2bdbca0cfc8y
这里SpringCloud Alibaba AI快速学习, 直接去github下载 官方示例:
https://github.com/alibaba/spring-cloud-alibaba/tree/2023.x/spring-cloud-alibaba-examples/ai-example/spring-cloud-ai-example
先去阿里云官网https://help.aliyun.com/zh/dashscope/developer-reference/activate-dashscope-and-create-an-api-keyapi-key, 就能快速体验基本的 对话、画图、语音功能了。 新开通有1个月的免费额度,真香。
具体实操步骤,我直接复制官方的操作说明
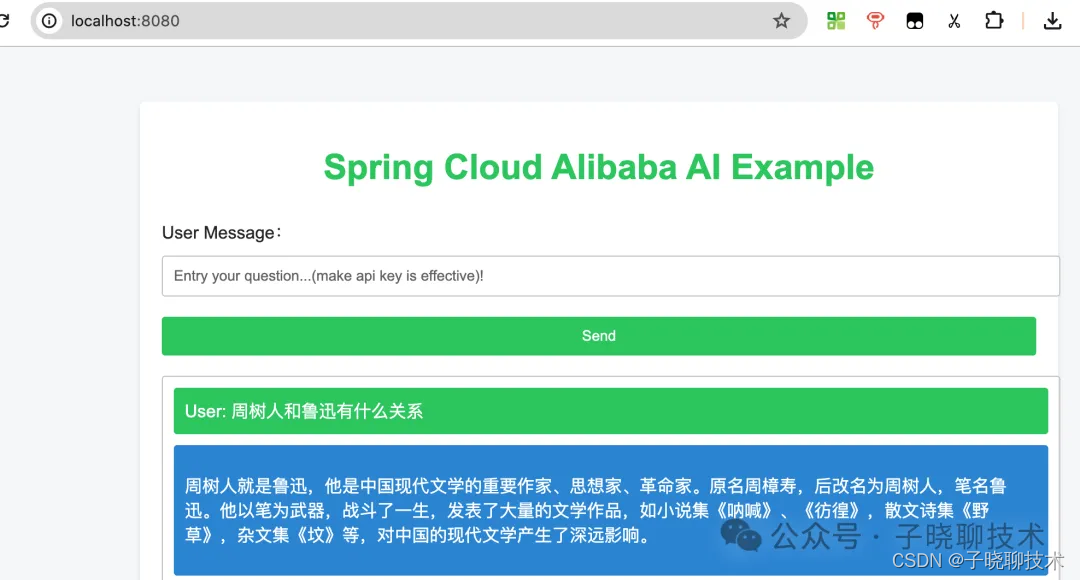
接入 spring-cloud-starter-alibaba-ai 在项目 pom.xml 中加入以下依赖: <dependency> <groupId>com.alibaba.cloud</groupId> <artifactId>spring-cloud-starter-alibaba-ai</artifactId> </dependency> 在 application.yml 配置文件中加入以下配置: Note: 推荐使用环境变量的方式设置 api-key,避免 api-key 泄露。 export SPRING_CLOUD_AI_TONGYI_API_KEY=sk-a3d73b1709bf4a178c28ed7c8b3b5a45 spring: cloud: ai: tongyi: # apiKey is invalid. api-key: sk-a3d73b1709bf4a178c28ed7c8b3b5a45 添加如下代码: controller: @Autowired @Qualifier("tongYiSimpleServiceImpl") private TongYiService tongYiSimpleService; @GetMapping("/example") public String completion( @RequestParam(value = "message", defaultValue = "Tell me a joke") String message ) { return tongYiSimpleService.completion(message); } service: private final ChatClient chatClient; @Autowired public TongYiSimpleServiceImpl(ChatClient chatClient, StreamingChatClient streamingChatClient) { this.chatClient = chatClient; this.streamingChatClient = streamingChatClient; } @Override public String completion(String message) { Prompt prompt = new Prompt(new UserMessage(message)); return chatClient.call(prompt).getResult().getOutput().getContent(); } 至此,便完成了最简单的模型接入!和本 example 中的代码略有不同,但 example 中的代码无需修改。可完成对应功能。 启动应用 本 Example 项目支持如下两种启动方式: IDE 直接启动:找到主类 TongYiApplication,执行 main 方法启动应用。 打包编译后启动:首先执行 mvn clean package 将工程编译打包,进入 target 文件夹执行 java -jar spring-cloud-ai-example.jar 启动应用。先简单聊个天, http://localhost:8080/

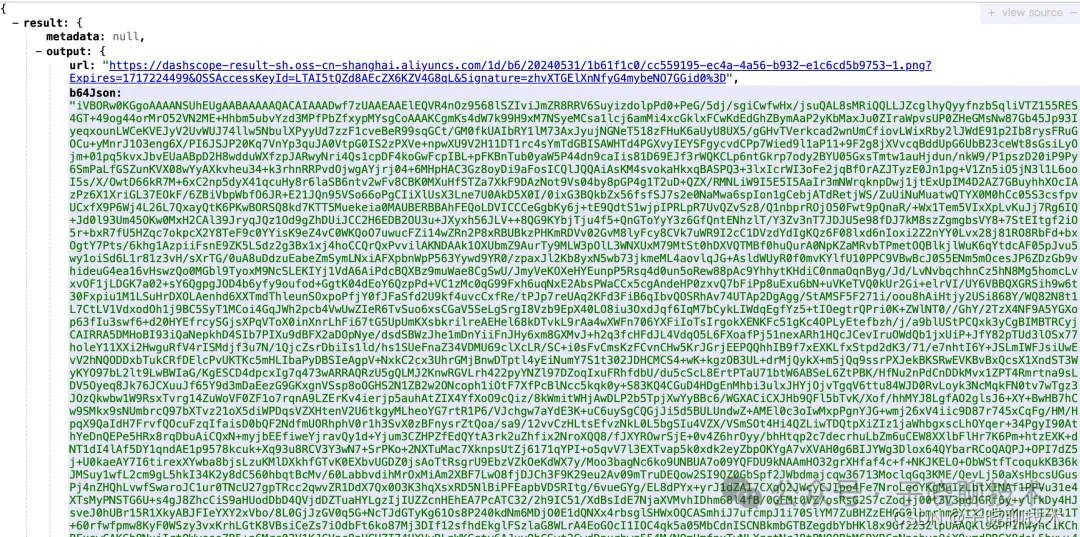
再画个图测试,直接浏览器访问 http://localhost:8080/ai/img?prompt="美女"


再来个语音测试,http://localhost:8080/ai/audio?prompt="你好,我是子晓",出现本地的音频文件路径。播放效果挺不错。
springCloud Alibaba集成AI功能是不是很简单, 我们可以根据自己的实际需要对接到业务系统中。虽然我之前就知道springCloud Alibaba AI功能, 前不久国内几大大模型厂商价格战,我才试用了下。真香,程序员的福音,比自己折腾部署大模型方便多了。
