目录
Whisper是一个通用的语音识别模型。它是在不同音频的大型数据集上训练的,也是一个多任务模型,可以执行多语言语音识别、语音翻译和语言识别。
代码仓库
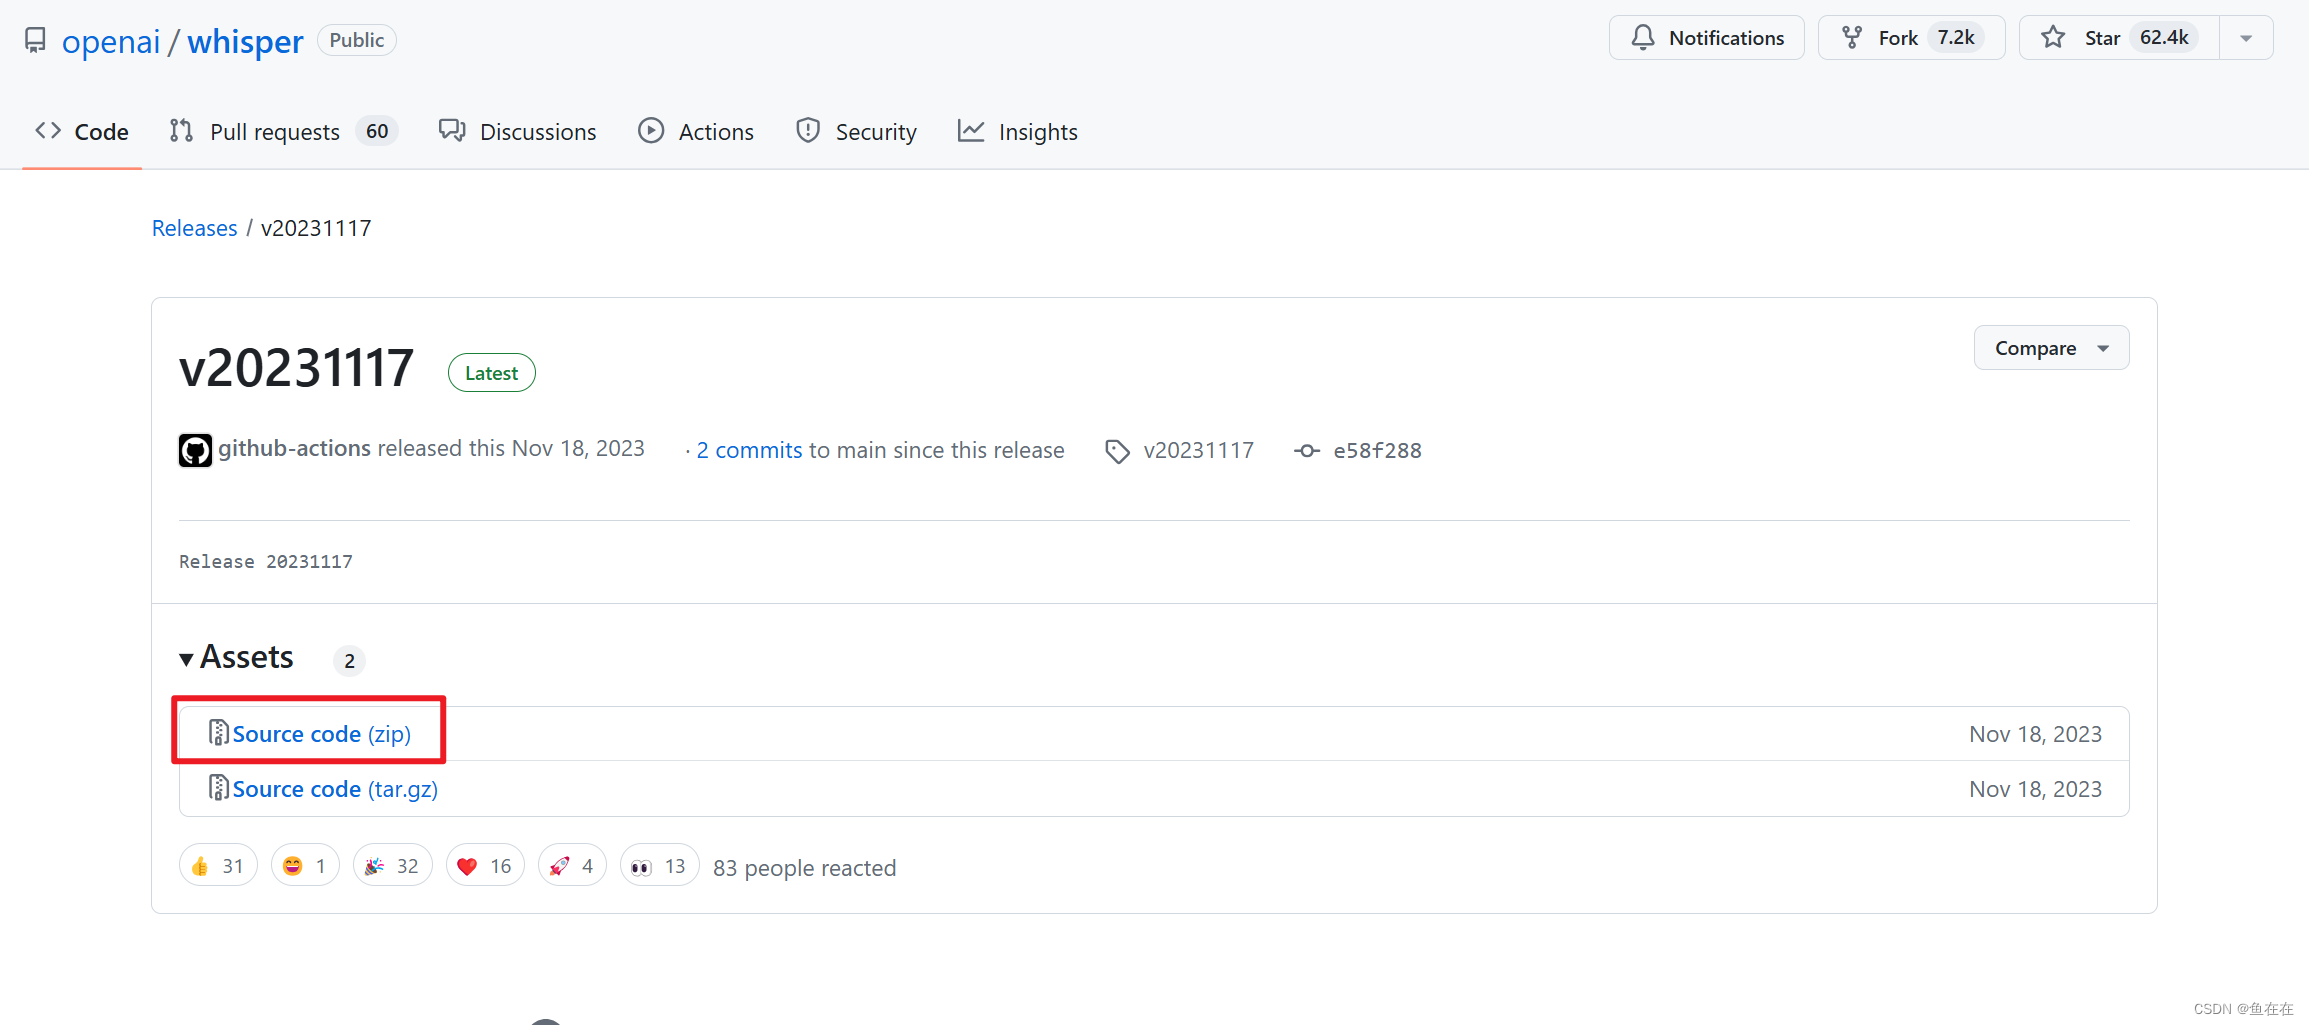
GitHub - openai/whisper:通过大规模弱监督实现鲁棒语音识别
方法1.可以通过pip 安装下载,但是呢这种方式对我们并不透明,后面下载模型要找的麻烦一点。
pip install -U openai-whisper方法2.通过版本源代码zip的方式放置在项目或者环境中
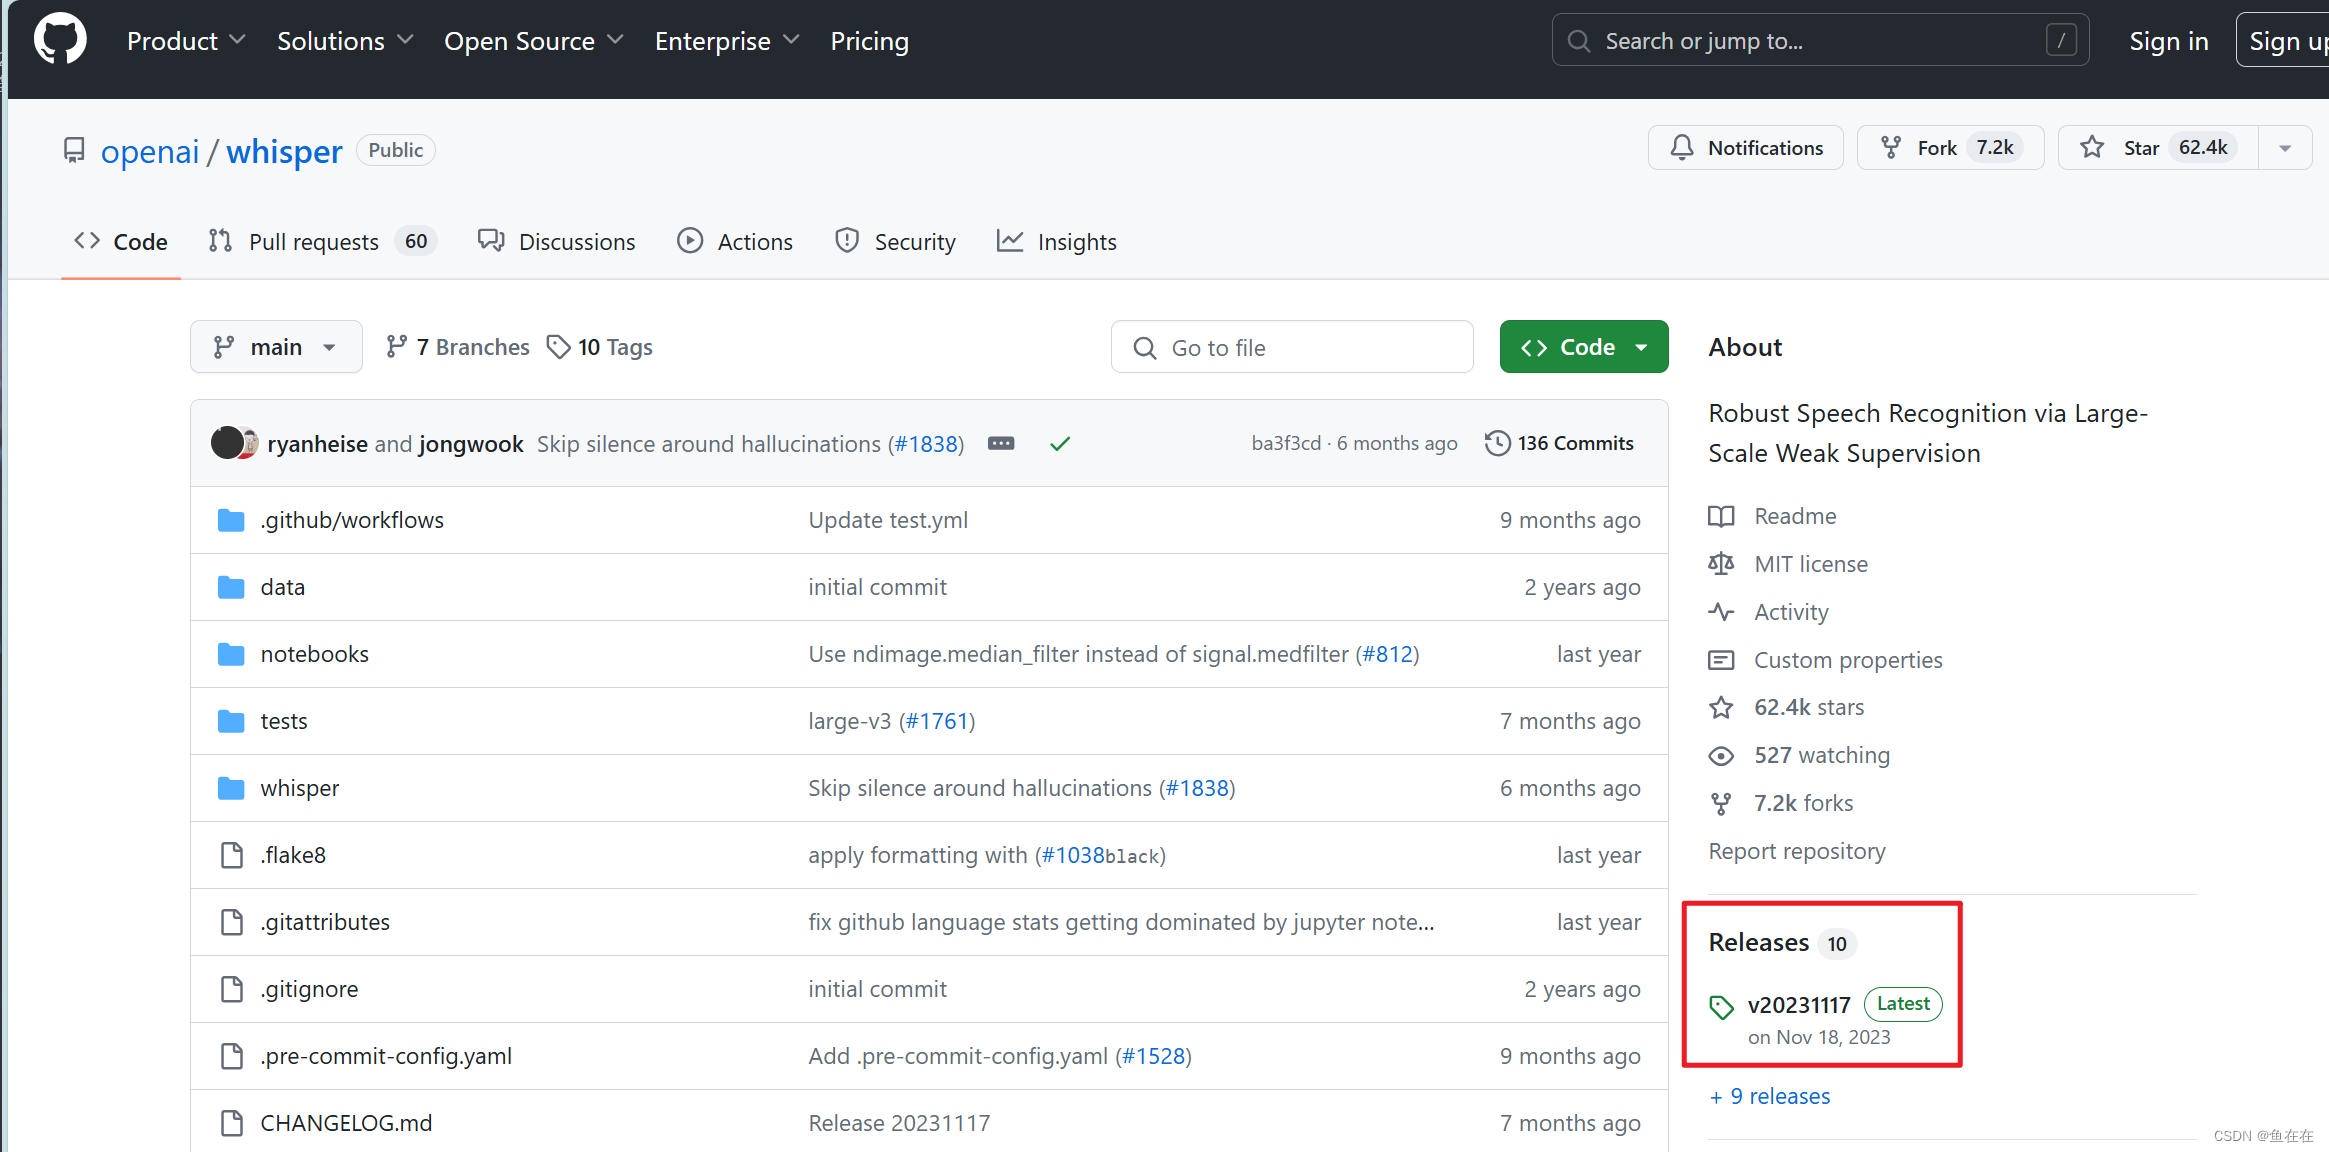
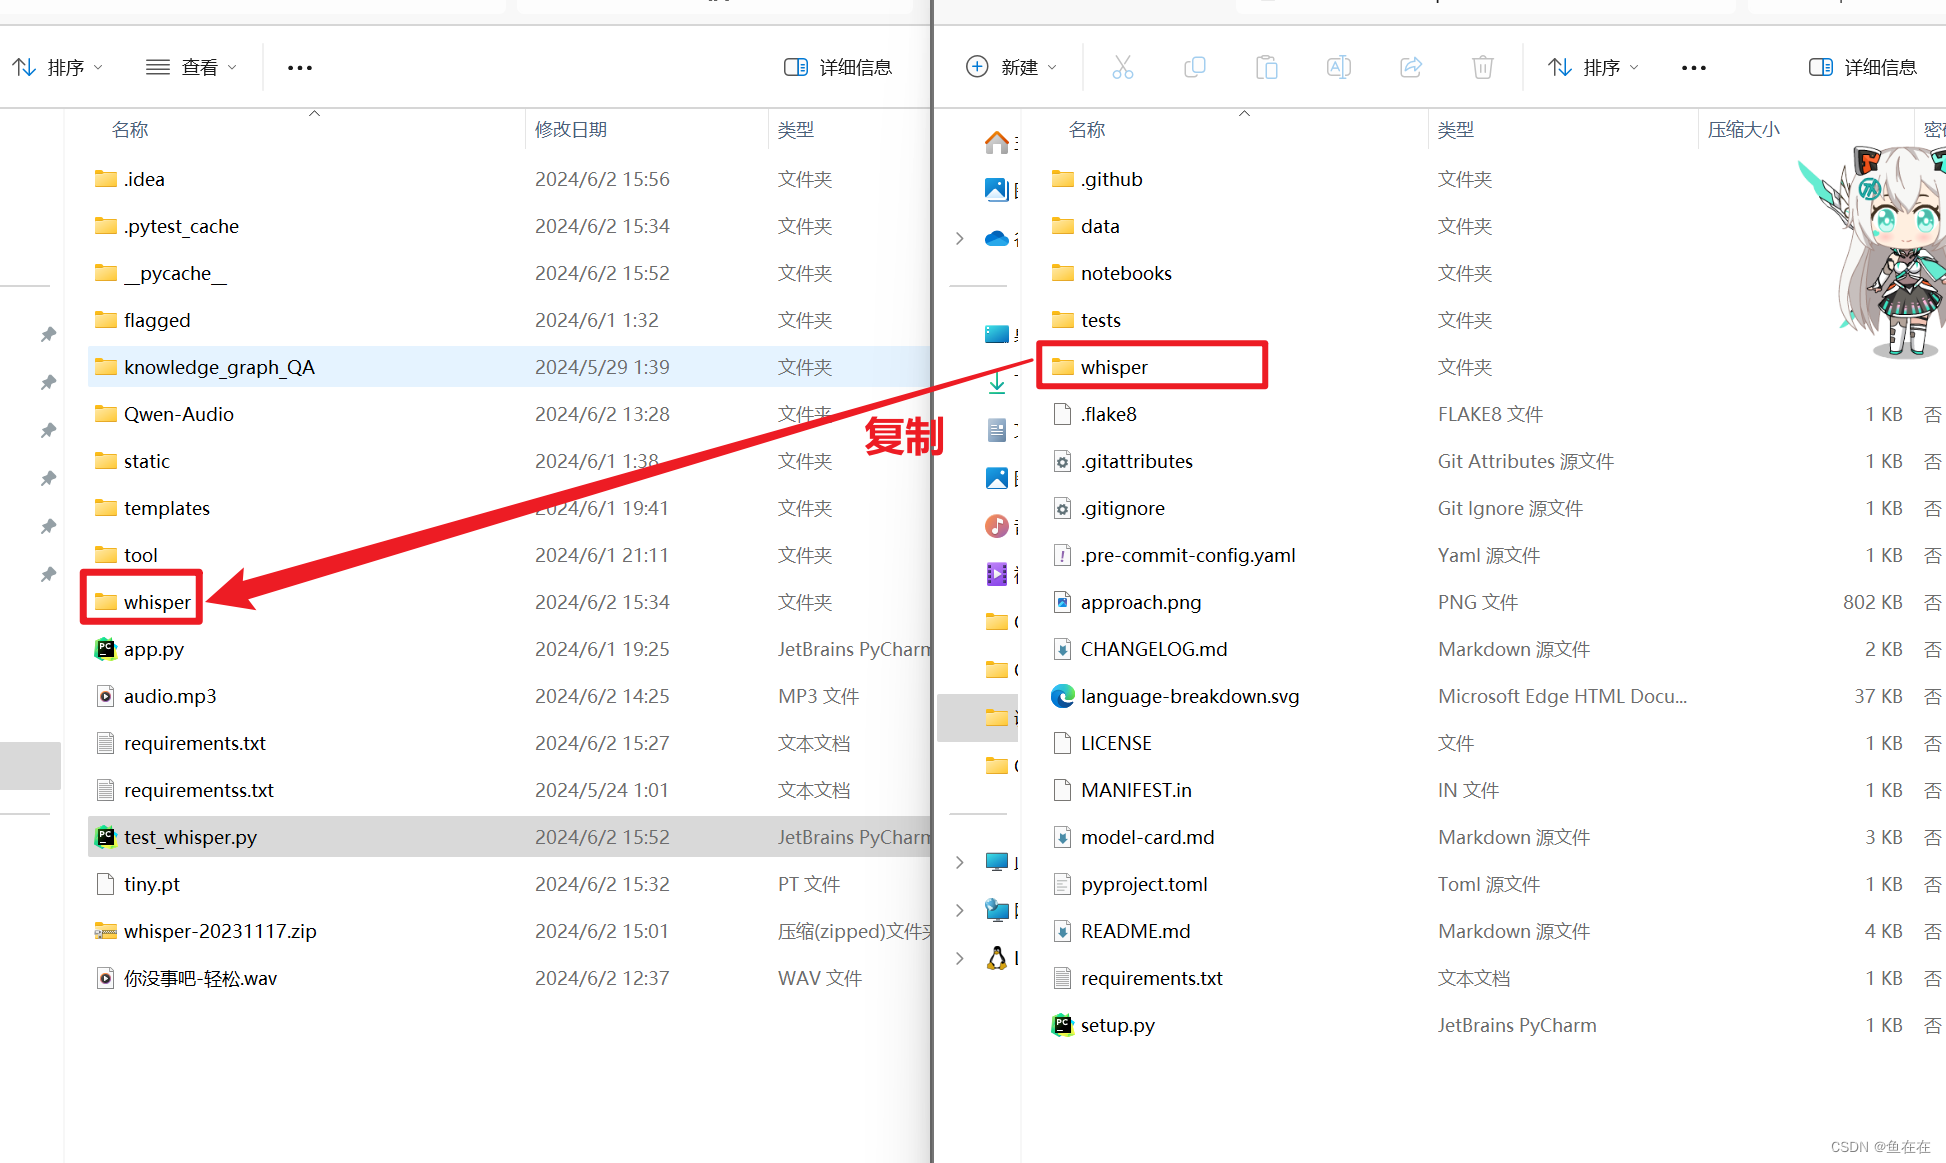
然后我们只需要压缩包里面的文件夹,把文件夹拉到所需项目或者目标环境中:
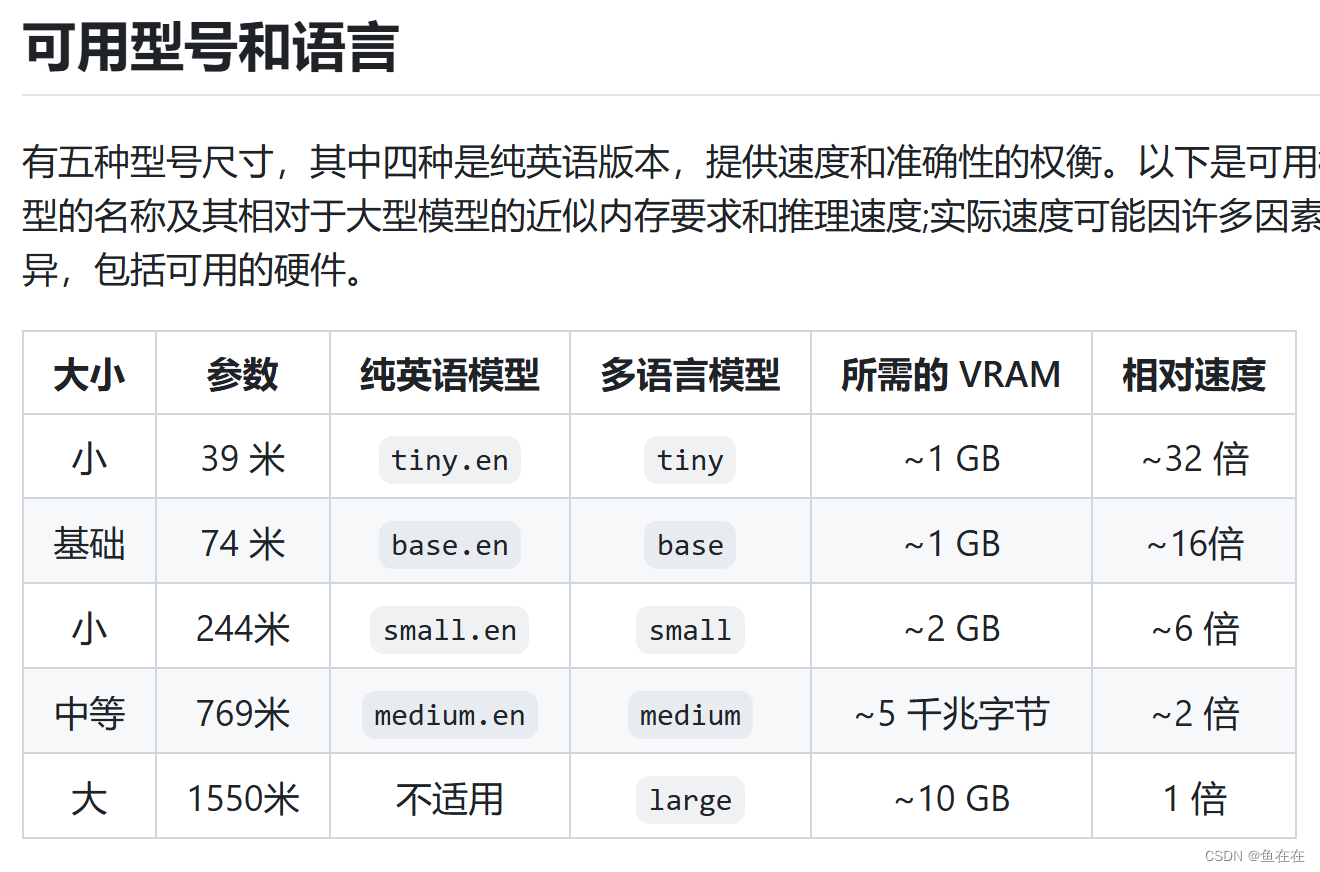
选择模型
打开我们刚刚复制文件夹内的whisper\__init__.py中,在里面可以看到(我只展示了部分代码)以下各种模型的下载连接:
_MODELS = { "tiny.en": "https://openaipublic.azureedge.net/main/whisper/models/d3dd57d32accea0b295c96e26691aa14d8822fac7d9d27d5dc00b4ca2826dd03/tiny.en.pt", "tiny": "https://openaipublic.azureedge.net/main/whisper/models/65147644a518d12f04e32d6f3b26facc3f8dd46e5390956a9424a650c0ce22b9/tiny.pt", "base.en": "https://openaipublic.azureedge.net/main/whisper/models/25a8566e1d0c1e2231d1c762132cd20e0f96a85d16145c3a00adf5d1ac670ead/base.en.pt", "base": "https://openaipublic.azureedge.net/main/whisper/models/ed3a0b6b1c0edf879ad9b11b1af5a0e6ab5db9205f891f668f8b0e6c6326e34e/base.pt", "small.en": "https://openaipublic.azureedge.net/main/whisper/models/f953ad0fd29cacd07d5a9eda5624af0f6bcf2258be67c92b79389873d91e0872/small.en.pt", "small": "https://openaipublic.azureedge.net/main/whisper/models/9ecf779972d90ba49c06d968637d720dd632c55bbf19d441fb42bf17a411e794/small.pt", "medium.en": "https://openaipublic.azureedge.net/main/whisper/models/d7440d1dc186f76616474e0ff0b3b6b879abc9d1a4926b7adfa41db2d497ab4f/medium.en.pt", "medium": "https://openaipublic.azureedge.net/main/whisper/models/345ae4da62f9b3d59415adc60127b97c714f32e89e936602e85993674d08dcb1/medium.pt", "large-v1": "https://openaipublic.azureedge.net/main/whisper/models/e4b87e7e0bf463eb8e6956e646f1e277e901512310def2c24bf0e11bd3c28e9a/large-v1.pt", "large-v2": "https://openaipublic.azureedge.net/main/whisper/models/81f7c96c852ee8fc832187b0132e569d6c3065a3252ed18e56effd0b6a73e524/large-v2.pt", "large-v3": "https://openaipublic.azureedge.net/main/whisper/models/e5b1a55b89c1367dacf97e3e19bfd829a01529dbfdeefa8caeb59b3f1b81dadb/large-v3.pt", "large": "https://openaipublic.azureedge.net/main/whisper/models/e5b1a55b89c1367dacf97e3e19bfd829a01529dbfdeefa8caeb59b3f1b81dadb/large-v3.pt", }其中带有“.en”的说明其是用于英语语音识别的,选择合适大小我模型进行下载就行,我用笔记本显卡是4060 8G,但是我的项目同时要运行其他问答模型,为了不爆现存我选择比较小的模型tiny.pt,模型一般情况放到和whisper同目录就行。

环境配置
接下来就是配置环境了,使用Python 3.9.9和PyTorch 1.10.1来训练和测试我们的模型,但代码库预计将与Python 3.8-3.11和最近的PyTorch版本兼容。代码库还依赖于一些Python包,可以把下面的环境依赖复制下来保存在requirements.txt
requirements.txt 要求环境
numba numpy torch tqdm more-itertools tiktoken transformers>=4.19.0 ffmpeg-python==0.2.0并通过pip 安装
pip install -r requirements.txt 可能还要下载librosa,我不确定,为了保险起见可以安装一下
pip install librosa
安装ffmpeg-python的时候要注意如果环境中存在ffmpeg或者python-ffmpeg 是要把他们删除才可以的。
当然,你以为到这很简单,其实还有其他环境配置,你还要在电脑上安装配置ffmpeg环境:
1.从Builds - CODEX FFMPEG @ gyan.dev上下载ffmpeg
FFmpeg是一个开源的、非常强大的多媒体框架,它提供了用于处理视频和音频的一系列工具和库。FFmpeg支持多种格式的音视频编码解码,能够进行转码、剪辑、转换视频和音频文件的格式、抓取音视频流等操作。它广泛应用于视频编辑、播放、流媒体处理等领域。
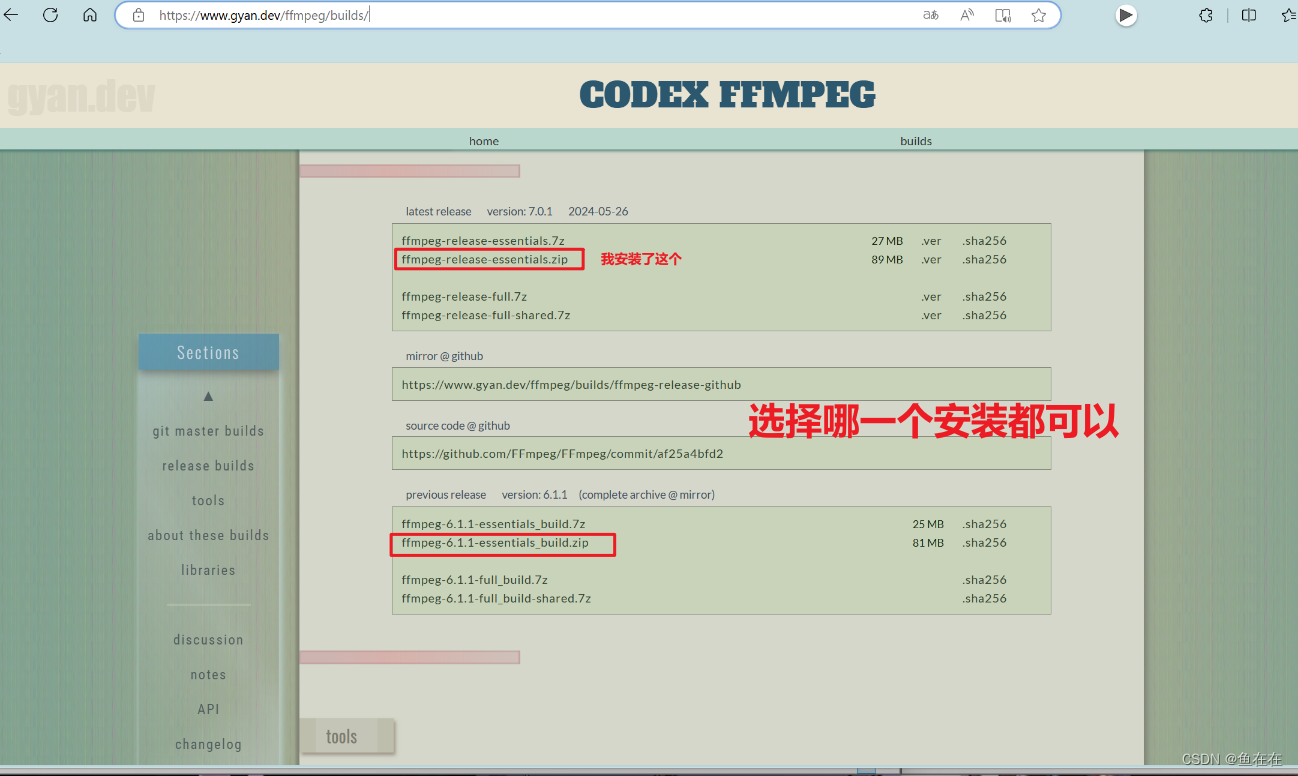
2.解压缩并配置环境变量
解压到哪里都可以哈

然后把bin目录的路径编辑到系统变量中

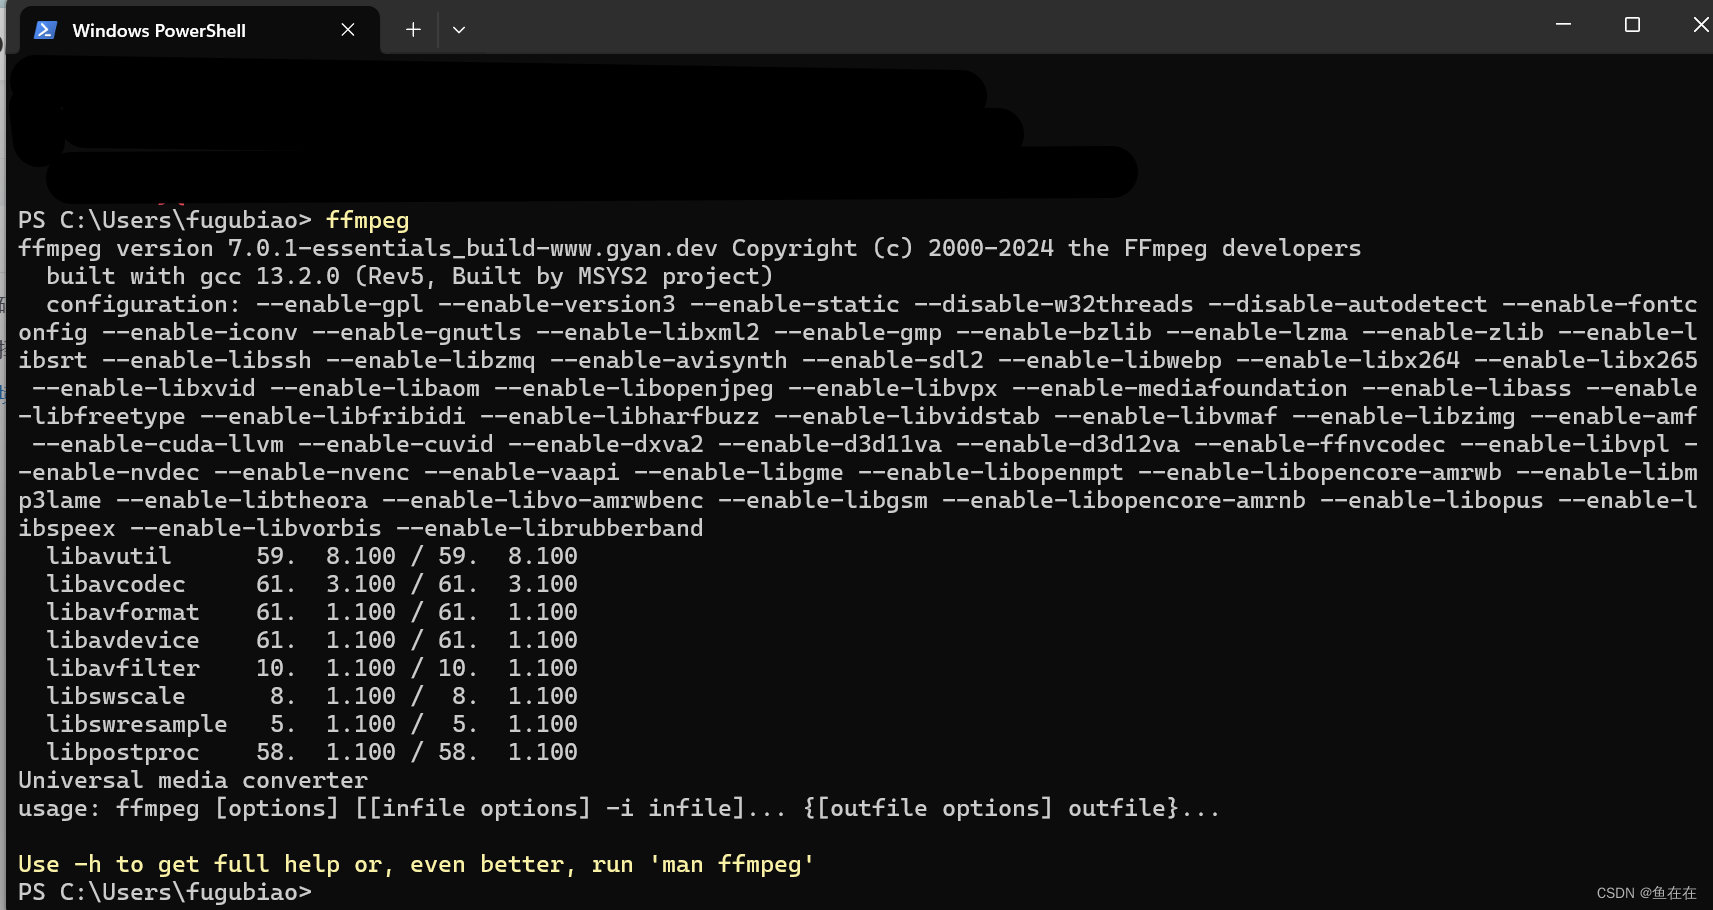
2.验证是否配置成功
输入ffmpeg,可以看到信息就可以了
语音识别测试
你要准备一段语音识别的录音,,因为有之前配置的ffmpeg存在,这里可以输入许多格式的音频,比如mp3、或者无损格式wav、flac
import whisper model = whisper.load_model("tiny.pt") result = model.transcribe("你没事吧-轻松.wav") print(result["text"])结果如下,其实准确率已经很不错了。
