
阅读量:4
6-5,web3浏览器链接区块链(react+区块链实战)
6-5 web3浏览器链接区块链(调用读写合约与metamask联动)
这里就是浏览器端和智能合约的交互
两个库
Web3
Truffle contract //truffle在链接前端合约简单包了一层,比较好用
来到react项目的根目录下(在第一章进行了创建),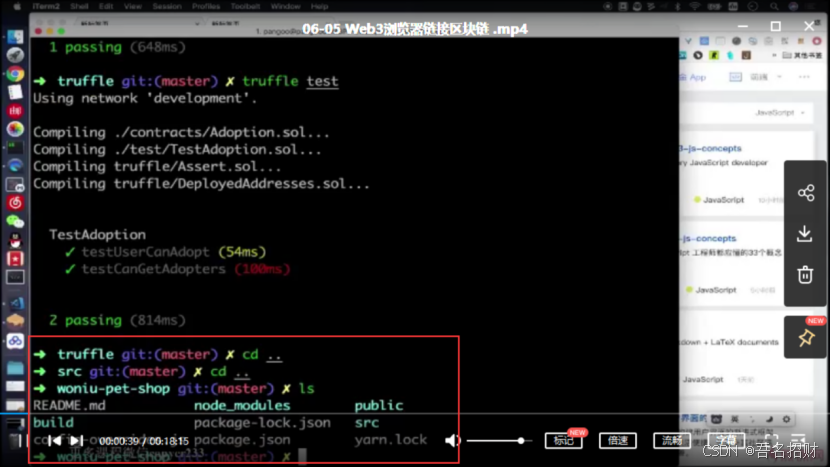
这里重新创建一个react项目
https://blog.csdn.net/u012118993/article/details/87288516
react创建新项目 使用creat-react-app快速新建一个react项目
(1)npm install -g create-react-app 全局安装(安装到整体)
(2)create-react-app reactproject 新建并对react项目进行命名(注:项目名称不能有大写)
(3)cd reactproject 通过命令进入文件夹内部,准备运行项目
(4)npm start 运行项目
E:\truffle\woniu-pet-shop 在truffle目录下创建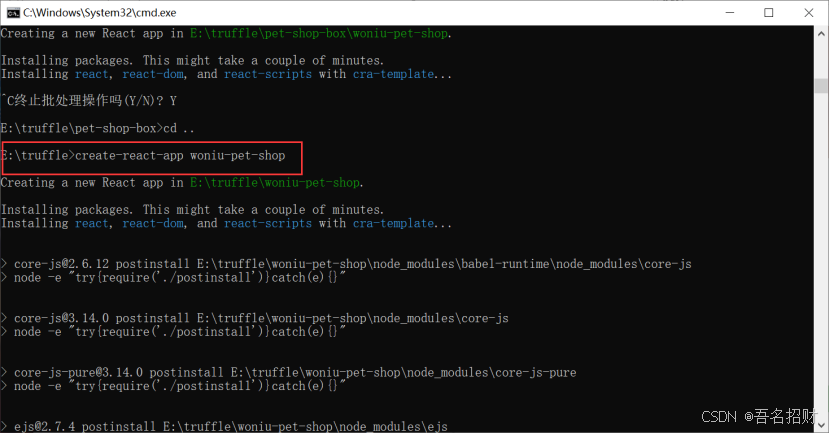
在react的项目下安装下面的文件
安装web3(安装到文件夹下面)
npm install web3 --save 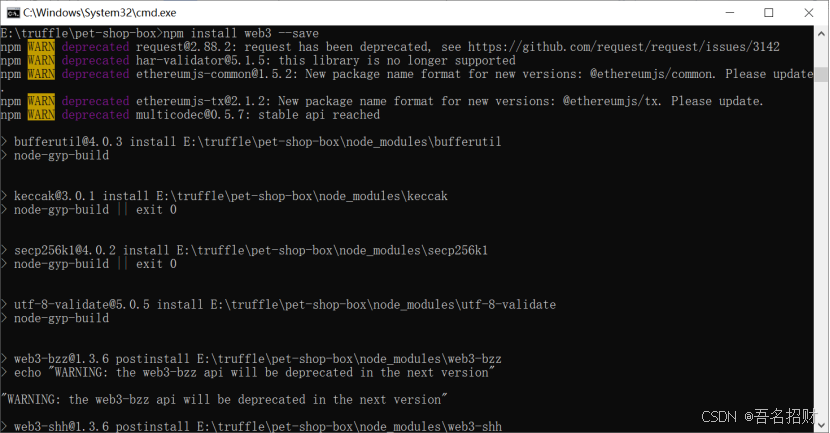
再安装truffle-contract
npm install truffle-contract --save Demo完成
1.链接合约
2.执行一下合约内部函数
3.添加ant.design ui库支持
4.完成项目
注意新的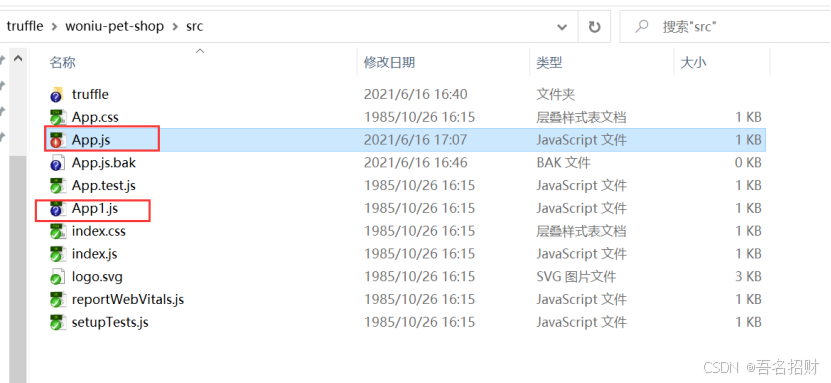
App.js中的内容
如下
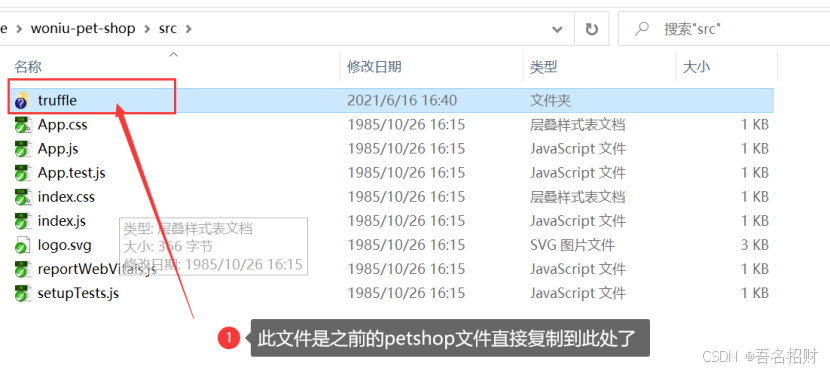
import React from 'react' import Web3 from 'web3' import TruffleContract from 'truffle-contract' import AdoptionJson from './truffle/build/contracts/Adoption.json' //引入前面智能合约编译好得到的json文件 class App extends React.Component{ constructor(props){ super(props) this.web3 = null this.Adoption = null this.init() this.state = { //name:'woniu' } } init(){ //如果网页中的web3不是undefined if(typeof window.web3 != 'undefined'){ } } render(){ return <button></button>//hello,{this.state.name} } } export default App 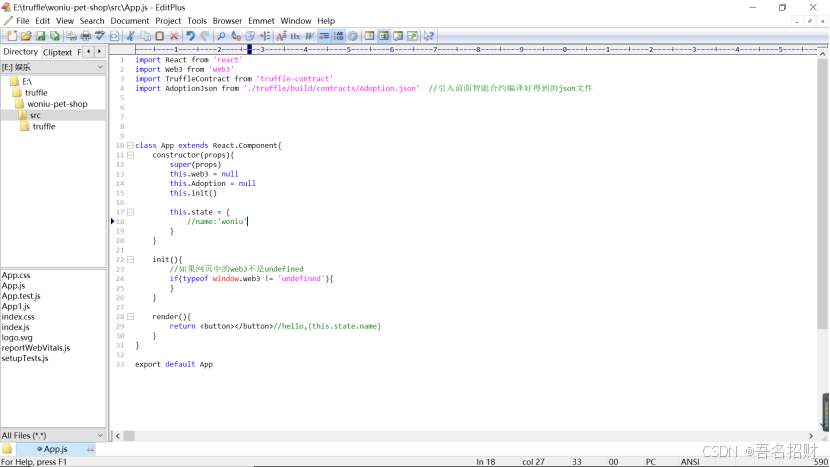
如果浏览器中装入了metamask插件
在浏览器中全局变量就有值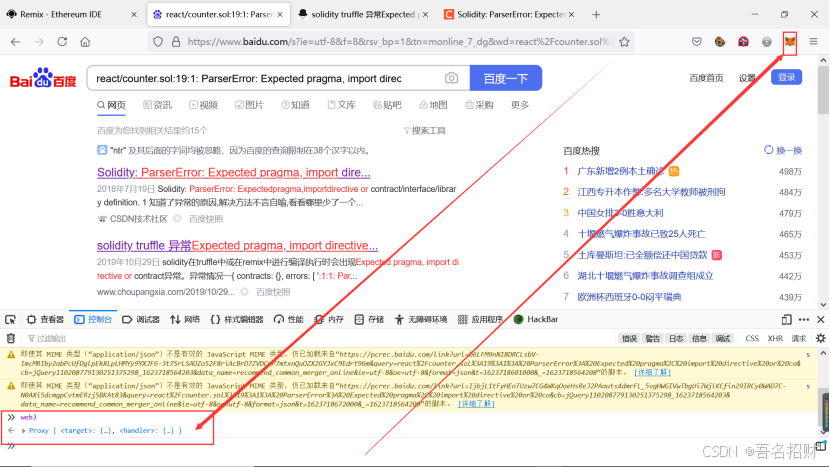
可以手动链接metamask,也可以自动连接
进行脚本启动,之前web3在浏览器控制台undefined是因为空网页,此时
在react项目自建的petshop中启动
Npm start 在浏览器打开
http://localhost:3000/
视频效果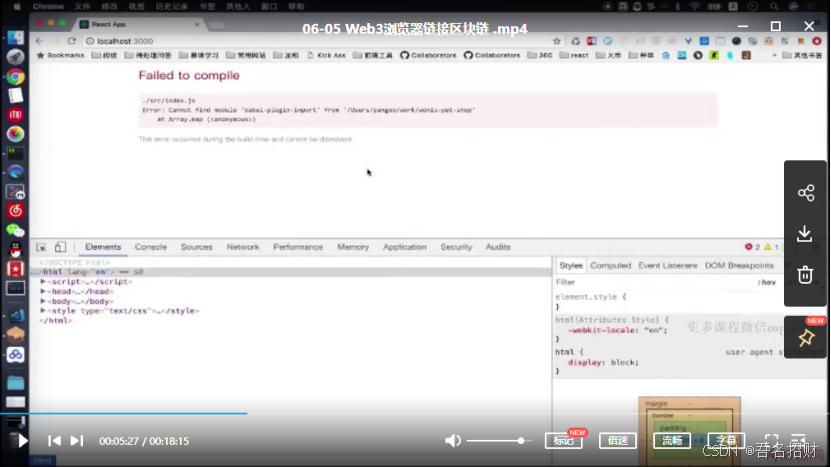
视频安装新的包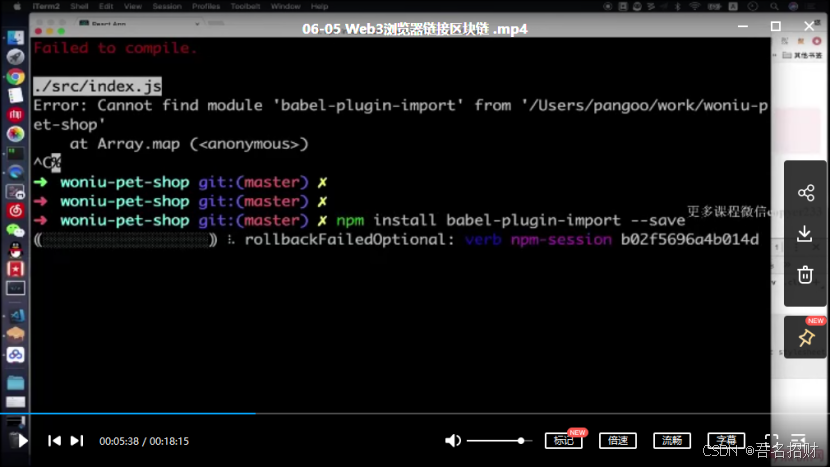
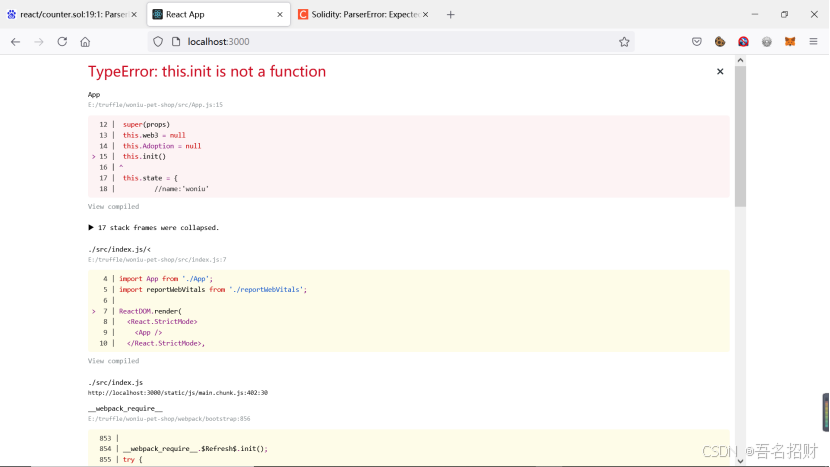
自己的有报错,原因init函数没有保存

实际成功后如下效果
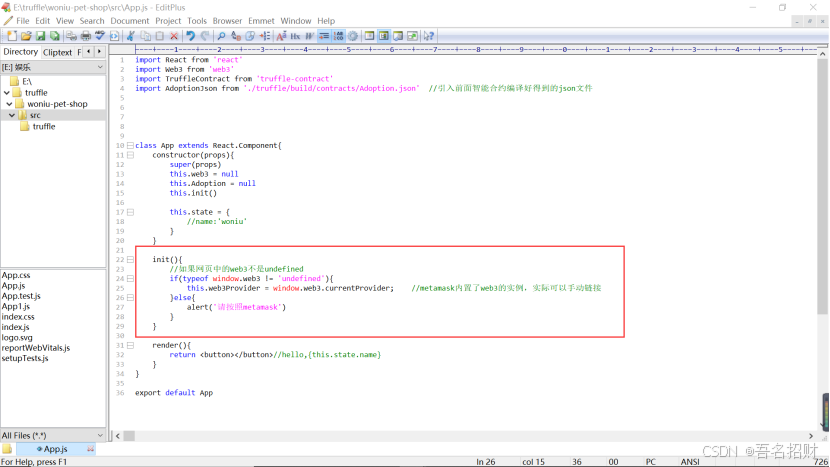
新加入
init(){ //如果网页中的web3不是undefined if(typeof window.web3 != 'undefined'){ this.web3Provider = window.web3.currentProvider; //metamask内置了web3的实例,实际可以手动链接 }else{ alert('请按照metamask') } } 更改代码保存后,再次访问网络,无需关闭重新npm start
此时刷新一下
当然这时无弹窗,将metamask钱包删掉之后就有弹窗
这时使用chrome没有钱包的浏览器访问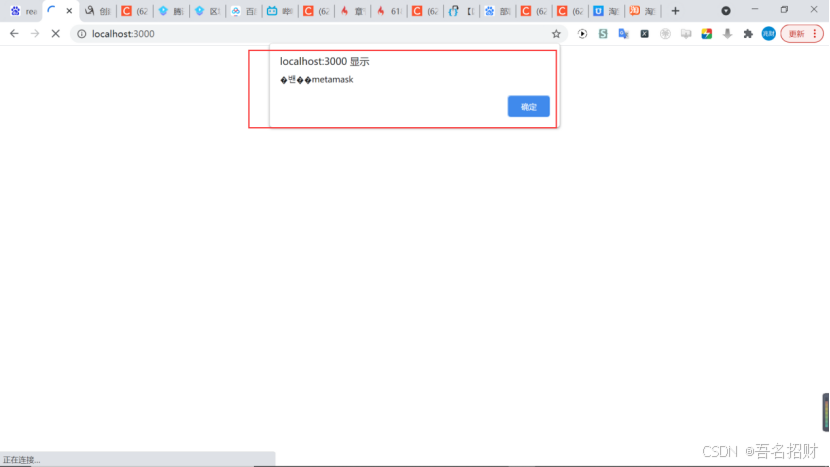
有弹窗出现,但是有些乱码了
又加入代码
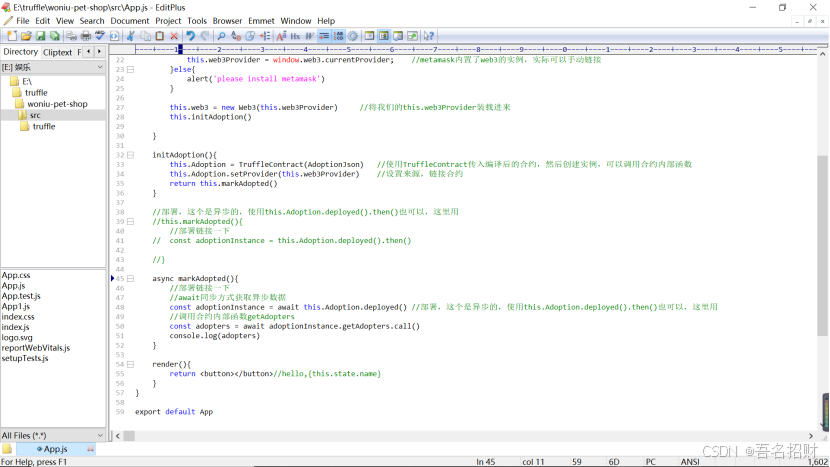
所有代码如下
import React from 'react' import Web3 from 'web3' import TruffleContract from 'truffle-contract' import AdoptionJson from './truffle/build/contracts/Adoption.json' //引入前面智能合约编译好得到的json文件 //1.链接合约 //2.执行一下合约内部函数 //3.添加ant.design ui库支持 //4.完成项目 class App extends React.Component{ constructor(props){ super(props) this.web3 = null this.Adoption = null this.init() this.state = { //name:'woniu' } } init(){ //如果网页中的web3不是undefined if(typeof window.web3 != 'undefined'){ this.web3Provider = window.web3.currentProvider; //metamask内置了web3的实例,实际可以手动链接 }else{ alert('please install metamask') } this.web3 = new Web3(this.web3Provider) //将我们的this.web3Provider装载进来 this.initAdoption() } initAdoption(){ this.Adoption = TruffleContract(AdoptionJson) //使用TruffleContract传入编译后的合约,然后创建实例,可以调用合约内部函数 this.Adoption.setProvider(this.web3Provider) //设置来源,链接合约 return this.markAdopted() } //部署,这个是异步的,使用this.Adoption.deployed().then()也可以,这里用 //this.markAdopted(){ //部署链接一下 // const adoptionInstance = this.Adoption.deployed().then() //} async markAdopted(){ //部署链接一下 //await同步方式获取异步数据 const adoptionInstance = await this.Adoption.deployed() //部署,这个是异步的,使用this.Adoption.deployed().then()也可以,这里用 //调用合约内部函数getAdopters const adopters = await adoptionInstance.getAdopters.call() console.log(adopters) } render(){ return <button></button>//hello,{this.state.name} } } export default App 刷新界面如下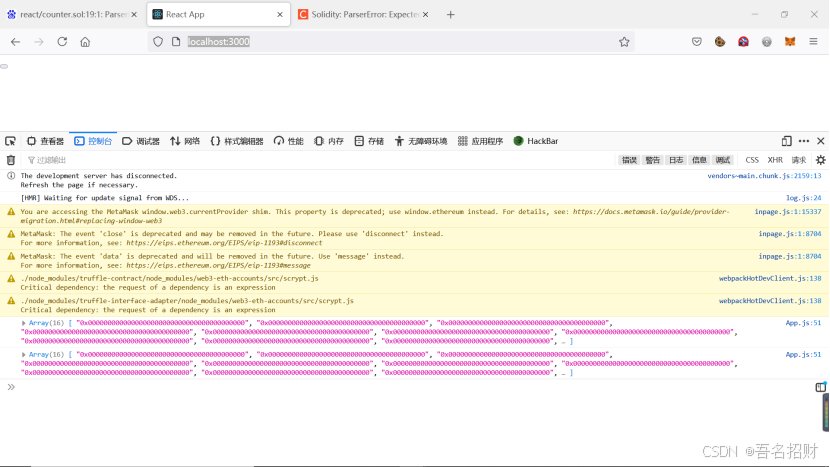
获取到合约的address了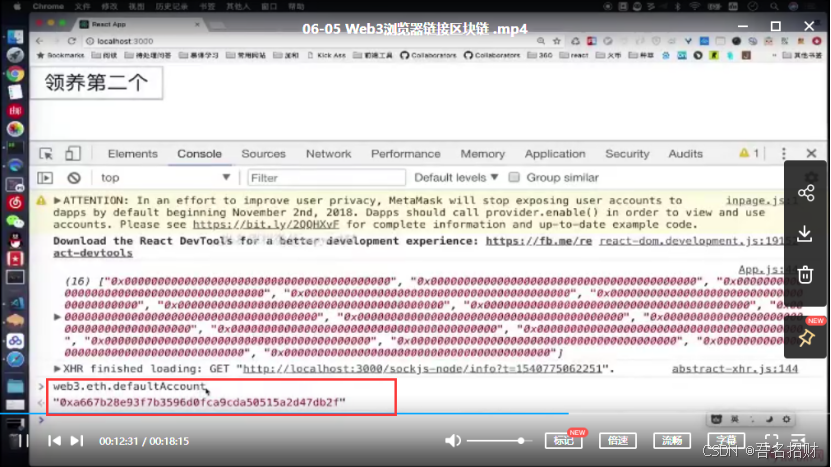
使用上方的变量可以获取本地的地址及metamask的默认账号地址了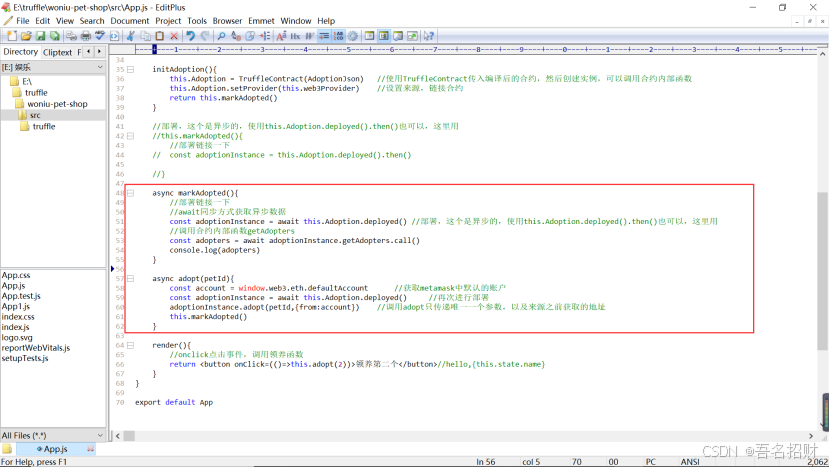
https://blog.csdn.net/weixin_41937552/article/details/106990561?utm_medium=distribute.pc_relevant.none-task-blog-baidujs_title-1&spm=1001.2101.3001.4242
这里无法获得metamask的地址的原因如上
https://blog.csdn.net/weixin_39421014/article/details/103323245
可以先把metamask的隐私权限关闭
https://www.freesion.com/article/8518937500/
隐私模式的设置与兼容JS代码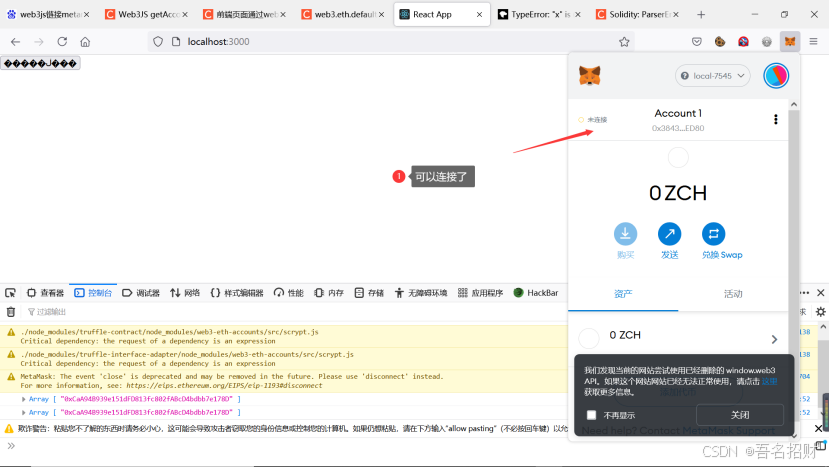
https://blog.csdn.net/JackieDYH/article/details/115380677?utm_medium=distribute.pc_relevant.none-task-blog-baidujs_title-0&spm=1001.2101.3001.4242
获取账户信息
经过代码的修改后在初始化的函数部分修改,
可以使用metamask链接网站了,并且能够打印出当前的metamask地址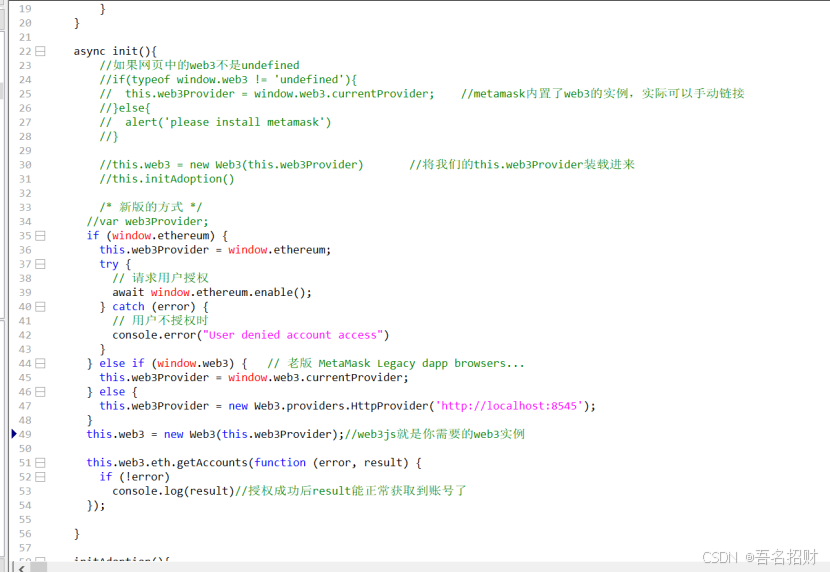
接下来进行点击事件的代码更改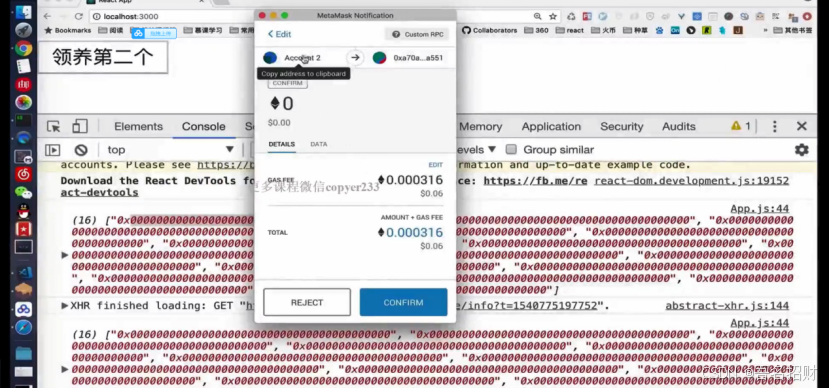
此处点击领养会弹出框用来支付的,因为要调用写入函数,写到链上的,此处的领养不用转钱但需要父手续费
本地成功调用需要写入区块链的函数(当点击按钮时如下)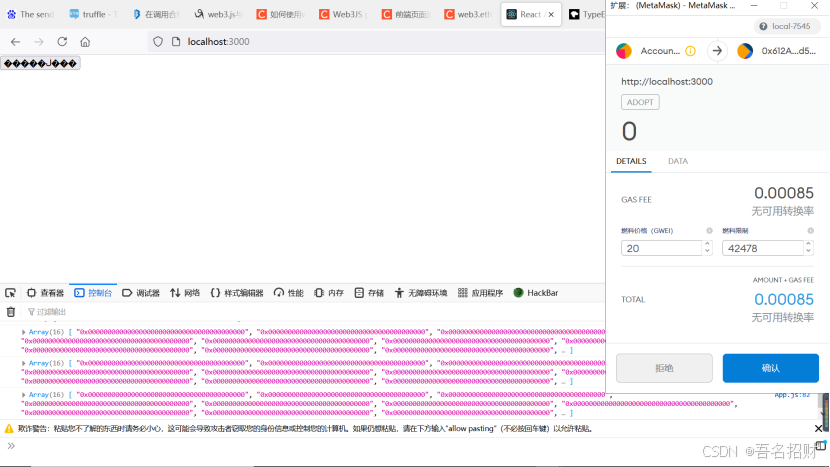
最终成功运行的所有的代码如下:
import React from 'react' import Web3 from 'web3' import TruffleContract from 'truffle-contract' import AdoptionJson from './truffle/build/contracts/Adoption.json' //引入前面智能合约编译好得到的json文件 //1.链接合约 //2.执行一下合约内部函数 //3.添加ant.design ui库支持 //4.完成项目 class App extends React.Component{ constructor(props){ super(props) this.web3 = null this.Adoption = null this.init() this.state = { //name:'woniu' } } async init(){ //如果网页中的web3不是undefined //if(typeof window.web3 != 'undefined'){ // this.web3Provider = window.web3.currentProvider; //metamask内置了web3的实例,实际可以手动链接 //}else{ // alert('please install metamask') //} //this.web3 = new Web3(this.web3Provider) //将我们的this.web3Provider装载进来 //this.initAdoption() /* 新版的方式 */ //var web3Provider; if (window.ethereum) { this.web3Provider = window.ethereum; try { // 请求用户授权 await window.ethereum.enable(); } catch (error) { // 用户不授权时 console.error("User denied account access") } } else if (window.web3) { // 老版 MetaMask Legacy dapp browsers... this.web3Provider = window.web3.currentProvider; } else { this.web3Provider = new Web3.providers.HttpProvider('http://localhost:7545'); } this.web3 = new Web3(this.web3Provider);//web3js就是你需要的web3实例 this.web3.eth.getAccounts(function (error, result) { if (!error) console.log(result)//授权成功后result能正常获取到账号了 //this.account = result }); //this.account =result //this.account =account this.initAdoption() } initAdoption(){ this.Adoption = TruffleContract(AdoptionJson) //使用TruffleContract传入编译后的合约,然后创建实例,可以调用合约内部函数 this.Adoption.setProvider(this.web3Provider) //设置来源,链接合约 return this.markAdopted() } //部署,这个是异步的,使用this.Adoption.deployed().then()也可以,这里用 //this.markAdopted(){ //部署链接一下 // const adoptionInstance = this.Adoption.deployed().then() //} async markAdopted(){ //部署链接一下 //await同步方式获取异步数据 const adoptionInstance = await this.Adoption.deployed() //部署,这个是异步的,使用this.Adoption.deployed().then()也可以,这里用 //调用合约内部函数getAdopters const adopters = await adoptionInstance.getAdopters.call() console.log(adopters) } async adopt(petId){ //const account = window.web3.eth.defaultAccount //获取metamask中默认的账户 // 授权获取账户 const accounts = await window.ethereum.request({ method: 'eth_requestAccounts' }); const myAccount = accounts[0]; //获取当前metamask的地址 const adoptionInstance = await this.Adoption.deployed() //再次进行部署 await adoptionInstance.adopt(petId,{from:myAccount}) //调用adopt只传递唯一一个参数,以及来源之前获取的地址,进行写入函数 this.markAdopted() } render(){ //onclick点击事件,调用领养函数 return <button onClick={()=>this.adopt(2)}>领养第二个</button>//hello,{this.state.name} } } export default App 已经成功执行所有的函数,读取写入函数
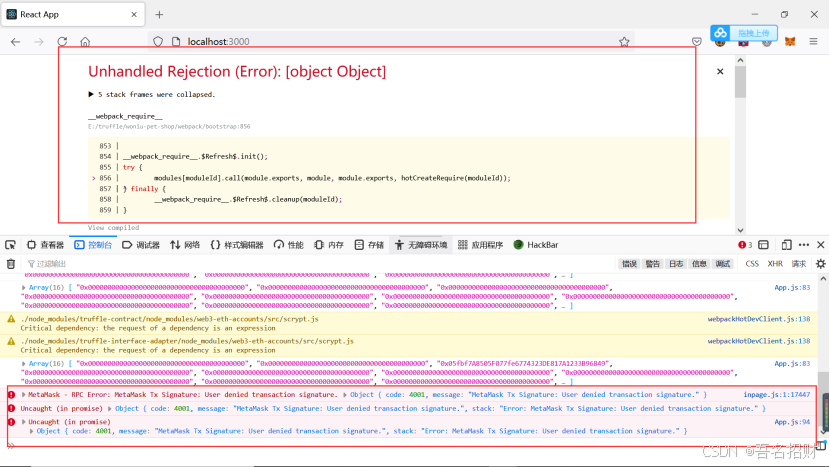
此代码还有一些缺陷,若交易失败会报错,页面也会报错,
点击拒绝,或者直接退出时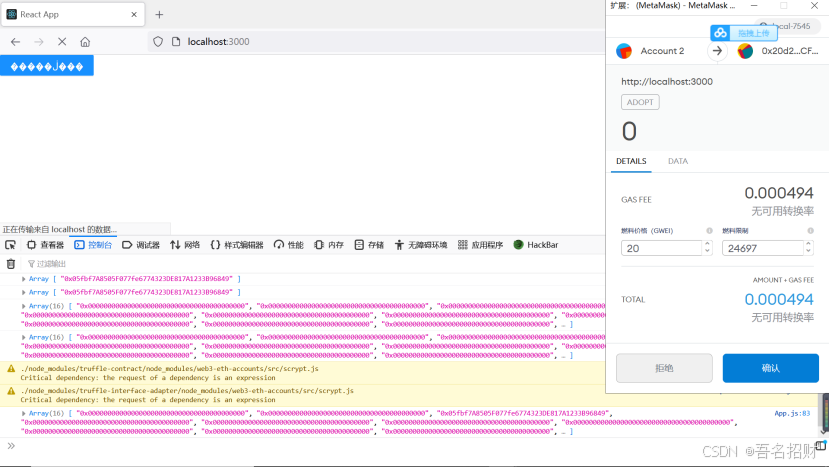
接下来就是美化ui
