
阅读量:0
废话不多说,展示二级产品CTT为例: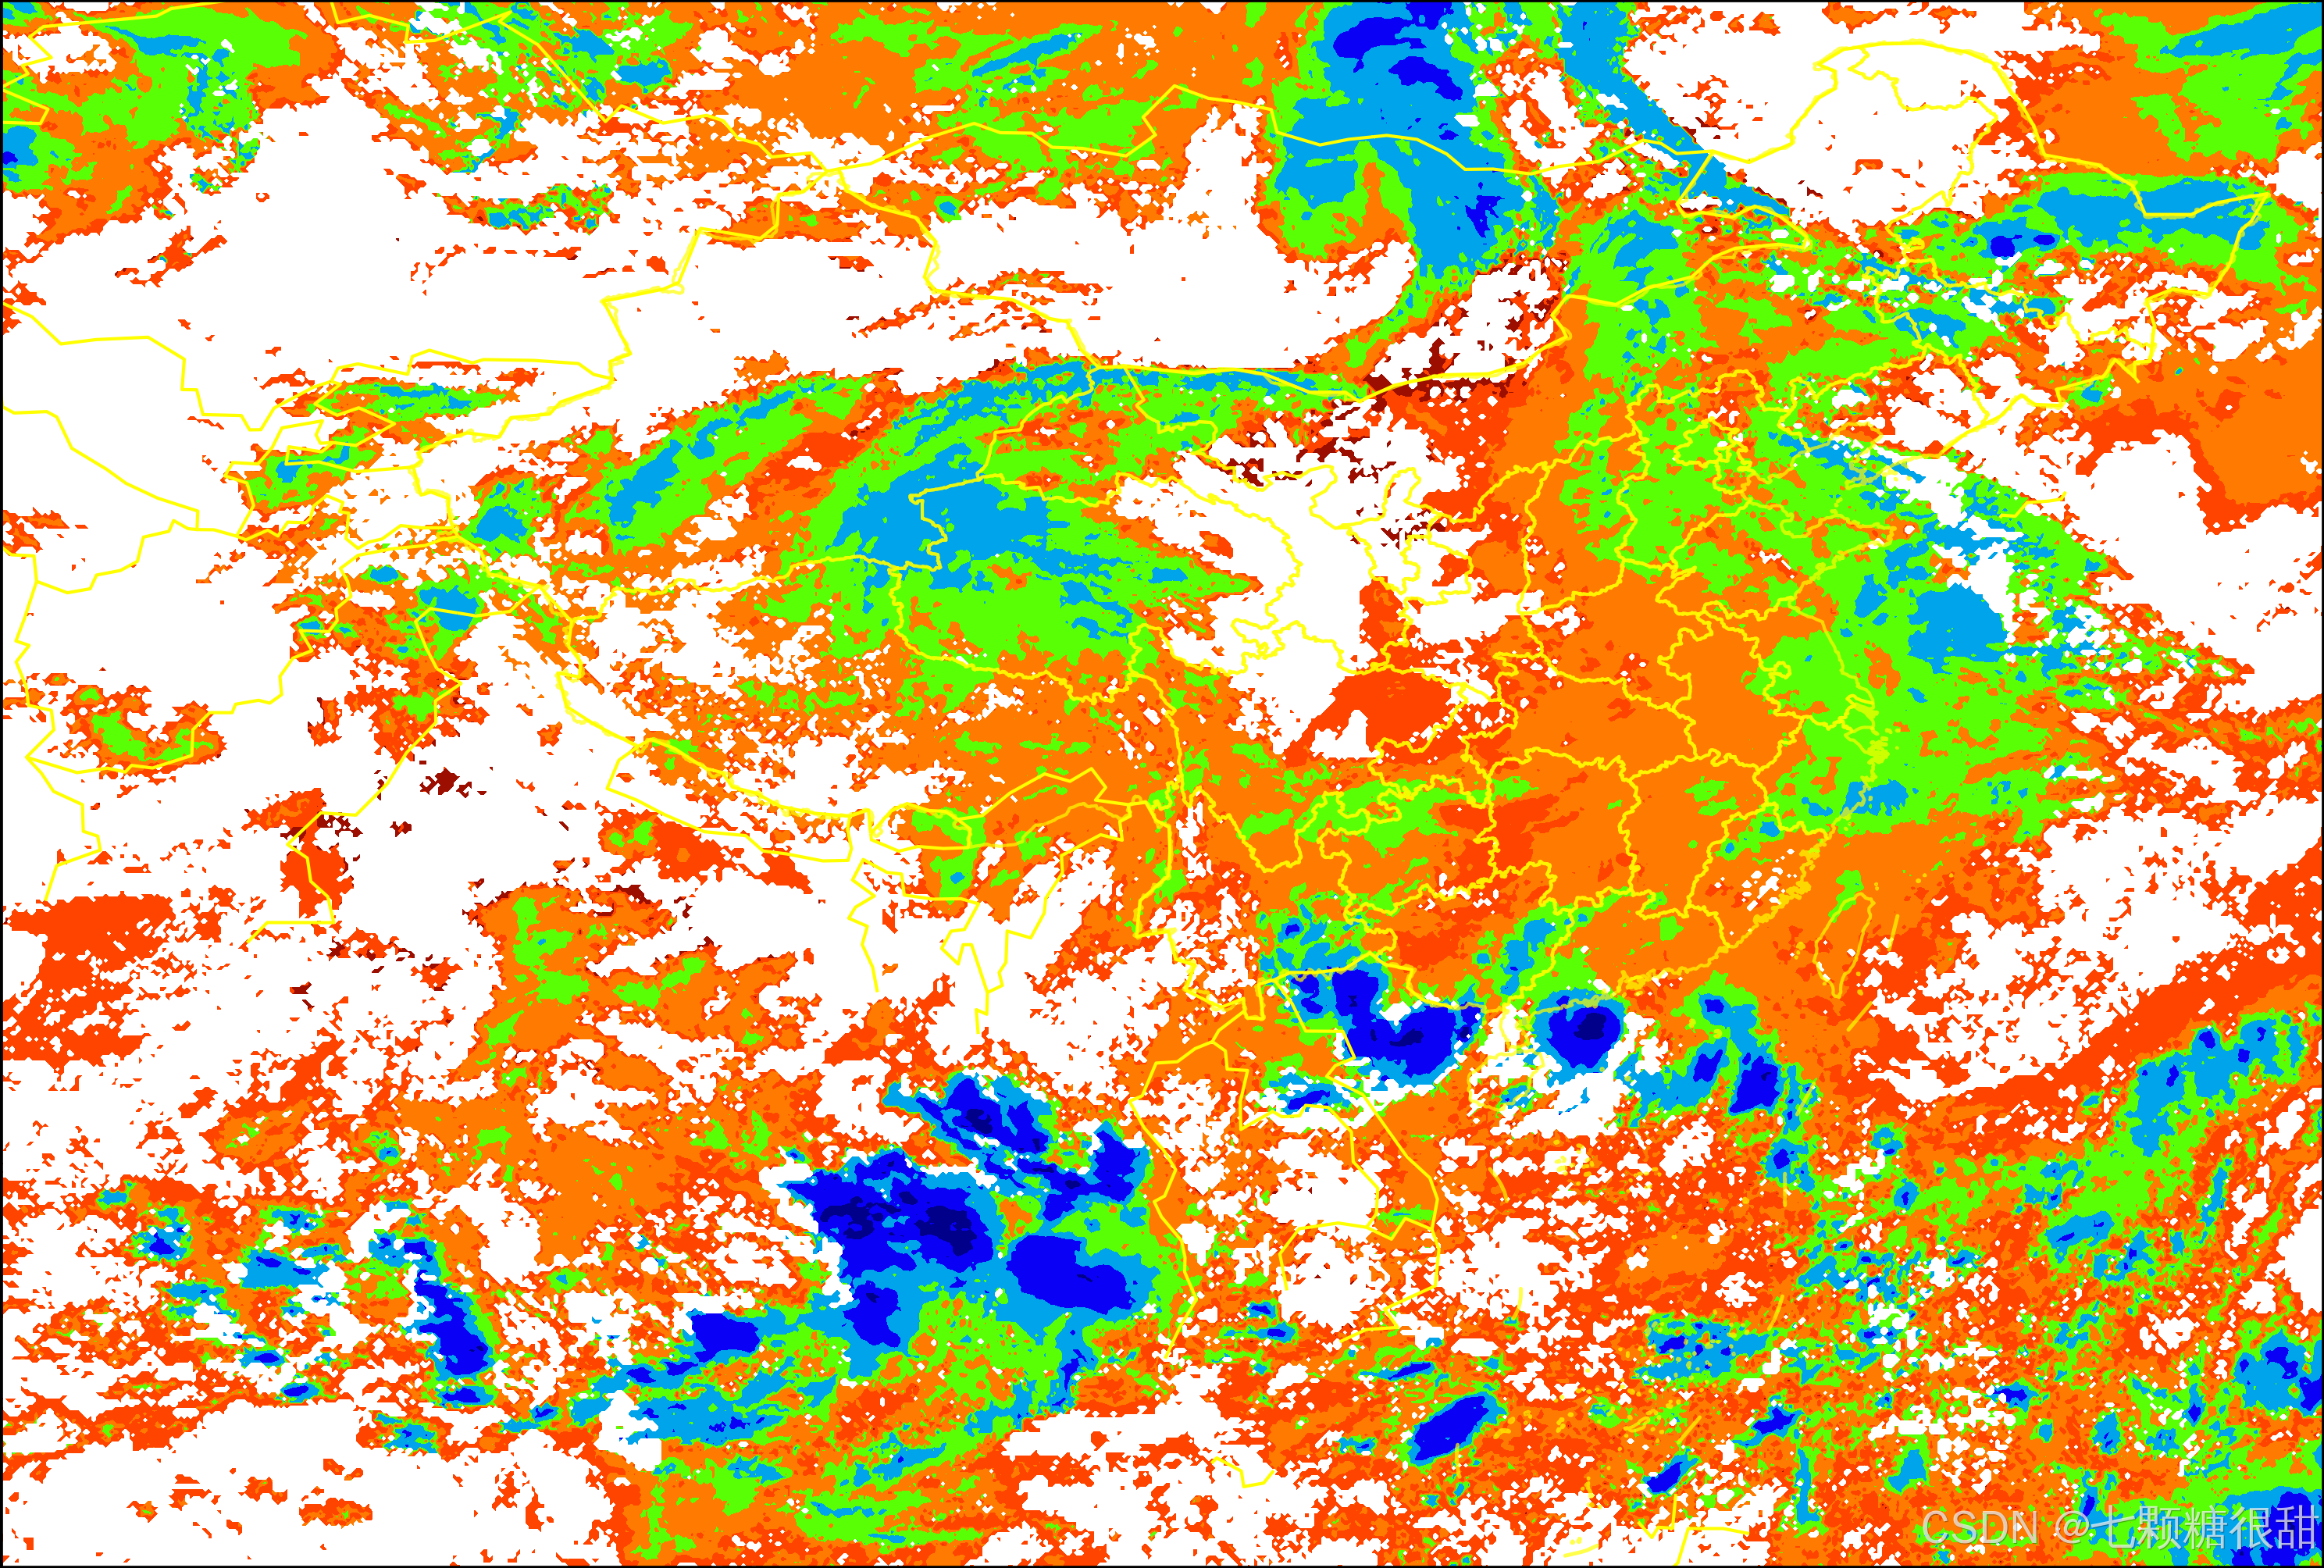
抱歉没空了解FY4B产品情况了,直接看代码
# CTT色标配置 bounds_CTT = [180, 200, 220, 240, 260, 280, 300, 320] # 根据你的数据设定 colors_CTT = [ (0, 0, 139/255), (10/255, 0, 245/255), (0, 164/255, 235/255), (0, 246/255, 192/255), (89/255, 255/255, 5/255), (255/255, 122/255, 0), (255/255, 68/255, 0), (155/255, 14/255, 0) ] def get_fy4b_l2_png(filePaths, pngPath): try: file_type = filePaths.split(".")[-1] dataset = nc.Dataset(filePaths, 'r') time = dataset.date_created fyTime = datetime.strptime(time, '%Y-%m-%dT%H:%M:%SZ').strftime('%Y-%m-%d %H:%M:%S') timeStr = fyTime.replace(' ', '_').replace(':', '') file_name = os.path.basename(filePaths) type = file_name.split('-')[4].replace('_', '') if type == 'QPE': data = dataset.variables['Precipitation'][:] else: data = dataset.variables[type][:] # 经纬度32°N-42°N,104°E-125°E # 设置经纬度网格,并通过坐标转换转为CTT数据中的行列号来读取数据 lat = np.arange(3, 55, 0.1) lon = np.arange(60, 137, 0.1) # 将经纬度转为格点,变为[lon lat]形式,转换为[l c],目标输出每个经纬度格点(行列号)的CTT数据,维度CTT(lat,lon)=(90,120) lon, lat = np.meshgrid(lon, lat) line, column = latlontolinecolumn(lat, lon, "4000M") l = line[:, :, np.newaxis] c = column[:, :, np.newaxis] lc = np.concatenate((l, c), axis=2) # (90*120*2) sichun = [[] for i in range(520)] i = 0 for point_l in lc: # for point_c in point_l: # CTT_sichun[i].append(CTT[round(point_c[0])][round(point_c[1])]) # i+=1 for point_c in point_l: # 添加有效性检查,确保行列号在合理范围内 if 0 <= point_c[0] < data.shape[0] - 1 and 0 <= point_c[1] < data.shape[1] - 1: sichun[i].append(data[round(point_c[0])][round(point_c[1])]) else: # 如果行列号越界,可以添加一些处理逻辑,比如跳过该点或者使用默认值 sichun[i].append(0) # 这里使用了默认值,你可以根据需要进行调整 i += 1 if type == 'CLM': bounds = bounds_CLM colors = colors_CLM elif type == 'CTT': bounds = bounds_CTT colors = colors_CTT else: logger.error('数据错误或格式错误') # 创建自定义颜色映射 custom_cmap = ListedColormap(colors) norm = BoundaryNorm(bounds, custom_cmap.N, clip=False) # # 绘制数据 fig, ax = plt.subplots(subplot_kw={'projection': ccrs.PlateCarree()}) # 添加省界 china = cfeature.ShapelyFeature(Reader(shp_path).geometries(), ccrs.PlateCarree(), linewidth=0.5, facecolor='none', edgecolor='yellow', alpha=0.7) ax.add_feature(china) # 绘制数据,使用 'viridis' 颜色映射 b = ax.contourf(lon, lat, sichun, cmap=custom_cmap, transform=ccrs.PlateCarree()) # # 添加网格线 # ax.gridlines(draw_labels=True, linestyle='--', color='gray', alpha=0.5) dir_png = pngPath + '/' + type if not os.path.exists(dir_png): # 如果路径不存在 os.makedirs(dir_png) # 则创建该目录 else: print("路径已经存在") out_path = dir_png + '/' + type + '_' + timeStr + '.png' # img = ax.imshow(CTT_sichun, cmap=custom_cmap, norm=norm, transform=ccrs.Mercator()) plt.savefig(out_path, transparent=True, dpi=600, bbox_inches='tight', pad_inches=0) dataset.close() logger.debug(out_path + 'Product production successful') path = get_path(out_path, pngPath) add_fy4b_record(fyTime, type, path) except Exception as e: # 记录异常信息 logger.error('绘制FY4B' + type + '时发生错误: ' + str(e)) # 根据需要抛出 HTTP 异常或其他类型的异常 # raise HTTPException(status_code=500, detail="处理" + type + "时发生错误") def get_path(path, path1): # 找到path1在path中的结束位置 end_index = path.find(path1) + len(path1) # 截取从path1之后的部分 sub_path = path[end_index:] return sub_path def latlontolinecolumn(lat, lon, resolution): """ (lat, lon) → (line, column) resolution:文件名中的分辨率{'0500M', '1000M', '2000M', '4000M'} line, column不是整数 """ # 坐标转换函数,author: modabao ea = 6378.137 # 地球的半长轴[km] eb = 6356.7523 # 地球的短半轴[km] h = 42164 # 地心到卫星质心的距离[km] λD = np.deg2rad(105.0) # 卫星星下点所在经度 # 列偏移 COFF = {"0500M": 10991.5, "1000M": 5495.5, "2000M": 2747.5, "4000M": 1373.5} # 列比例因子2,033,406.58 CFAC = {"0500M": 81865099, "1000M": 40932549, "2000M": 20466274, "4000M": 10233137} LOFF = {"0500M": 10991.5, "1000M": 5495.5, "2000M": 2747.5, "4000M": 1373.5} # 行偏移 # LOFF = COFF LFAC = {"0500M": 81865099, "1000M": 40932549, "2000M": 20466274, "4000M": 10233137} # 行比例因子 # LFAC = CFAC in_ = 0.5 # 归一化后的像点亮度,范围为 [0, 1] # Step1.检查地理经纬度 # Step2.将地理经纬度的角度表示转化为弧度表示 lat = np.deg2rad(lat) lon = np.deg2rad(lon) # Step3.将地理经纬度转化成地心经纬度 eb2_ea2 = eb ** 2 / ea ** 2 λe = lon φe = np.arctan(eb2_ea2 * np.tan(lat)) # Step4.求Re cosφe = np.cos(φe) re = eb / np.sqrt(1 - (1 - eb2_ea2) * cosφe ** 2) # Step5.求r1,r2,r3 λe_λD = λe - λD r1 = h - re * cosφe * np.cos(λe_λD) r2 = -re * cosφe * np.sin(λe_λD) r3 = re * np.sin(φe) # Step6.求rn,x,y rn = np.sqrt(r1 ** 2 + r2 ** 2 + r3 ** 2) x = np.rad2deg(np.arctan(-r2 / r1)) y = np.rad2deg(np.arcsin(-r3 / rn)) # Step7.求c,l column = COFF[resolution] + x * 2 ** -16 * CFAC[resolution] line = LOFF[resolution] + y * 2 ** -16 * LFAC[resolution] return line, column 