
阅读量:1
HBuilder X3.4版本中使用uni-app自定义组件
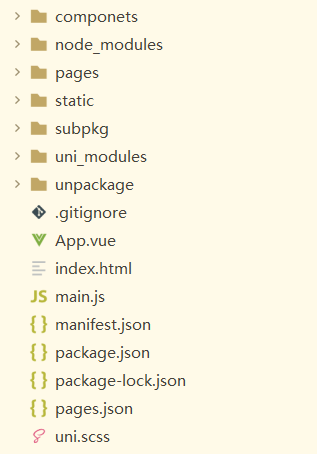
这是我的小程序页面结构
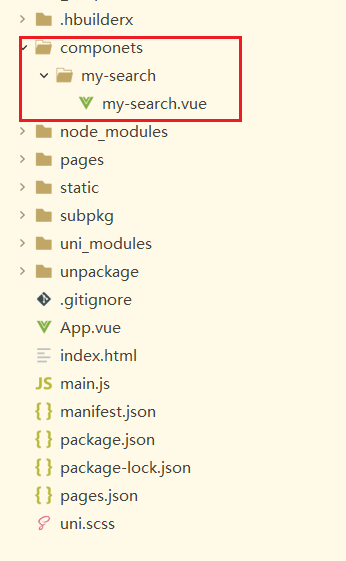
方式一:导入components
1.创建componets文件,并编写你的组件页面
<template> <view class="my-search-container"> <!-- 使用 view 组件模拟 input 输入框的样式 --> <view class="my-search-box"> <uni-icons type="search" size="17"></uni-icons> <text class="placeholder">搜索</text> </view> </view> </template> 2.使用页面import导入和注册组件
<script> import MySearch from '@/componets/my-search/my-search.vue' export default { //组件 components:{MySearch}, } </script> 3.使用组件
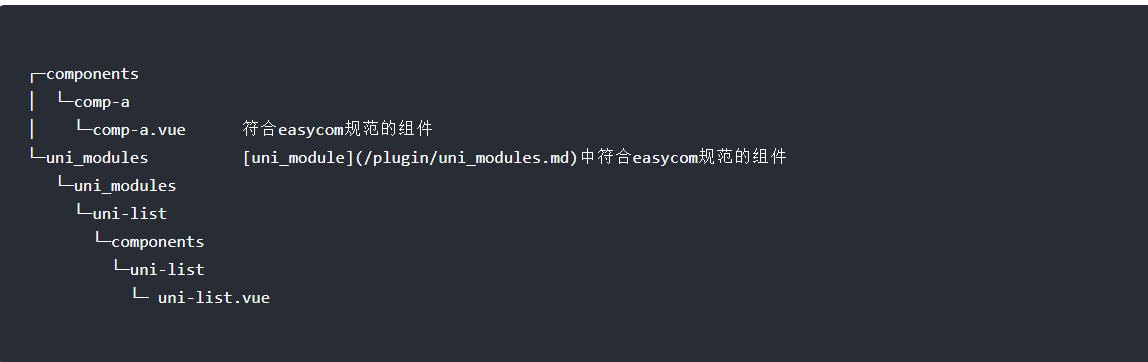
<template> <view> <MySearch></MySearch> </view> </template> 方式二:easycom配置
1.在uni_modules下,路径为
uni_modules/插件ID/components/组件名称/组件名称.vue
2.在pages.json文件中,设置easycom参数
"easycom": { "autoscan": true, "custom": { "^uni-(.*)": "@/components/uni-$1.vue", // 匹配components目录内的vue文件 "^vue-file-(.*)": "packageName/path/to/vue-file-$1.vue" // 匹配node_modules内的vue文件 } } 更多细节链接:
https://en.uniapp.dcloud.io/component/ https://en.uniapp.dcloud.io/collocation/pages.html#easycom 