阅读量:2
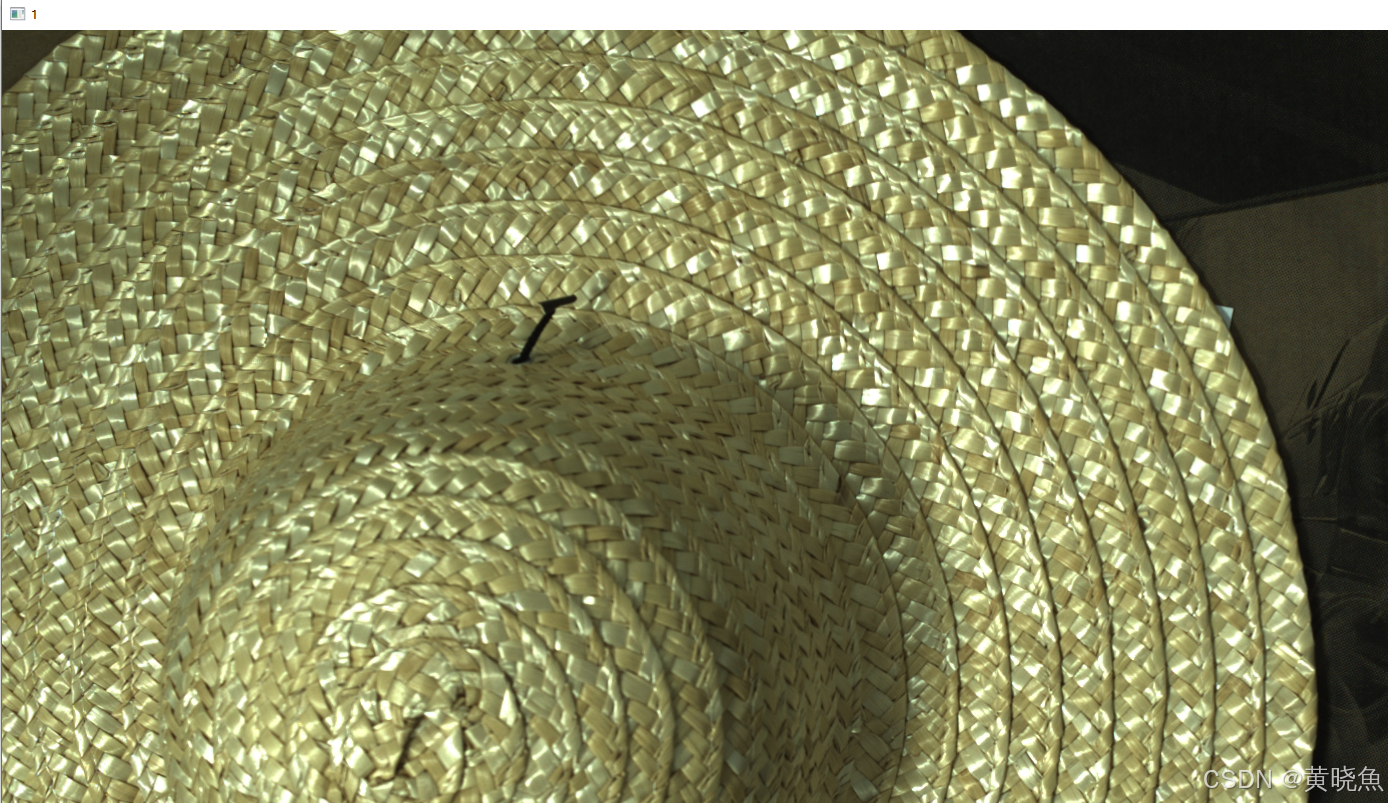
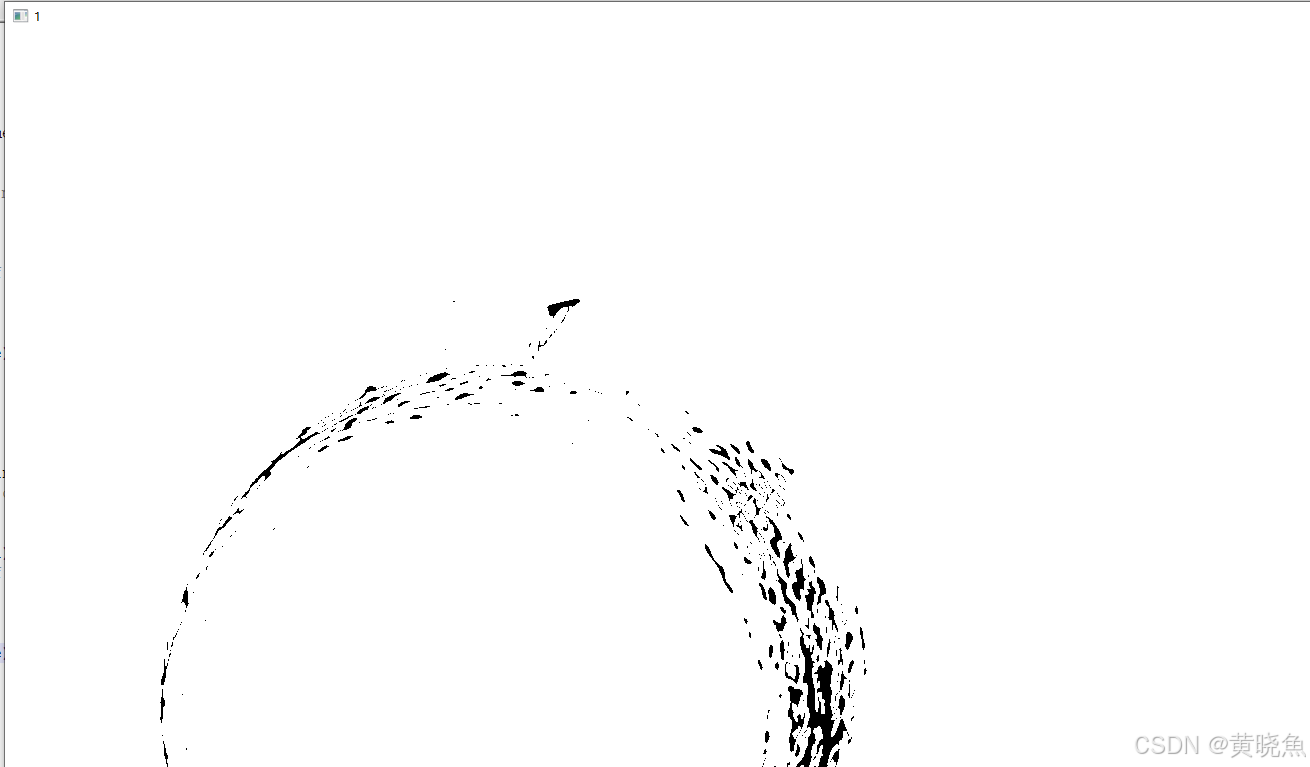
测试效果


Mech-Mind结构光相机
Mech Mind(梅卡曼德)的结构光相机,特别是Mech-Eye系列,是工业级的高精度3D相机,广泛应用于工业自动化、机器人导航、质量检测等多个领域。以下是对Mech Mind结构光相机的详细解析:
一、产品概述
Mech Mind的结构光相机,如Mech-Eye PRO,采用了高速结构光技术,能够在保持高精度、高速度的同时,提供优异的抗环境光性能。这些相机通常包含丰富的视觉算法模块,可应用于多个典型实际场景,如制造业工件上下料、高精度定位、装配、螺丝拧紧及学术研究等。
二、工作原理
Mech Mind的结构光相机主要利用了结构光投影的原理。它们将特定图案(如激光产生的结构光)投射到被拍摄物体上,并通过摄像头捕捉到物体的轮廓和形状。这种技术通过分析光线在物体上的反射和折射,能够精确地计算出物体的位置和形状。
三、产品特点
- 高精度:Mech Mind的结构光相机能够在短时间内获取高精度的三维模型,对于不同的物体,只需一次拍摄即可获得准确的形状信息。例如,Mech-Eye PRO的Z向单点重复精度可达到0.05mm(在1.0m处)。
- 高速度:相机具备快速的数据采集和处理能力,如Mech-Eye PRO的典型采集时间为0.3~0.6秒。
- 大视野和大景深:部分型号如Mech-Eye Deep 3D相机,具备大视野和大景深的特点,可适用于多种常见垛型。
- 抗环境光性能强:Mech Mind的结构光相机在较强环境光干扰下(如>20000lx)仍能保持优异的成像效果。
- 部署灵活:相机适配了国内外大部分主流品牌的机器人,可以实现对已适配机器人的完全运动控制。
- 开放易用:相机提供了友好的用户接口和开放的API,方便用户进行二次开发和集成。
- 稳定可靠:Mech Mind的结构光相机具备高稳定性和可靠性,如Mech-Eye PRO的平均无故障运行时间(MTBF)≥40000小时。
四、应用领域
Mech Mind的结构光相机被广泛应用于汽车、航空、模具制造、工业自动化等领域。在汽车领域,它们能够快速精确地获取车身表面的形状信息;在航空领域,它们能够获取飞机的三维形状信息,为飞机的设计和制造提供准确的数据支持。
五、总结
Mech Mind的结构光相机以其高精度、高速度、大视野、大景深、强抗环境光性能以及稳定可靠的特点,在工业自动化和机器人导航等领域发挥着重要作用。随着技术的不断进步和应用场景的不断拓展,Mech Mind的结构光相机有望在更多领域展现其独特的价值。
搭建Python开发环境
创建虚拟环境
下载opencv-python包
下载梅卡曼德相机 采图包
pip install MechEyeAPI pip install python-opencv步骤解析
连接相机
def ConnectCamera(self): camera_infos = Camera.discover_cameras() if len(camera_infos) != 1: print("相机连接出现异常,检查网线") return error_status = self.camera.connect(camera_infos[0]) if not error_status.is_ok(): show_error(error_status) return断开相机
def DisConnectCamera(self): self.camera.disconnect() print("Disconnected from the camera successfully.")采集2d图和3d图
def connect_and_capture(self): # Obtain the 2D image resolution and the depth map resolution of the camera. resolution = CameraResolutions() show_error(self.camera.get_camera_resolutions(resolution)) print_camera_resolution(resolution) time1 = time.time() # Obtain the 2D image. frame2d = Frame2D() show_error(self.camera.capture_2d(frame2d)) row, col = 222, 222 color_map = frame2d.get_color_image() print("The size of the 2D image is {} (width) * {} (height).".format( color_map.width(), color_map.height())) rgb = color_map[row * color_map.width() + col] print("The RGB values of the pixel at ({},{}) is R:{},G:{},B{}\n". format(row, col, rgb.b, rgb.g, rgb.r)) Image2d = color_map.data() time2 = time.time() print('grab 2d image : '+str((time2-time1)*1000)+'ms') # if not confirm_capture_3d(): # return # Obtain the depth map. frame3d = Frame3D() show_error(self.camera.capture_3d(frame3d)) depth_map = frame3d.get_depth_map() print("The size of the depth map is {} (width) * {} (height).".format( depth_map.width(), depth_map.height())) depth = depth_map[row * depth_map.width() + col] print("The depth value of the pixel at ({},{}) is depth :{}mm\n". format(row, col, depth.z)) Image3d = depth_map.data() time3 = time.time() print('grab depth image : '+str((time3-time2)*1000)+'ms') return Image2d,Image3d # Obtain the point cloud. # point_cloud = frame3d.get_untextured_point_cloud() # print("The size of the point cloud is {} (width) * {} (height).".format( # point_cloud.width(), point_cloud.height())) # point_xyz = point_cloud[row * depth_map.width() + col] # print("The coordinates of the point corresponding to the pixel at ({},{}) is X: {}mm , Y: {}mm, Z: {}mm\n". # format(row, col, point_xyz.x, point_xyz.y, point_xyz.z))完整测试代码
# With this sample, you can connect to a camera and obtain the 2D image, depth map, and point cloud data. import time from mecheye.shared import * from mecheye.area_scan_3d_camera import * from mecheye.area_scan_3d_camera_utils import * import cv2 class ConnectAndCaptureImages(object): def __init__(self): self.camera = Camera() def connect_and_capture(self): # Obtain the 2D image resolution and the depth map resolution of the camera. resolution = CameraResolutions() show_error(self.camera.get_camera_resolutions(resolution)) print_camera_resolution(resolution) time1 = time.time() # Obtain the 2D image. frame2d = Frame2D() show_error(self.camera.capture_2d(frame2d)) row, col = 222, 222 color_map = frame2d.get_color_image() print("The size of the 2D image is {} (width) * {} (height).".format( color_map.width(), color_map.height())) rgb = color_map[row * color_map.width() + col] print("The RGB values of the pixel at ({},{}) is R:{},G:{},B{}\n". format(row, col, rgb.b, rgb.g, rgb.r)) Image2d = color_map.data() time2 = time.time() print('grab 2d image : '+str((time2-time1)*1000)+'ms') # if not confirm_capture_3d(): # return # Obtain the depth map. frame3d = Frame3D() show_error(self.camera.capture_3d(frame3d)) depth_map = frame3d.get_depth_map() print("The size of the depth map is {} (width) * {} (height).".format( depth_map.width(), depth_map.height())) depth = depth_map[row * depth_map.width() + col] print("The depth value of the pixel at ({},{}) is depth :{}mm\n". format(row, col, depth.z)) Image3d = depth_map.data() time3 = time.time() print('grab depth image : '+str((time3-time2)*1000)+'ms') return Image2d,Image3d # Obtain the point cloud. # point_cloud = frame3d.get_untextured_point_cloud() # print("The size of the point cloud is {} (width) * {} (height).".format( # point_cloud.width(), point_cloud.height())) # point_xyz = point_cloud[row * depth_map.width() + col] # print("The coordinates of the point corresponding to the pixel at ({},{}) is X: {}mm , Y: {}mm, Z: {}mm\n". # format(row, col, point_xyz.x, point_xyz.y, point_xyz.z)) def main(self): # List all available cameras and connect to a camera by the displayed index. if find_and_connect(self.camera): d2,d3 = self.connect_and_capture() self.camera.disconnect() print("Disconnected from the camera successfully.") return d2,d3 def GrabImages(self): d2, d3 = self.connect_and_capture() return d2, d3 def ConnectCamera(self): camera_infos = Camera.discover_cameras() if len(camera_infos) != 1: print("相机连接出现异常,检查网线") return error_status = self.camera.connect(camera_infos[0]) if not error_status.is_ok(): show_error(error_status) return def DisConnectCamera(self): self.camera.disconnect() print("Disconnected from the camera successfully.") if __name__ == '__main__': #pip install MechEyeAPI print('初始化相机对象') MechMindGraber = ConnectAndCaptureImages() # d2,d3 = a.main() print('连接相机') MechMindGraber.ConnectCamera() for i in range(60): print(str(i)+'\r\n') print('采集亮度图和深度图') d2,d3 = MechMindGraber.GrabImages() cv2.imshow('1',d2) cv2.waitKey() cv2.imshow('1', d3) cv2.waitKey() print('断开连接') MechMindGraber.DisConnectCamera() 