阅读量:2
Kubernetes基于helm安装jenkins
jenkins支持war包、docker镜像、系统安装包、helm安装等。在Kubernetes上使用Helm安装Jenkins可以简化安装和管理Jenkins的过程。同时借助Kubernetes,jenkins可以实现工作节点的动态调用伸缩,更好的提高资源利用率。通过Jenkins的kubernetes-plugin来实现将Jenkins运行在Kubernetes上的功能。
准备工作
- 已经安装并配置好了Kubernetes集群。
# k8s版本及环境信息 root@master1:~# kubectl get node -o wide NAME STATUS ROLES AGE VERSION INTERNAL-IP EXTERNAL-IP OS-IMAGE KERNEL-VERSION CONTAINER-RUNTIME master1 Ready control-plane 25h v1.28.2 192.168.0.61 <none> Ubuntu 24.04 LTS 6.8.0-36-generic containerd://1.7.12 node1 Ready <none> 25h v1.28.2 192.168.0.62 <none> Ubuntu 24.04 LTS 6.8.0-36-generic containerd://1.7.12 node2 Ready <none> 25h v1.28.2 192.168.0.63 <none> Ubuntu 24.04 LTS 6.8.0-36-generic containerd://1.7.12 # 操作系统信息 root@master1:~# cat /etc/issue Ubuntu 24.04 LTS \n \l root@master1:~# uname -a Linux master1 6.8.0-36-generic #36-Ubuntu SMP PREEMPT_DYNAMIC Mon Jun 10 10:49:14 UTC 2024 x86_64 x86_64 x86_64 GNU/Linux - 已经安装并配置好了Helm。
# helm版本 root@master1:~# helm version version.BuildInfo{Version:"v3.15.2", GitCommit:"1a500d5625419a524fdae4b33de351cc4f58ec35", GitTreeState:"clean", GoVersion:"go1.22.4"} - 已经部署了提供pv、pvc等资源的存储资源。
root@master1:~# helm ls -n openebs NAME NAMESPACE REVISION UPDATED STATUS CHART APP VERSION openebs openebs 1 2024-07-02 14:38:40.928808834 +0800 CST deployed openebs-4.0.1 4.0.1 root@master1:~# kubectl get pod -n openebs NAME READY STATUS RESTARTS AGE openebs-localpv-provisioner-6b8bff68bd-vmwp7 1/1 Running 0 121m openebs-lvm-localpv-controller-778b75449c-mmvw6 5/5 Running 0 121m openebs-lvm-localpv-node-d2trc 2/2 Running 0 121m openebs-lvm-localpv-node-md5wh 2/2 Running 0 121m openebs-zfs-localpv-controller-6665568c7c-snw4q 5/5 Running 0 121m openebs-zfs-localpv-node-mc8tv 2/2 Running 0 121m openebs-zfs-localpv-node-w6nns 2/2 Running 0 121m root@master1:~# kubectl get sc -n openebs NAME PROVISIONER RECLAIMPOLICY VOLUMEBINDINGMODE ALLOWVOLUMEEXPANSION AGE openebs-hostpath openebs.io/local Delete WaitForFirstConsumer false 121m 可以参考我的另外一篇文章部署openebs,《Kubernetes云原生存储解决方案openebs部署实践-3.10.0版本(helm部署)》。
helm安装步骤
1. 添加Jenkins的Helm仓库
# 添加更新仓库 helm repo add jenkins https://charts.jenkins.io helm repo update # 查看版本列表 helm search repo -l jenkins/jenkins # 查看最新版本 helm search repo jenkins # 下载chart包,不加--version则加载最新版本 helm pull jenkins/jenkins --version 5.1.9 关于chart版本和jenkins版本的对应关系,下面是部分映射关系:
| NAME | CHART VERSION | APP VERSION | DESCRIPTION |
|---|---|---|---|
| jenkins/jenkins | 5.3.3 | 2.452.2 | Jenkins - Build great things at any scale! As t… |
| jenkins/jenkins | 5.3.2 | 2.452.2 | Jenkins - Build great things at any scale! As t… |
| jenkins/jenkins | 5.3.1 | 2.452.2 | Jenkins - Build great things at any scale! As t… |
| … | … | … | … |
| jenkins/jenkins | 5.1.9 | 2.440.3 | Jenkins - Build great things at any scale! As t… |
| … | … | … | … |
2. 创建命名空间
kubectl create namespace jenkins 3. 安装Jenkins
# 查看values helm show values jenkins/jenkins # 下面安装的参数来自于values。指定服务暴露方式为NodePort并指定端口,pv由存储类openebs-hostpath提供 helm upgrade --install jenkins jenkins/jenkins --namespace jenkins --set persistence.storageClass="openebs-hostpath" --set controller.serviceType=NodePort --set controller.nodePort=30080 # 卸载安装 helm uninstall jenkins -n jenkins # 测试环境执行 root@master1:~/jenkins# helm upgrade --install jenkins jenkins/jenkins --namespace jenkins --set persistence.storageClass="openebs-hostpath" --set controller.serviceType=NodePort --set controller.nodePort=30080 Release "jenkins" does not exist. Installing it now. NAME: jenkins LAST DEPLOYED: Wed Jul 3 14:07:47 2024 NAMESPACE: jenkins STATUS: deployed REVISION: 1 NOTES: 1. Get your 'admin' user password by running: kubectl exec --namespace jenkins -it svc/jenkins -c jenkins -- /bin/cat /run/secrets/additional/chart-admin-password && echo 2. Get the Jenkins URL to visit by running these commands in the same shell: export NODE_PORT=$(kubectl get --namespace jenkins -o jsonpath="{.spec.ports[0].nodePort}" services jenkins) export NODE_IP=$(kubectl get nodes --namespace jenkins -o jsonpath="{.items[0].status.addresses[0].address}") echo http://$NODE_IP:$NODE_PORT 3. Login with the password from step 1 and the username: admin 4. Configure security realm and authorization strategy 5. Use Jenkins Configuration as Code by specifying configScripts in your values.yaml file, see documentation: http://$NODE_IP:$NODE_PORT/configuration-as-code and examples: https://github.com/jenkinsci/configuration-as-code-plugin/tree/master/demos For more information on running Jenkins on Kubernetes, visit: https://cloud.google.com/solutions/jenkins-on-container-engine For more information about Jenkins Configuration as Code, visit: https://jenkins.io/projects/jcasc/ # 查看安装的资源 root@master1:~/jenkins# kubectl get all -n jenkins NAME READY STATUS RESTARTS AGE pod/jenkins-0 2/2 Running 0 10m NAME TYPE CLUSTER-IP EXTERNAL-IP PORT(S) AGE service/jenkins NodePort 10.102.102.102 <none> 8080:30080/TCP 10m service/jenkins-agent ClusterIP 10.99.77.201 <none> 50000/TCP 10m NAME READY AGE statefulset.apps/jenkins 1/1 10m 参数说明:
- persistence.storageClass参数:用于动态申请pv,持久化jenkins数据。
- serviceType参数:指定服务暴露的方式,nodePort范围:30000-32767。
也可以通过自定义 values.yaml 文件来配置Jenkins安装参数。例如,创建一个 myvalues.yaml 文件:
controller: JCasC: enabled: true configScripts: welcome-message: | jenkins: systemMessage: "Welcome to Jenkins on Kubernetes with Helm" installPlugins: - kubernetes - workflow-aggregator - git - configuration-as-code serviceType: NodePort 然后使用以下命令安装Jenkins:
helm install jenkins jenkins/jenkins --namespace jenkins -f myvalues.yaml 4. 配置jenkins
- 查询admin密码
kubectl --namespace jenkins get secret jenkins -o jsonpath="{.data.jenkins-admin-password}" | base64 --decode # 或者 kubectl exec --namespace jenkins -it svc/jenkins -c jenkins -- /bin/cat /run/secrets/additional/chart-admin-password && echo # 我这里获取的随机密码 EepJvUf9a8ryLo1JPDzdqo - 配置Jenkins插件源
root@master1:~# kubectl get pod -n jenkins NAME READY STATUS RESTARTS AGE jenkins-0 2/2 Running 0 22m root@master1:~# kubectl exec -itn jenkins jenkins-0 sh $ echo $JENKINS_HOME /var/jenkins_home $ cp $JENKINS_HOME/hudson.model.UpdateCenter.xml{,.bak} $ sed -i 's#https://updates.jenkins.io/update-center.json#https://mirrors.huaweicloud.com/jenkins/updates/update-center.json#g' $JENKINS_HOME/hudson.model.UpdateCenter.xml 5. 访问Jenkins
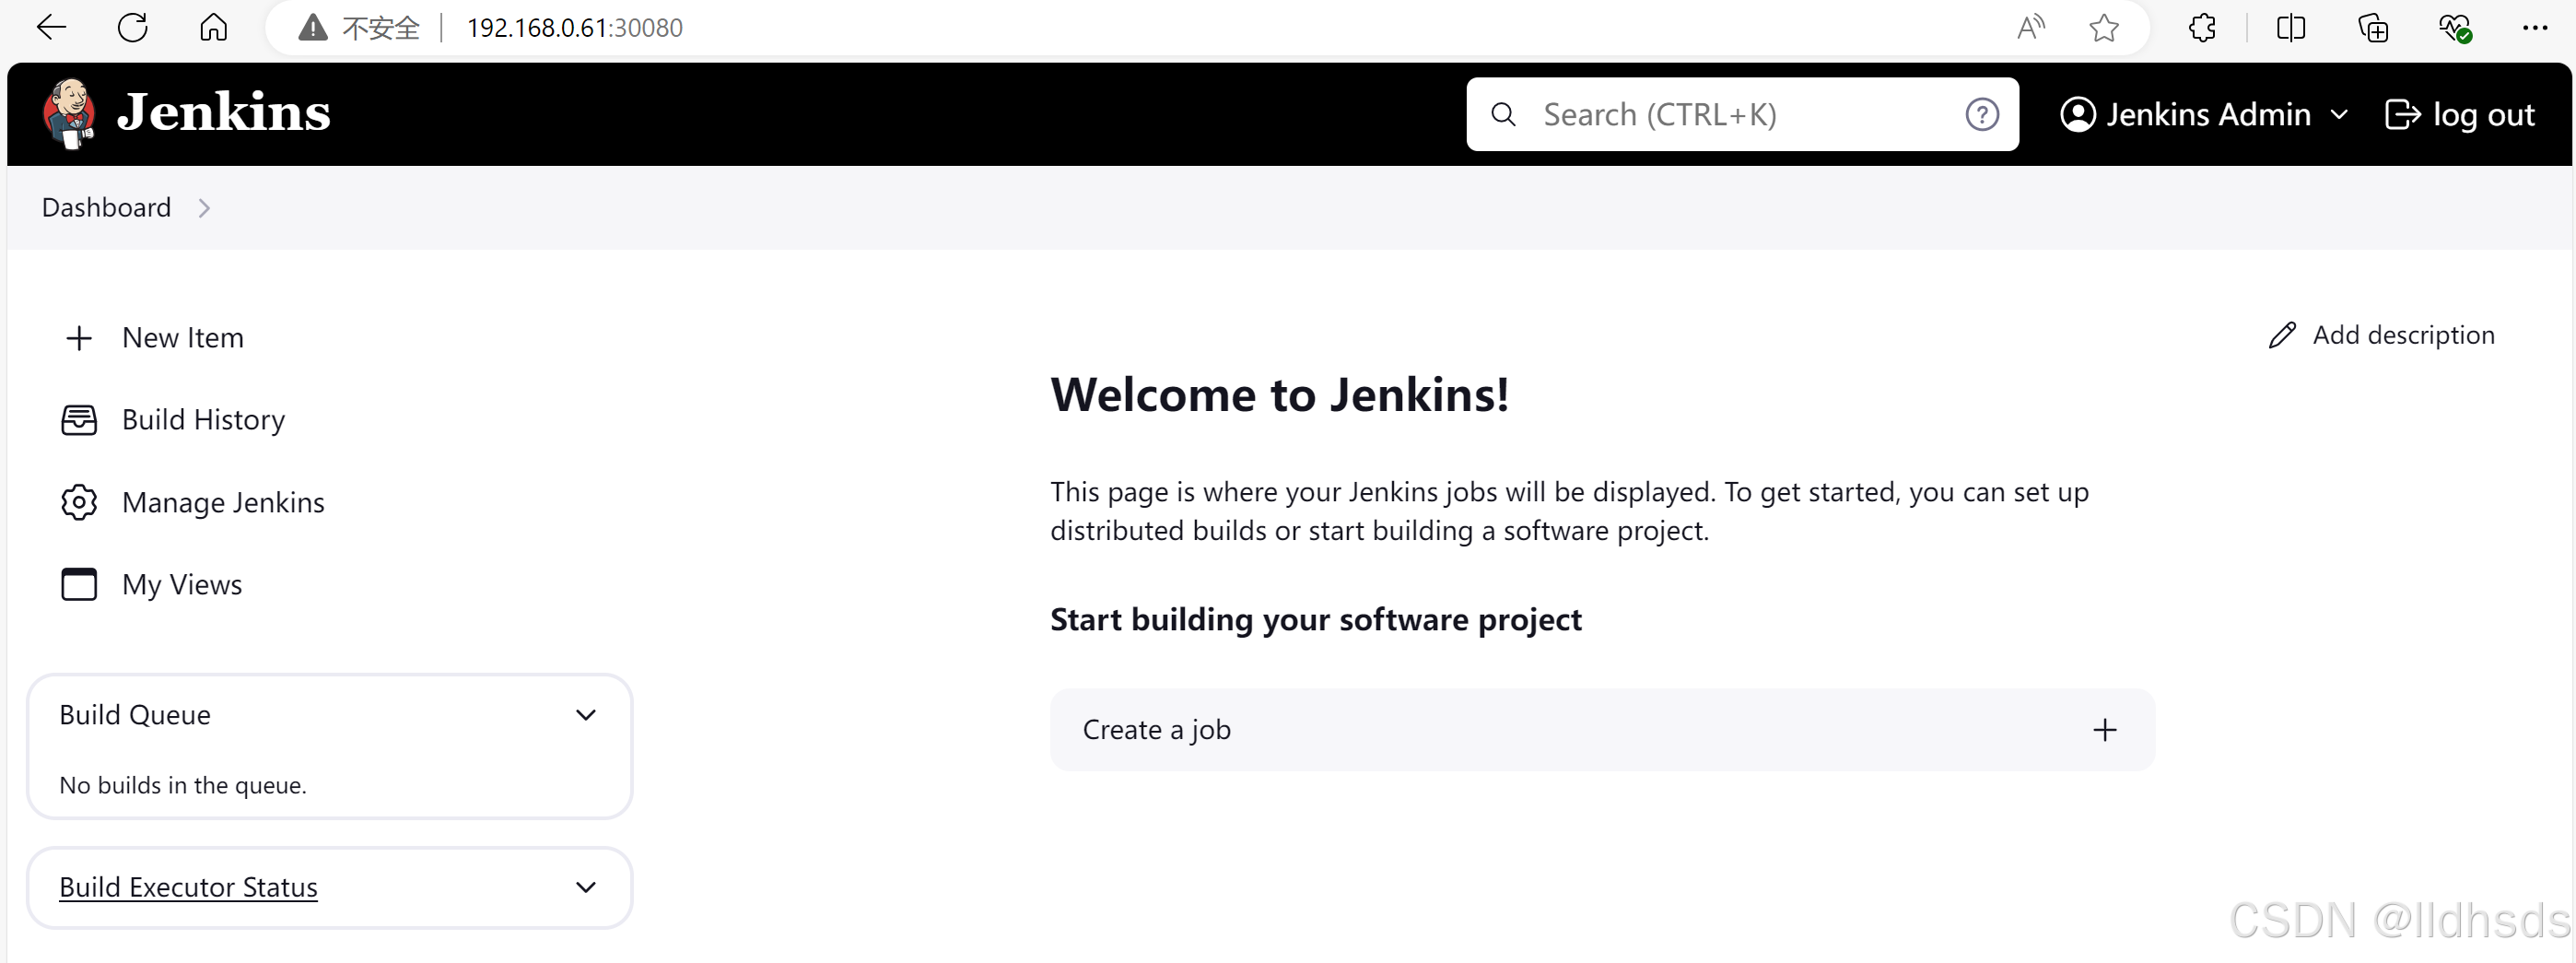
svc设置为NodePort方式,通过节点ip+30080端口访问:
kubectl --namespace jenkins get svc 用户名为admin,密码为上面查到的随机密码。