阅读量:1
一、装官方的链接包:alibabacloud-iot-device-sdk
第一种方法(阿里云官方教程):https://help.aliyun.com/document_detail/96618.html?spm=a2c4g.11186623.0.0.11a233e4noa08J
第二:直接下包到uni_moudles里调用js文件 链接: https://pan.baidu.com/s/1FqkBJkcA_rdK96UTq2GWjQ?pwd=8888 提取码: 8888
二、main.js
import Vue from 'vue' // import uView from '@/uni_modules/uview-ui' // Vue.use(uView) import App from './App' Vue.config.productionTip = false App.mpType = 'app' // 将 device 设置为全局变量 window.device = null; const app = new Vue({ ...App, data() { return { message: '' // 将设备消息显示在页面上 }; }, mounted() { // node引入包名. const iot = require('./uni_modules/alibabacloud-iot-device-sdk/dist/alibabacloud-iot-device-sdk.js'); //这里我的包直接拉到uni_modules里面用的,此外vue3千万别试这个代码,会一直报require的 //错并且官方没有给出解决方案 //如果用官方的教程成功了那就用下面这句 //const iot = require('alibabacloud-iot-device-sdk'); // 创建iot.device对象将会发起到阿里云IoT的连接 window.device = iot.device({ productKey: "ProductKey", // 将<productKey>修改为实际产品的ProductKey deviceName: "deviceName", // 将<deviceName>修改为实际设备的DeviceName deviceSecret: "<deviceSecret>", // 将<deviceSecret>修改为实际设备的DeviceSecret }); // 监听connect事件 device.on('connect', () => { // 将<productKey> <deviceName>修改为实际值 device.subscribe('/ProductKey/deviceName/user/get'); console.log('connect successfully!'); // device.publish('/ProductKey/deviceName/user/update', 'hello world!'); }); // 监听message事件 // device.on('message', (topic, payload) => { // console.log(topic, payload.toString()); // // 将设备消息显示在页面上 // this.message = payload.toString(); // }); // 上报设备属性 device.postProps({ LightStatus: 1 }, (res) => { console.log(res); }); // 监听云端设置属性服务消息,示例代码为一个灯 // device.onProps((cmd) => { // console.log('>>>onProps', cmd); // 打印完整的属性设置消息 // for (var key in cmd.params) { // if (key == 'LightStatus') { // 判断是否设置的是LightSwitch属性 // console.log('set property ', key); // // 示例代码将云端设置的属性在本地进行保存,实际产品开发时需要修改为去将灯打开或者关闭 // lightState = cmd.params.LightSwitch; // // 本地设置完毕之后,将更新后的状态报告给云端。 // // 注意:云端下发命令后,云端属性的值并不会改变,云端需要等待来自设备端的属性上报 // device.postProps({ 'LightSwitch': lightState }); // } // } // }); } }) app.$mount() 三、页面调用
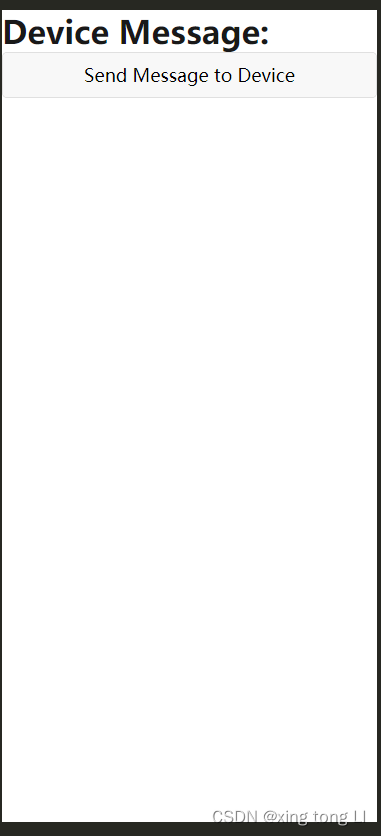
<template> <div> <h1>Device Message: {{ message }}</h1> <button @click="sendMessage_led1">Send Message to Device</button> </div> </template> <script> export default { data() { return { message: '' // 从设备接收的消息将在这里显示 //但是我没写函数,以后可能会更新 }; }, methods: { sendMessage_led1() { // 向设备发送 JSON 格式的消息 const messageToSend = { led1: '1', led2: '3' }; const topic = "/ProductKey/deviceName/user/update"; // 指定要发送的主题 device.publish(topic, JSON.stringify(messageToSend)); // 发布消息到指定主题 console.log("Message sent to device:", messageToSend); }, sendMessage_led2() { // 向设备发送 JSON 格式的消息 const messageToSend = { led1: '3', led2: '1' }; const topic = "/ProductKey/deviceName/user/update"; // 指定要发送的主题 device.publish(topic, JSON.stringify(messageToSend)); // 发布消息到指定主题 console.log("Message sent to device:", messageToSend); } } } </script> <style> /* 可选的样式 */ </style> 我这边做了一个点击按钮就可以发送数据到服务器的例子
四、效果展示

点击按钮显示这个,在阿里云服务器也可以看到日志了
