阅读量:3
1、Nginx安装
(1)Linux安装Nginx
https://blog.csdn.net/wd520521/article/details/110129872(2)Windows安装Nginx
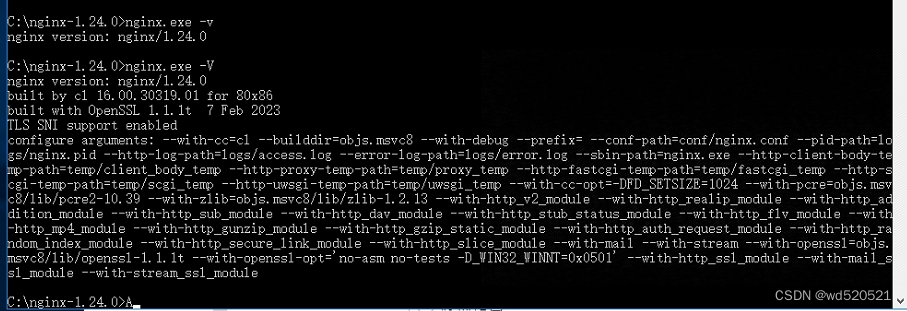
https://blog.csdn.net/wd520521/article/details/1366756432、检查Nginx是否有 stream模块
(1)Linux系统
#在nginx安装目录sbin目录下执行 ./nginx -V
(2)Windows系统
#nginx解压目录下执行 nginx.exe -V
3、修改nginx配置文件
(1)Linux系统
a、编辑配置文件
vim /usr/local/nginx/conf/nginx.confb、在nginx.conf中 http模块上面增加下面配置
stream { upstream sftpurl{ #可自定义命名 hash $remote_addr consistent; server sftp服务器的ip:sftp服务器的端口 max_fails=3 fail_timeout=60s; } #sftp代理 server { listen 21000; #随意设置本地的监听端口(需要在安全组中开放) proxy_connect_timeout 300s; proxy_timeout 300s; proxy_pass sftpurl; } }
c、校验配置文件是否正确
./nginx -tnginx -t 如果提示有success 代表配置没问题。
(2)Windows系统
a、编辑配置文件
打开配置文件nginx.conf
b、在nginx.conf中 http模块上面增加下面配置
stream { upstream sftpurl{ #可自定义命名 hash $remote_addr consistent; server sftp服务器的ip:sftp服务器的端口 max_fails=3 fail_timeout=60s; } #sftp代理 server { listen 21000; #随意设置本地的监听端口(需要在安全组中开放) proxy_connect_timeout 300s; proxy_timeout 300s; proxy_pass sftpurl; } }
c、校验配置文件是否正确
nginx.exe -tnginx,exe -t 如果提示有success 代表配置没问题。
4、验证
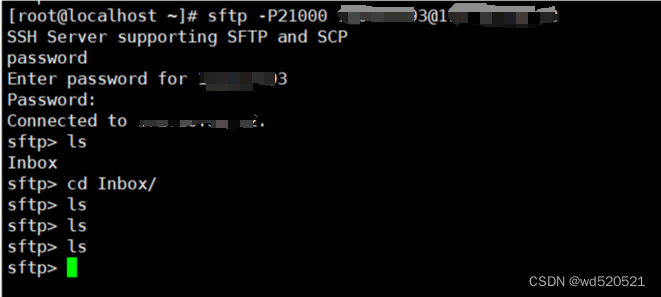
在其他服务器使用stfp指定账号登陆,注意我们访问的是21000端口,而不是原来sftp的端口
sftp -P21000 sftp账号@代理服务器ip sftp -P21000 xxx@xx.xx.xx.xx 
